This article shows you how to add an Azure AD as an Identity Provider for SSO (Single Sign-on).
- Setting up Azure AD for SSO:
- Create user:
- Edit the newly created user:
- Register RDrive as an application:
- Create a new client secret:
- Token configuration:
- Back to Overview:
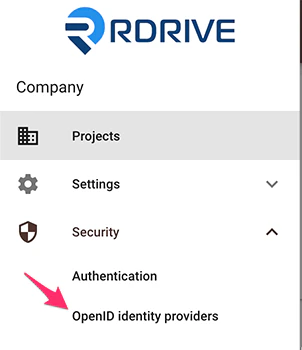
Setting up Azure AD for SSO:
- Login to RDrive Company Level
- From the navigation menu choose: Security > OpenID

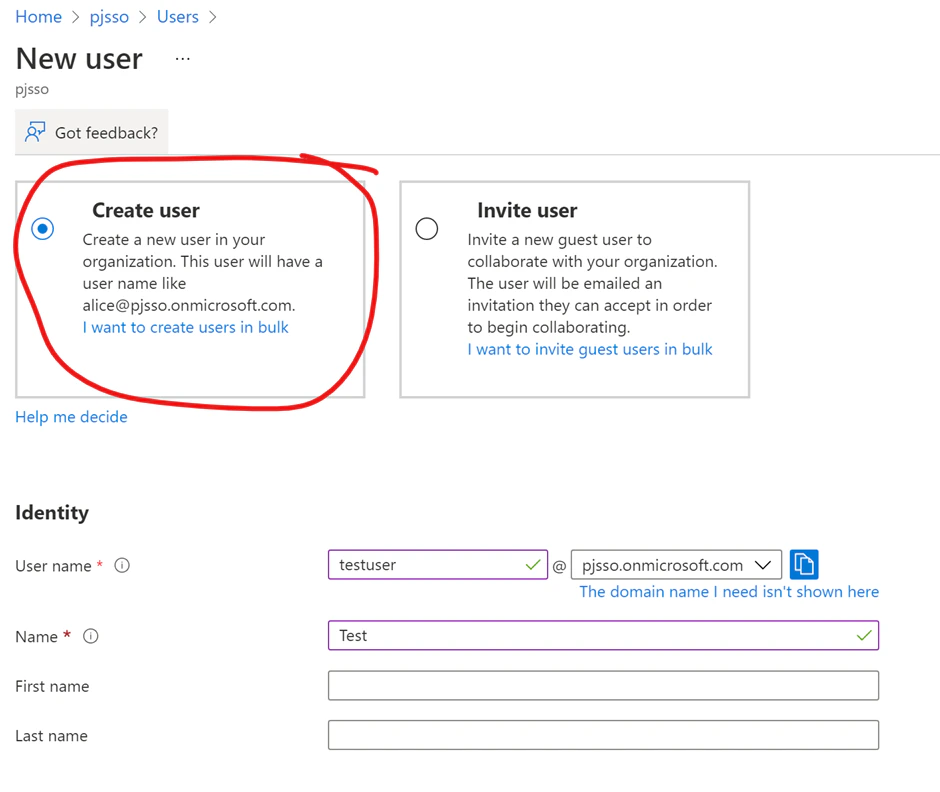
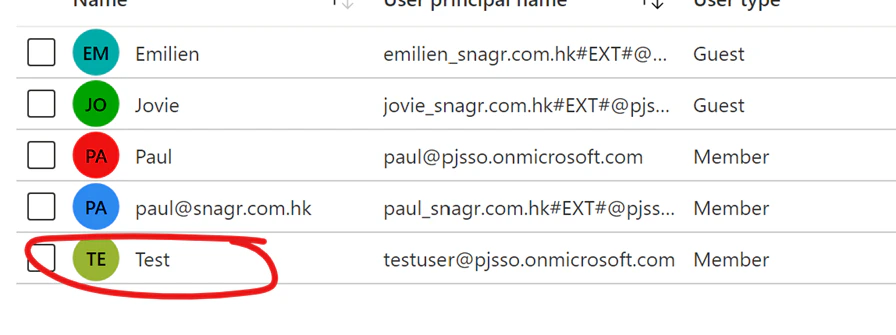
Create user:
- Go to the active directory page.
- Users from the left side menu.
- Create new user, not invite, so that the user is managed by the Azure AD.
- Fill in the First name and Last name! These are mandatory information for Okta to create a new user.
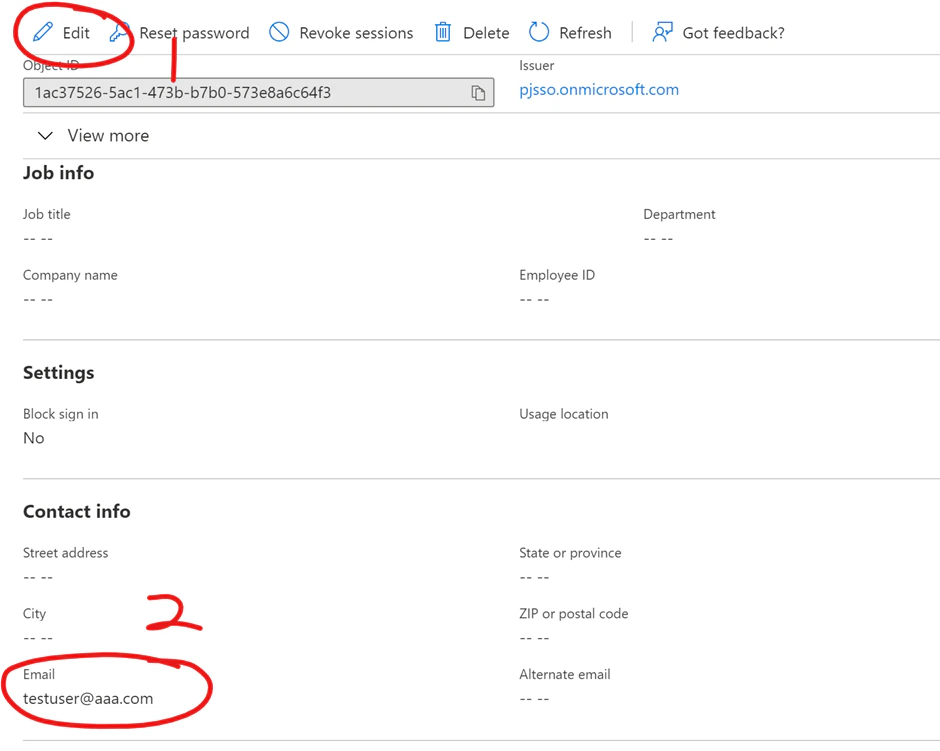
Edit the newly created user:
- Click Edit to allow editing.
- Fill in the Email field.
- Save changes (right to the Edit button).
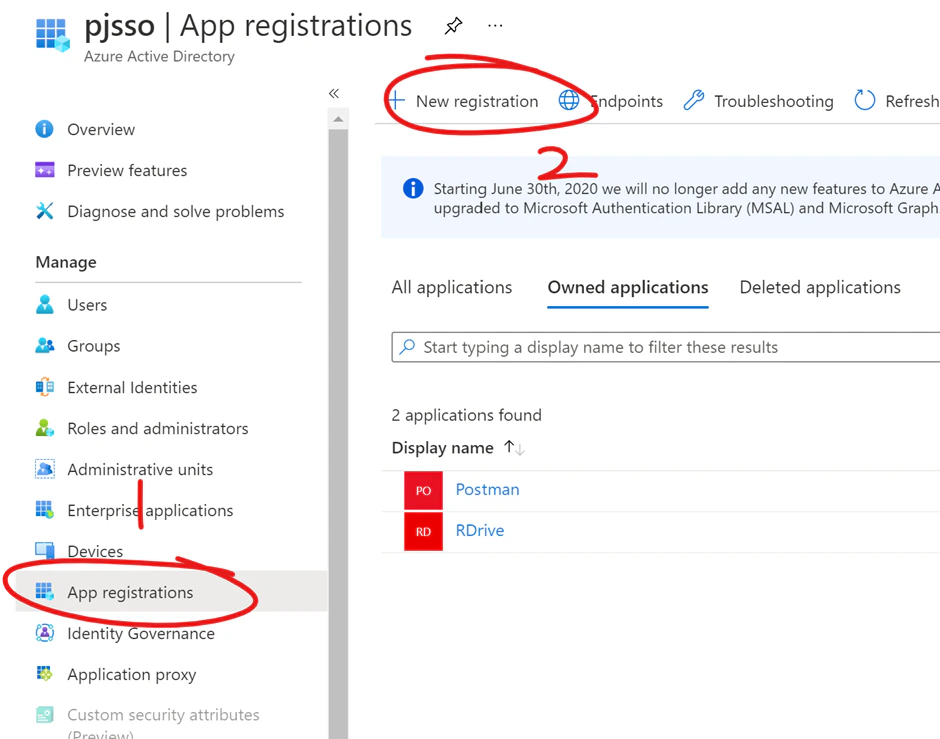
Register RDrive as an application:
- Back to the active directory page. Click App registrations from the menu on the left-hand side.
- New registration.
-
Create a new APP, and name it. Leave the redirect URI blank, will add one later.
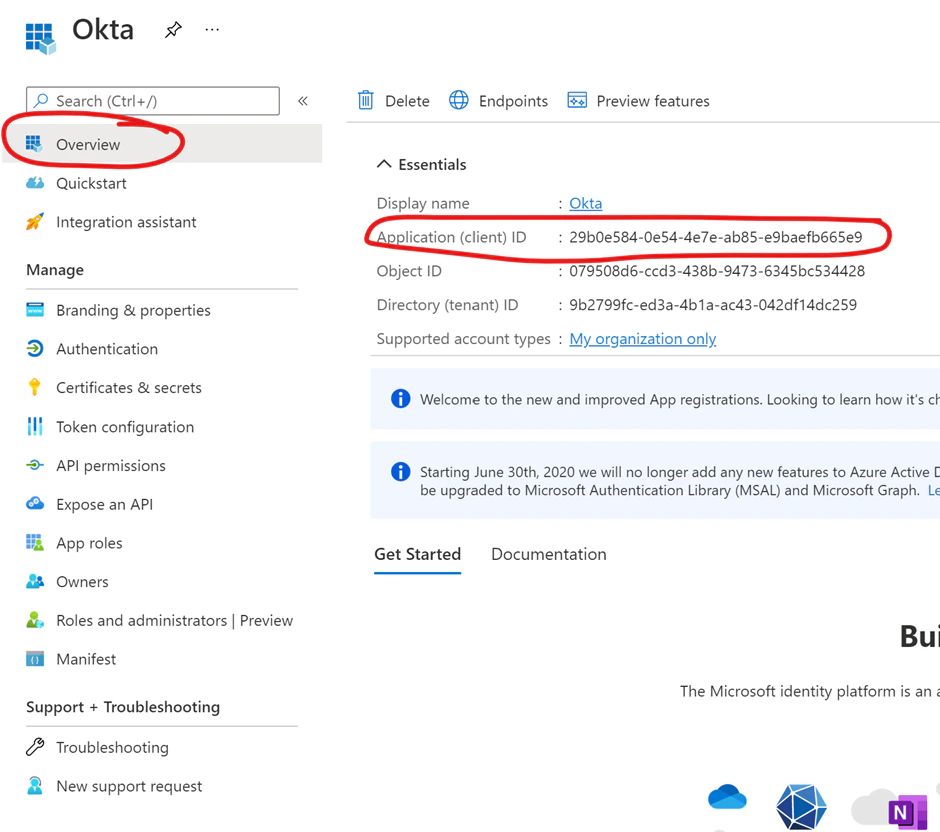
- Go to Overview of the newly created APP.
- Copy the client ID, and store it for later use.
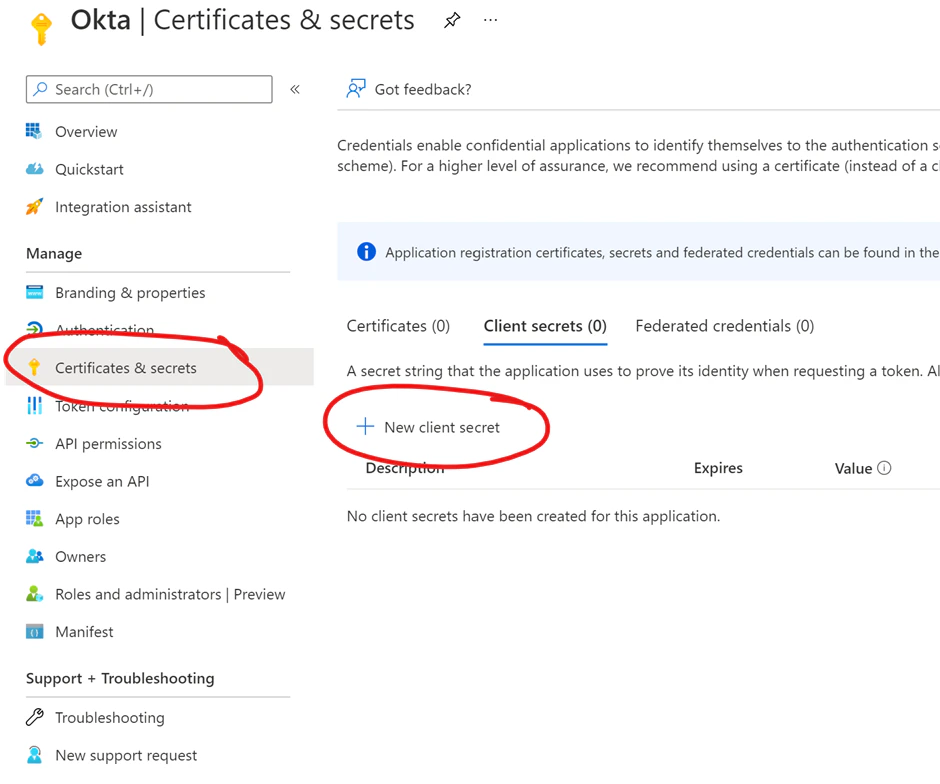
Create a new client secret:
- Click Certificates & secrets
-
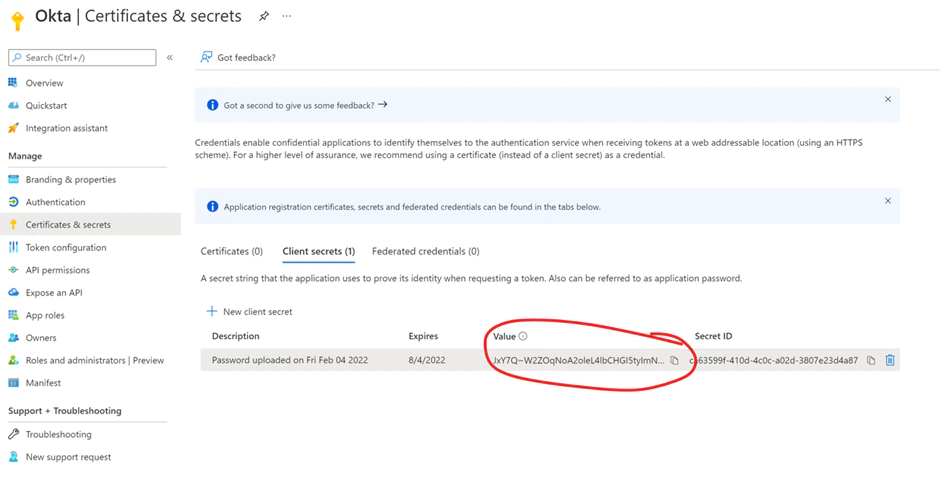
Create a New client secret.
- Copy the circled value, and store it for later use. (✨The secret is shown only once)
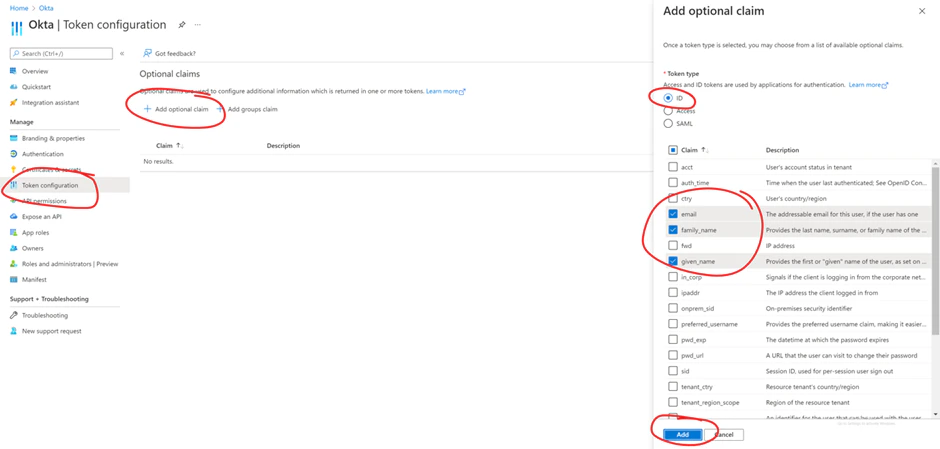
Token configuration:
-
Add optional claims to the ID token.
(Options are shown only when you check the ID button.)
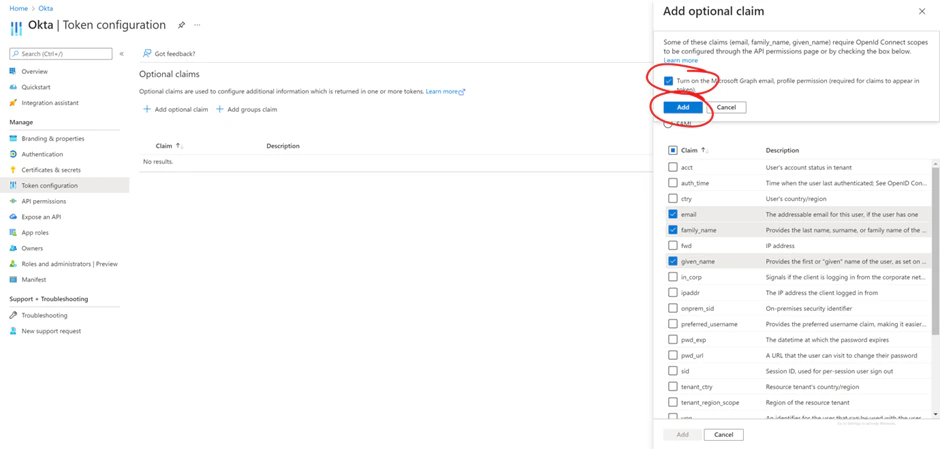
- Upon clicking Add, it asks you to add the required permission. Check the box to agree.
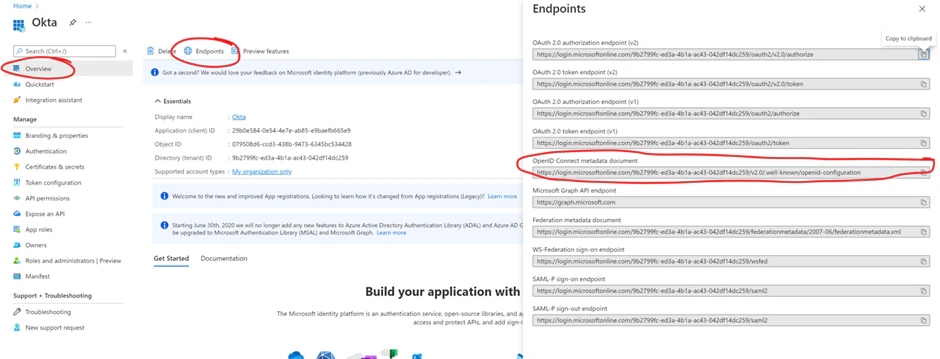
Back to Overview:
- Go to Overview of the APP.
- Endpoints
- Get the OpenID configuration URI.