Overview
This guide explains how to create, edit, and manage scheduled report policies in RDrive. These reports are automatically sent based on the rules and schedules you define.- Purpose: To automate the distribution of project data through scheduled reports.
- Who It’s For: Project admin with report management permissions.
Prerequisites: Ensure you have access to the Scheduled Report page and permission to manage scheduled reports.
A Scheduled Report allows you to email reports automatically using conditions across both Issues and Processes.
Each rule in the policy can be configured with different conditions and filter options.
Feel free to choose any combination of rules and filters that best fit your project needs. ?
TABLE OF CONTENTS
- ✅ Add a Scheduled Report Policy
- ✅ Edit a Scheduled Report Policy
- ✅ Edit a Schedule
- ✅ Email Layout Options
- ✅ Download Options
- ✅ Try
- ✅ Recipients
- ✅ Download
- ✅ Batch Download
- ✅ Set Rules for Scheduled Reports
- ✅ Upload a Scheduled Report Policy (.json file)
- ✅ Delete a Scheduled Report Policy
- FAQs & Troubleshooting
- Email sample
✅ Add a Scheduled Report Policy
-
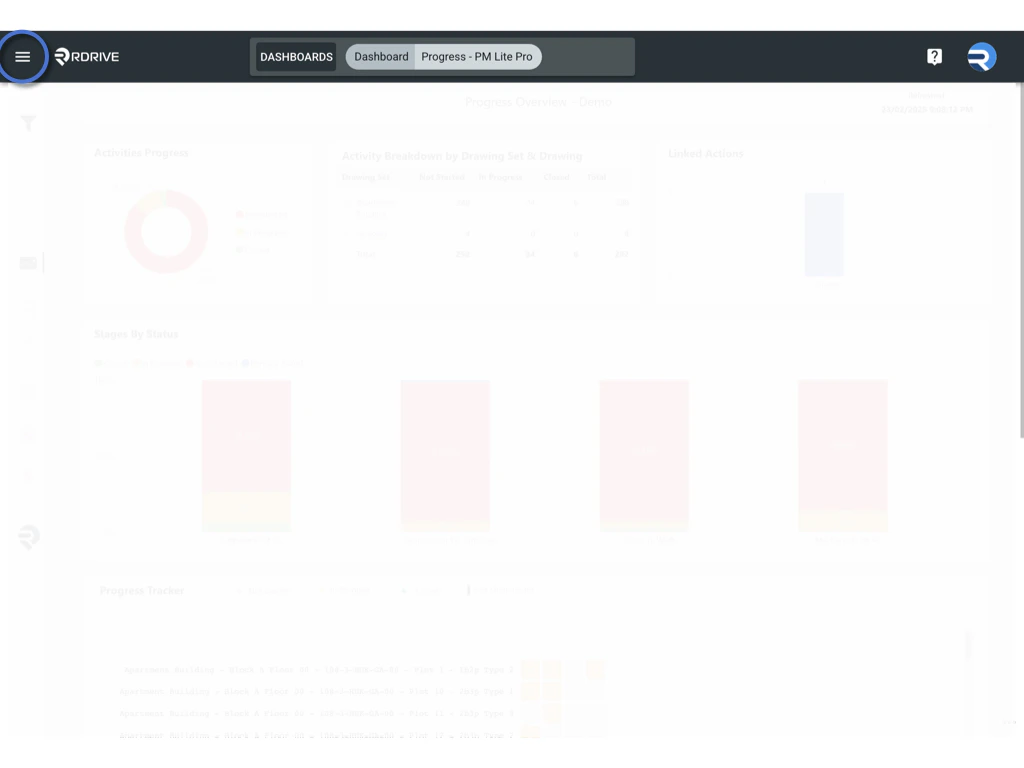
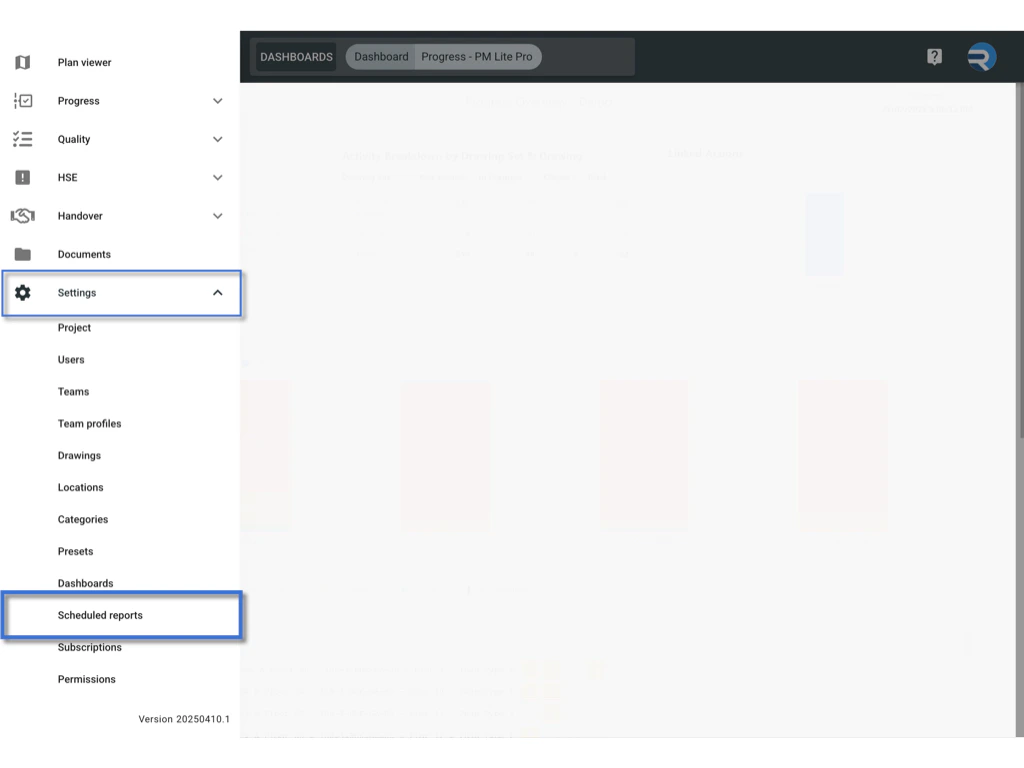
Go to the Scheduled Reports page from the side menu ≡ .\
-
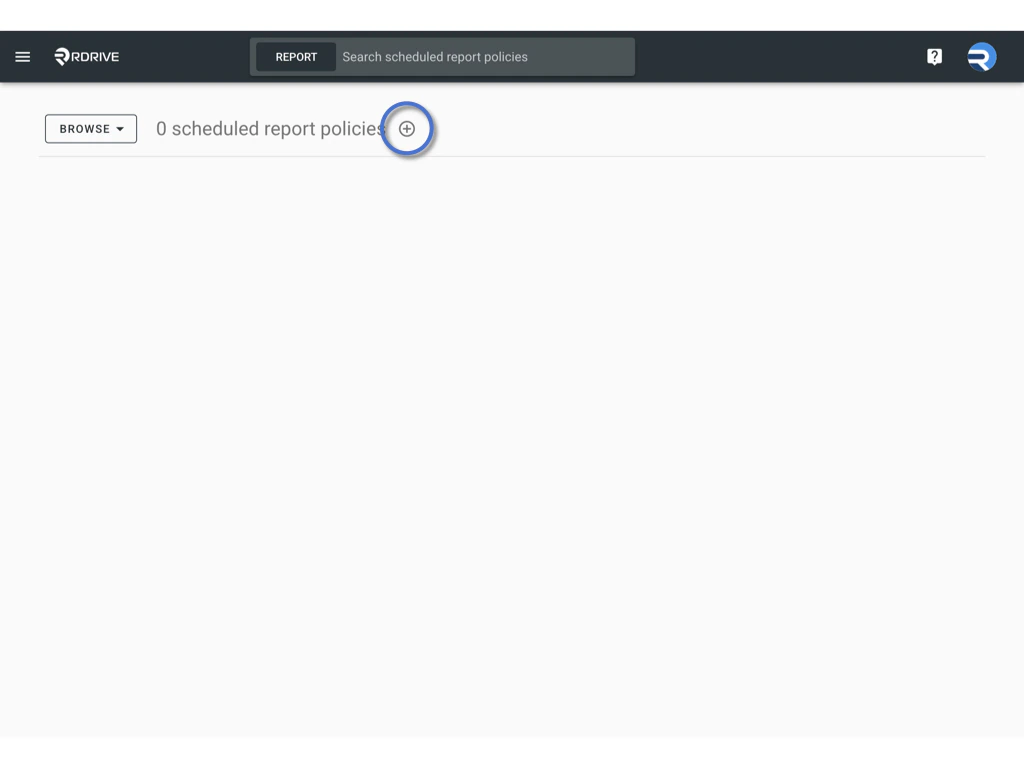
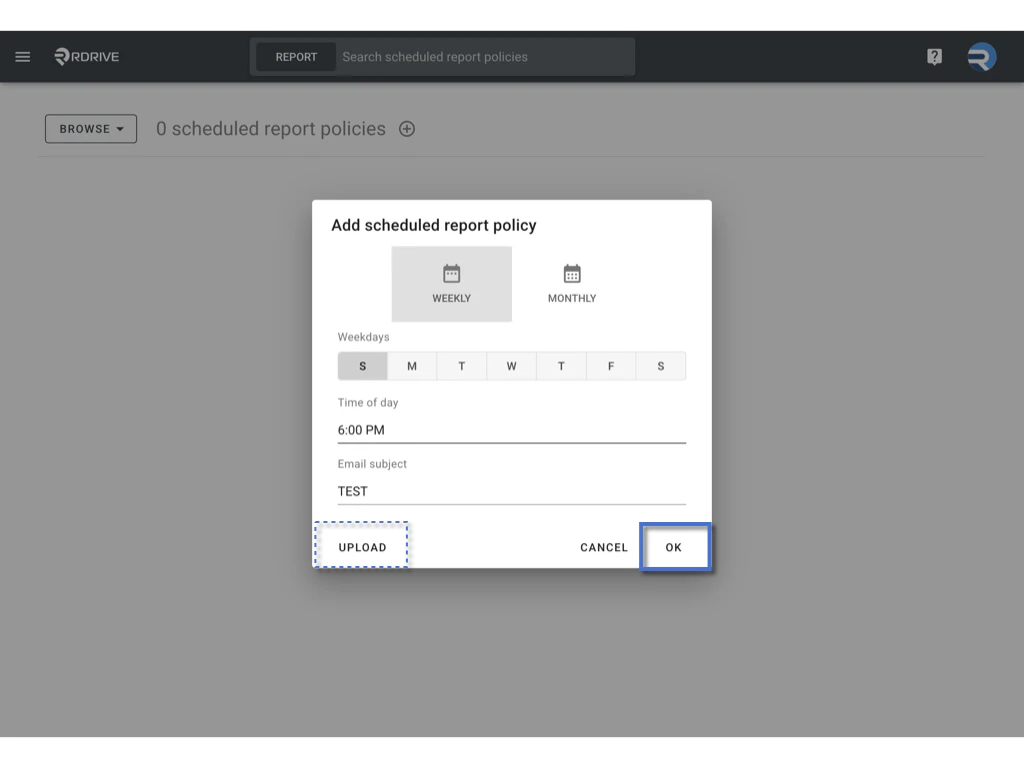
Click the Add (+) button to create a new policy.\
-
Define the report frequency:
- Daily: Select the day(s) and set the delivery time.
- Weekly: Select one or more weekdays and the time.
-
Monthly: Choose the time. Reports are sent on the 1st day of each month.

- Enter a Report Title (e.g., “Weekly Progress Summary”).
-
Click OK to confirm.
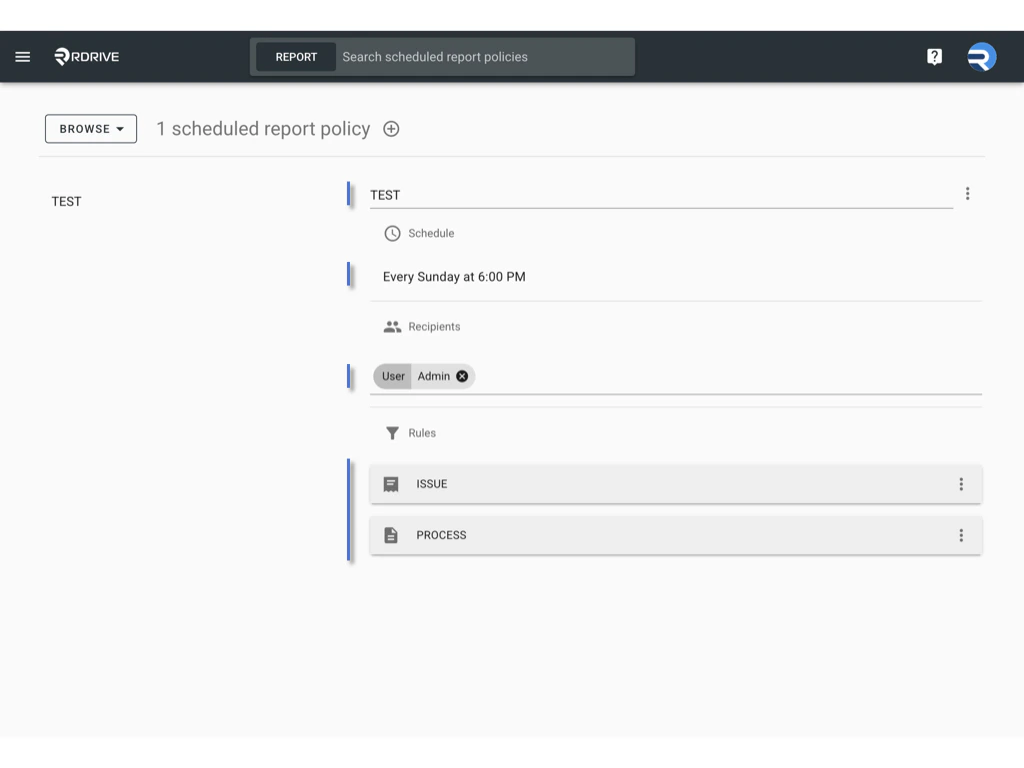
- Add Recipients by selecting user names, team names, or team tags.
-
Unfold ISSUE or PROCESS to define rules (see below).\

✅ Edit a Scheduled Report Policy
- Select the policy you want to edit.
-
You can update:
- Report title
- Schedule
- Recipients
- Email layout and download options
- Issue and Process rules
✅ Edit a Schedule
To edit the schedule of an existing report policy:-
Click the three-dot menu (︙) next to the policy.\
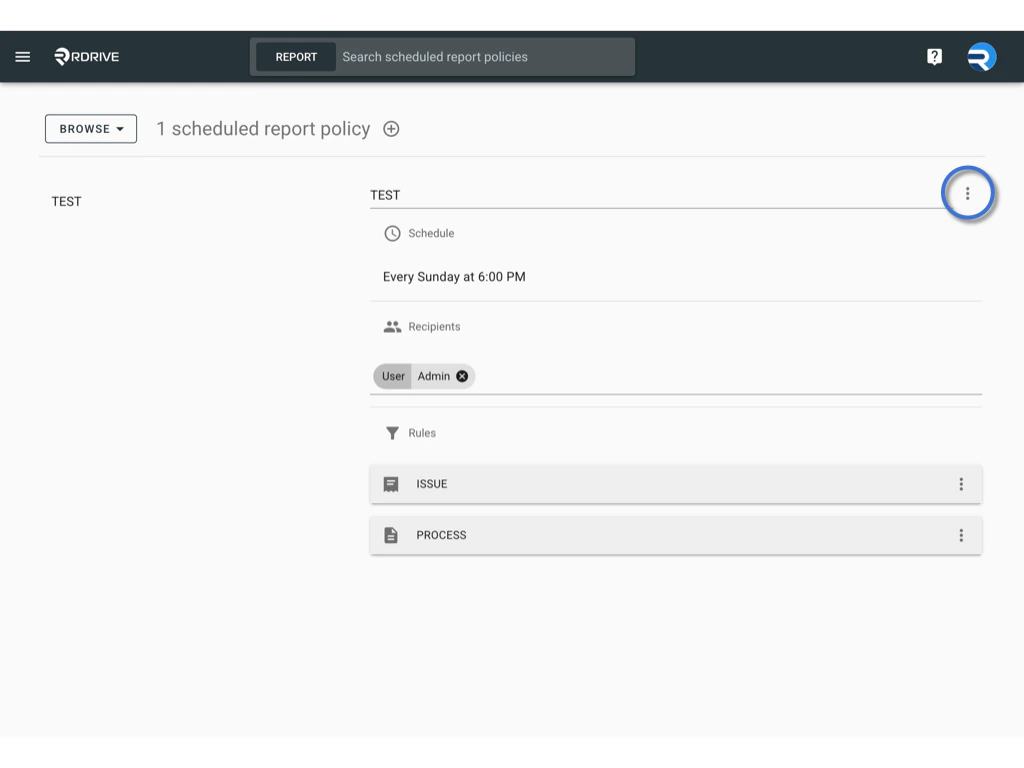
-
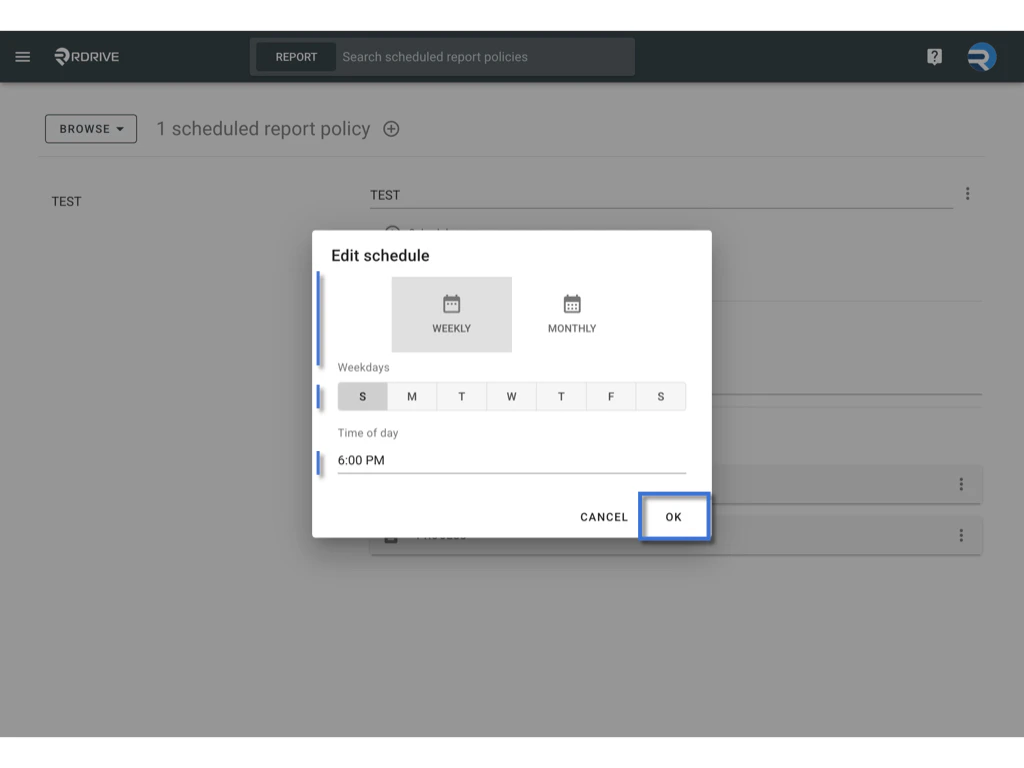
Select Schedule

- Update the report frequency:
- Daily: Select the day(s) and set the delivery time.
- Weekly: Choose one or more weekdays and specify the time.
- Monthly: Set the time. Reports will be sent on the 1st day of each month.
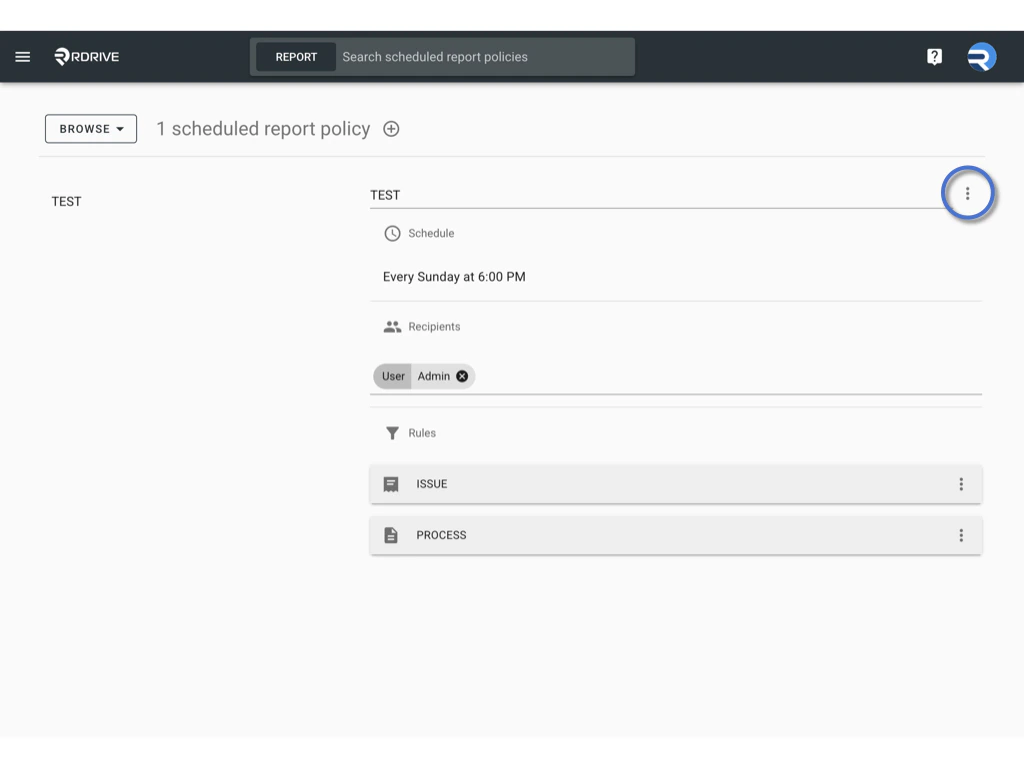
✅ Email Layout Options
To customize how data is grouped in the email report:-
Click the three-dot menu (︙) of the policy.
-
Select Email Layout Options.\
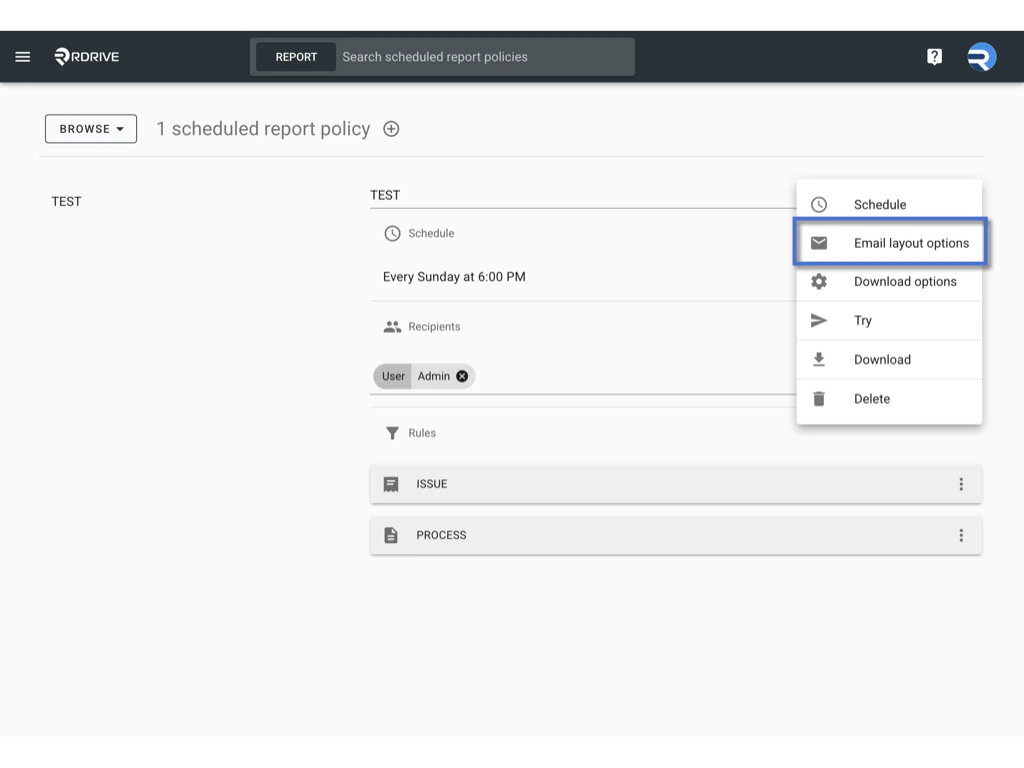
-
Choose how to group the breakdown chart (e.g., by Drawing Set, Drawing, or Location).\
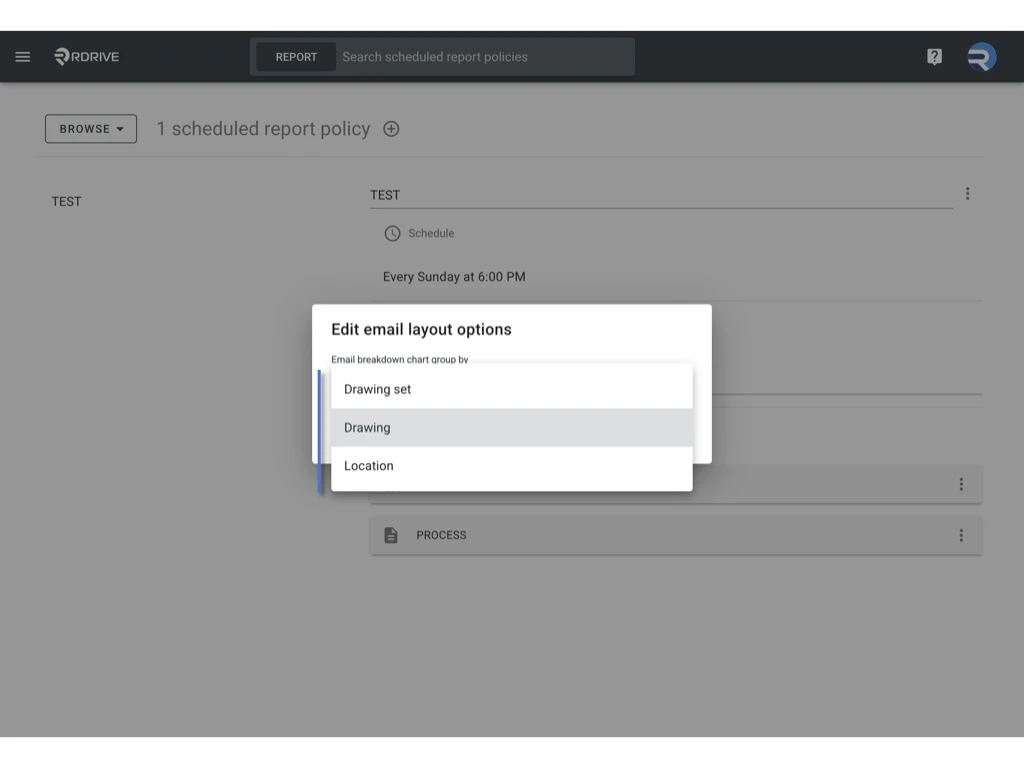
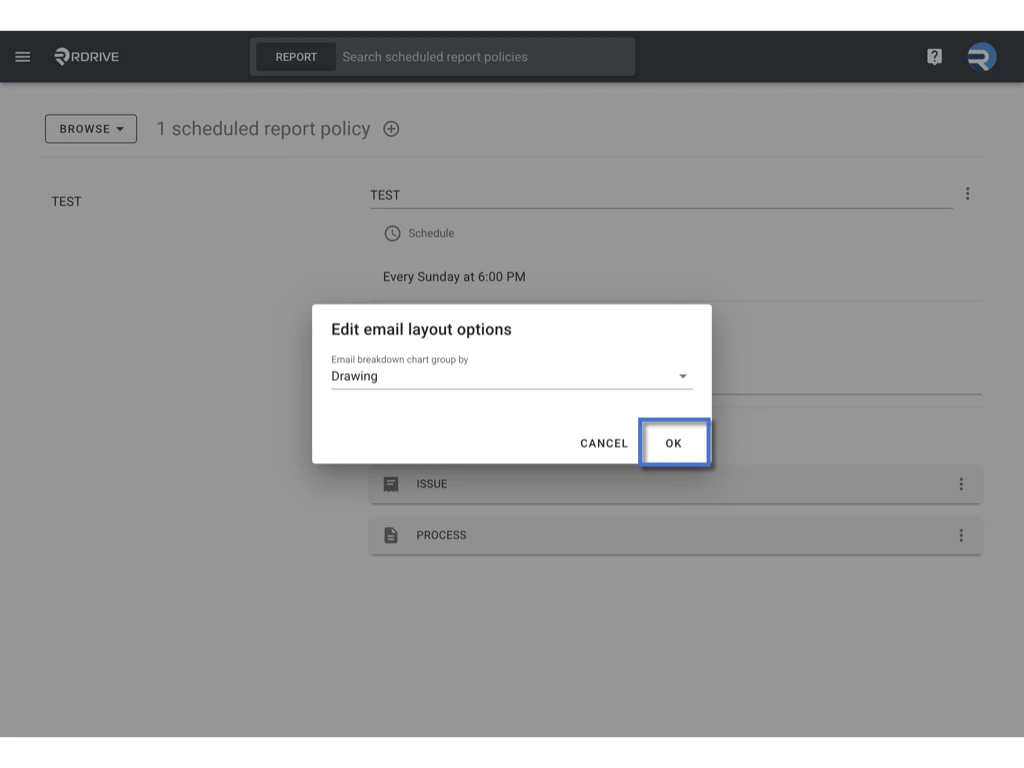
-
Click OK to confirm.\

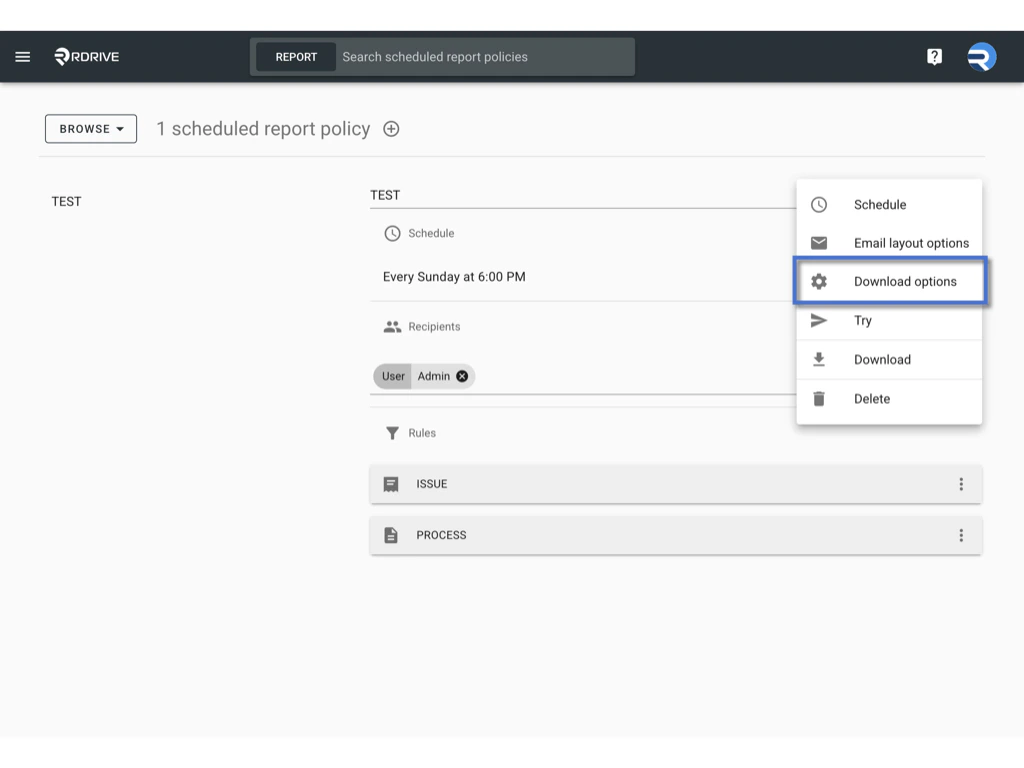
✅ Download Options You can define how the report is downloaded:
-
Click the three-dot menu (︙) of the policy.
-
Select Download options\
-
Choose to download as PDF (with or without a report configuration template), or as a CSV (using the data export template).\
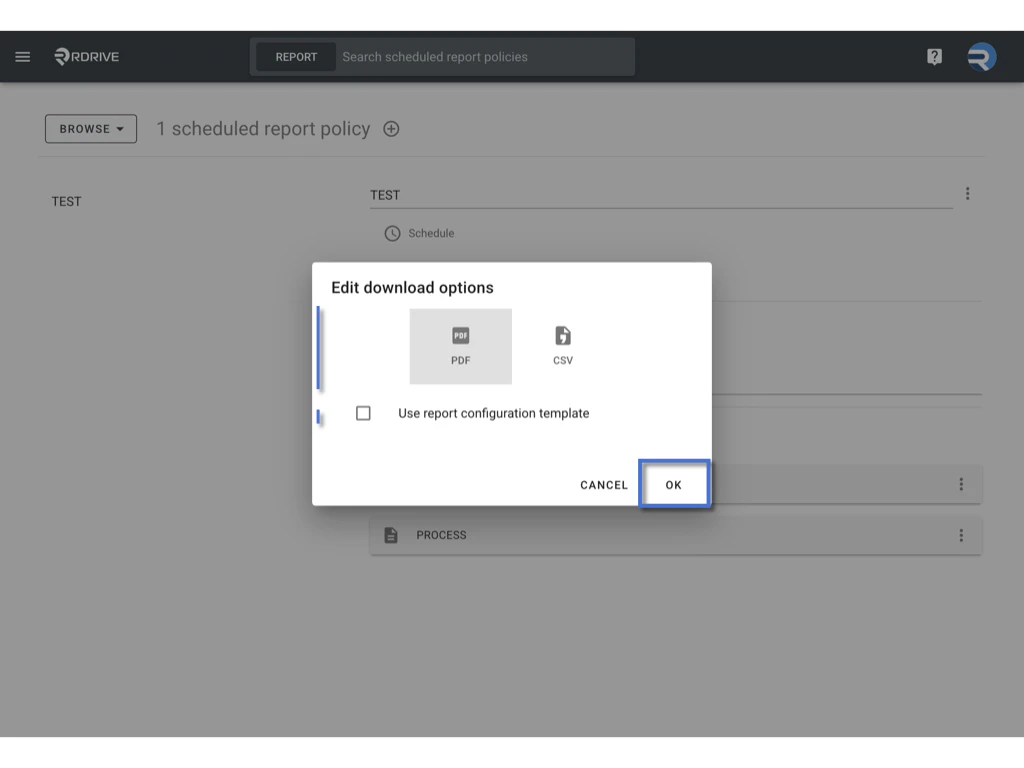
-
The download link will be included in the email.\
- Recipients can click the link to log in and start generating the report.
✅ Try
- Click the three-dot menu (︙) of the policy.\

- Use Try to preview the report before the schedule triggers.\
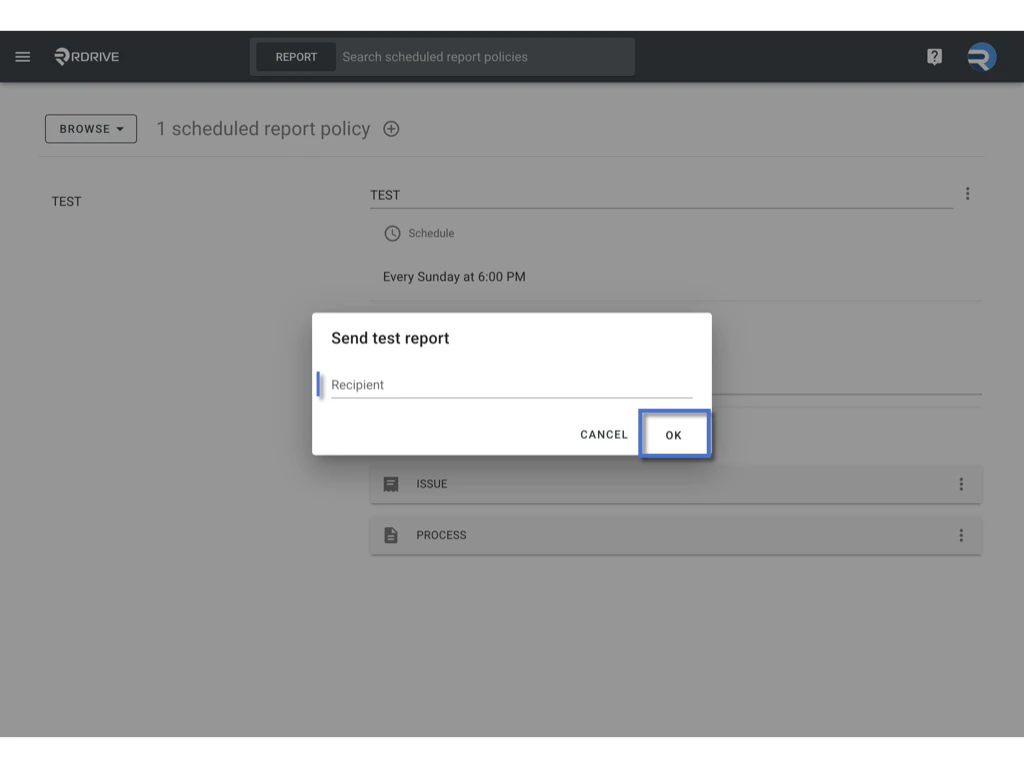
- Send a test report to yourself or selected users.
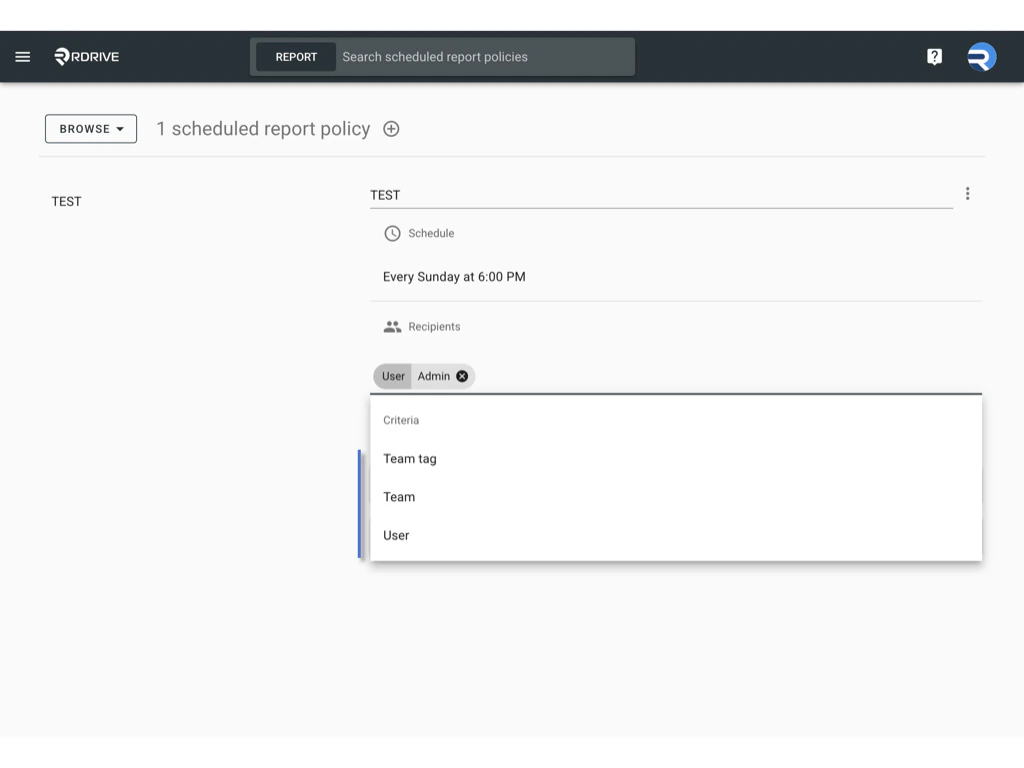
✅ Recipients
- Edit recipients by selecting user names, team names, or team tags.
 \
\
✅ Download
- Click the three-dot menu (︙) of the policy.
- Click Download to export the policy as a
.jsonfile.\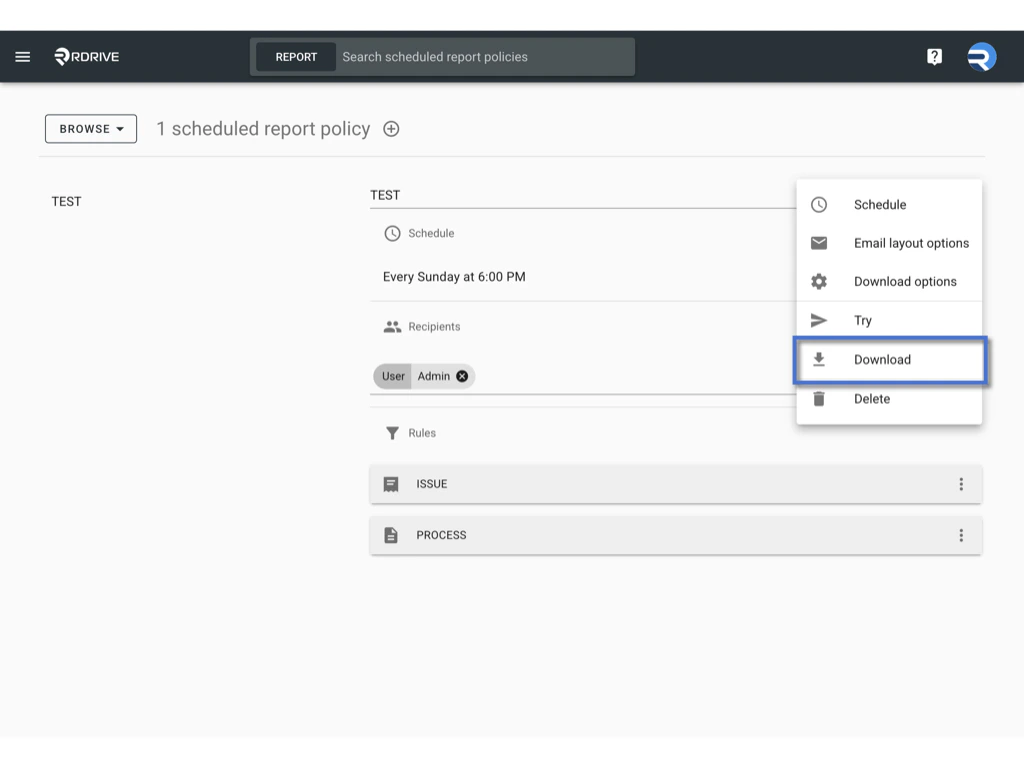
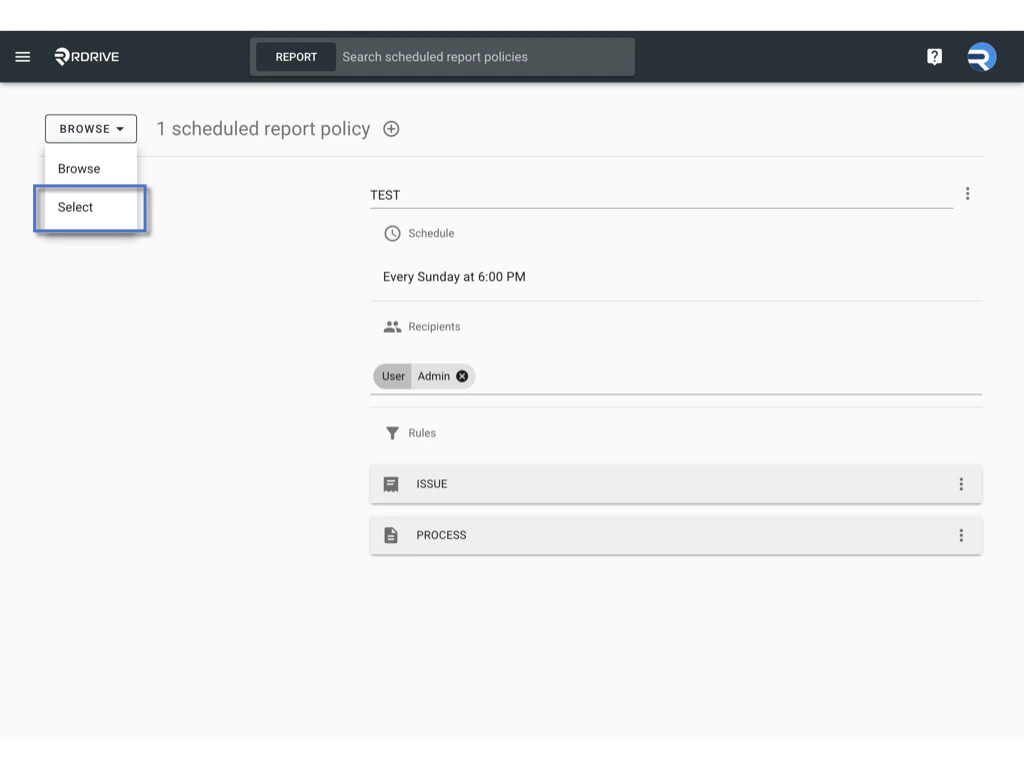
✅ Batch Download
-
Change the viewer to Select Mode.
 \
\
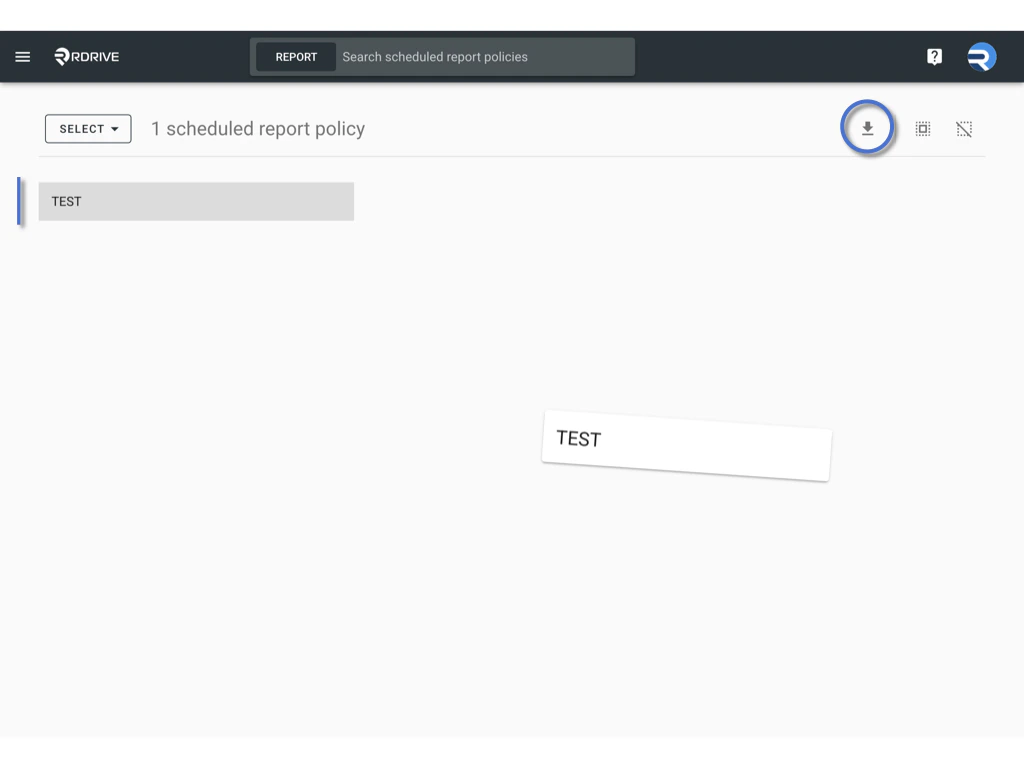
- Select multiple policies.
-
Click Batch Download icon to export them all at once.\
✅ Set Rules for Scheduled Reports
Each policy can be filtered using conditions to control what content is included.-
Under Rules, click ISSUE or PROCESS.\
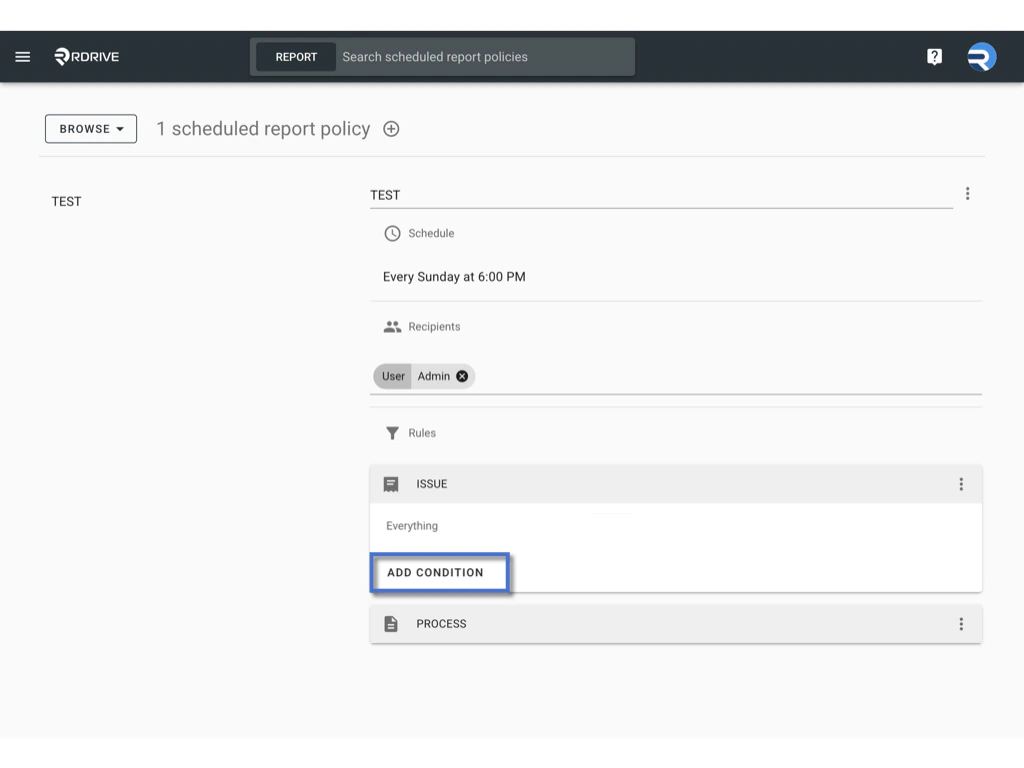
-
Click to add filters such as:
- Status
- Template
- Drawing set
- Location tag
- Assigned team
- Controlled team
- Created / Updated / Closed within report period
-
And more
 \
\
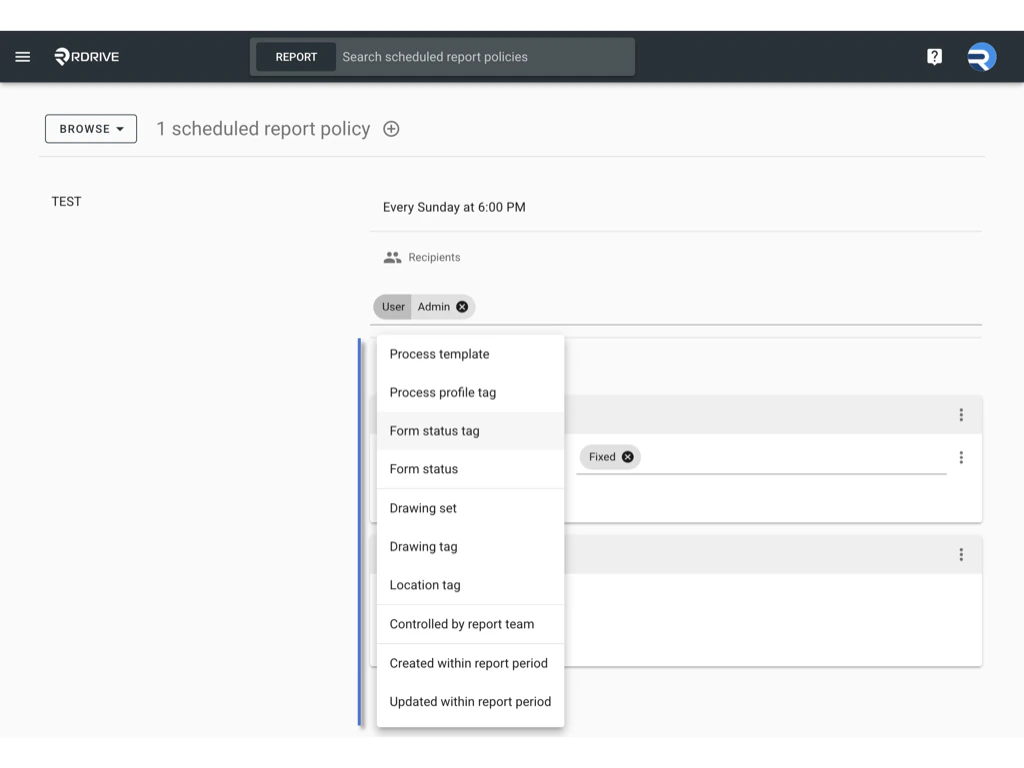
-
Use dropdown lists to select values.\

-
To remove conditions, click the three-dot menu (︙) next to the rule.
 \
\
✅ Upload a Scheduled Report Policy (.json file)
If you have previously downloaded a.json file of a scheduled report policy (e.g., for backup or sharing across projects), you can upload it to restore or reuse the settings:
- Click the Add (+) button to start creating a new policy.
-
At the bottom-right corner of the popup, click the UPLOAD button.\
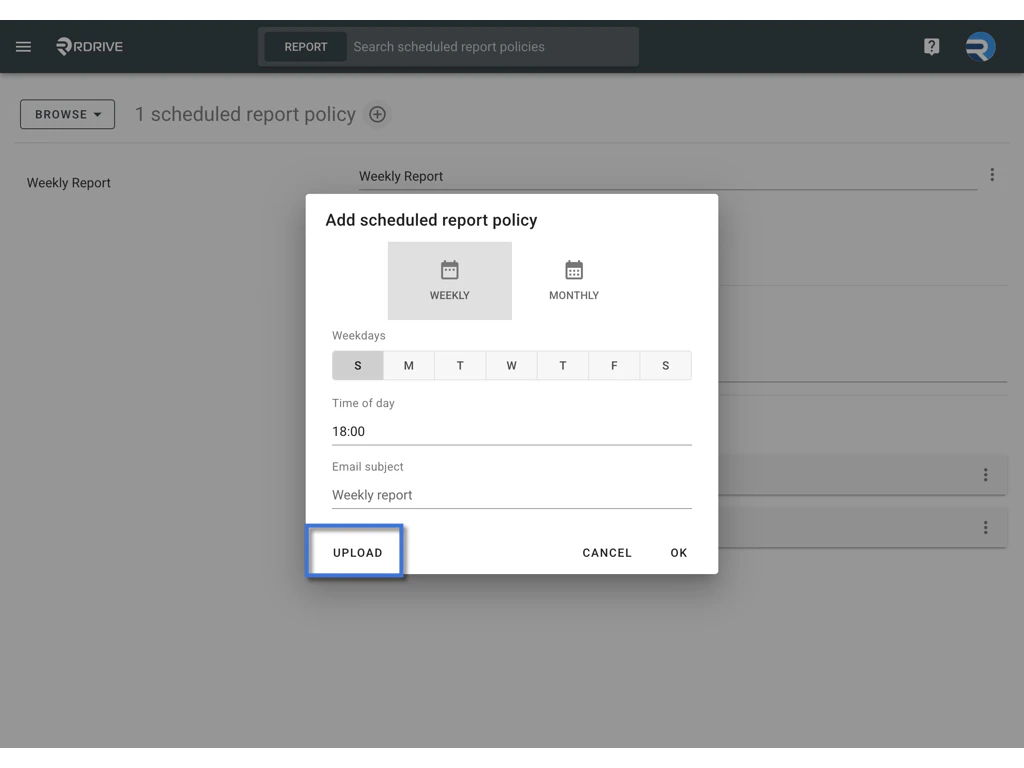
-
Select the
.jsonfile from your device.
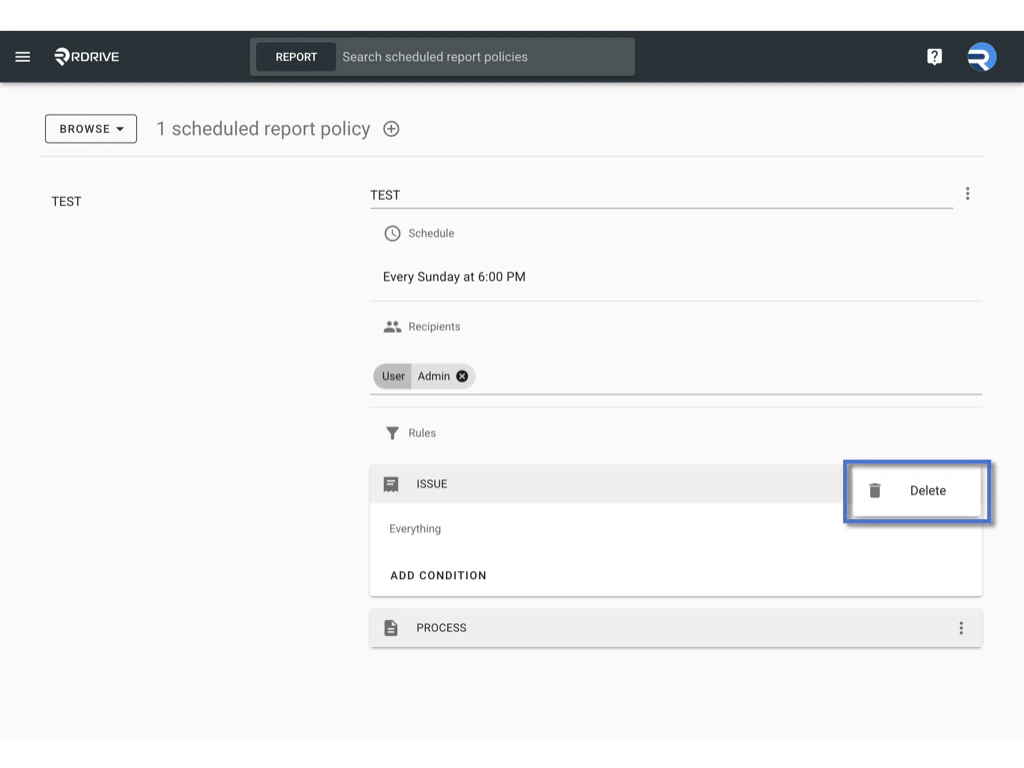
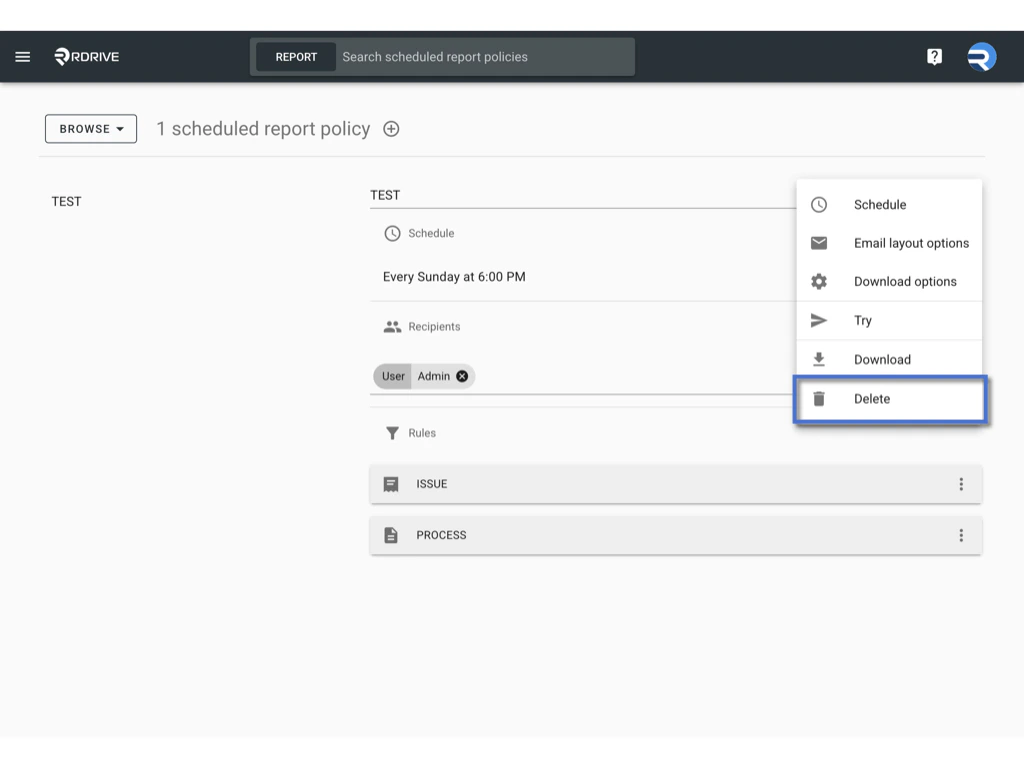
✅ Delete a Scheduled Report Policy
-
Open the three-dot menu (︙) of the policy.\

-
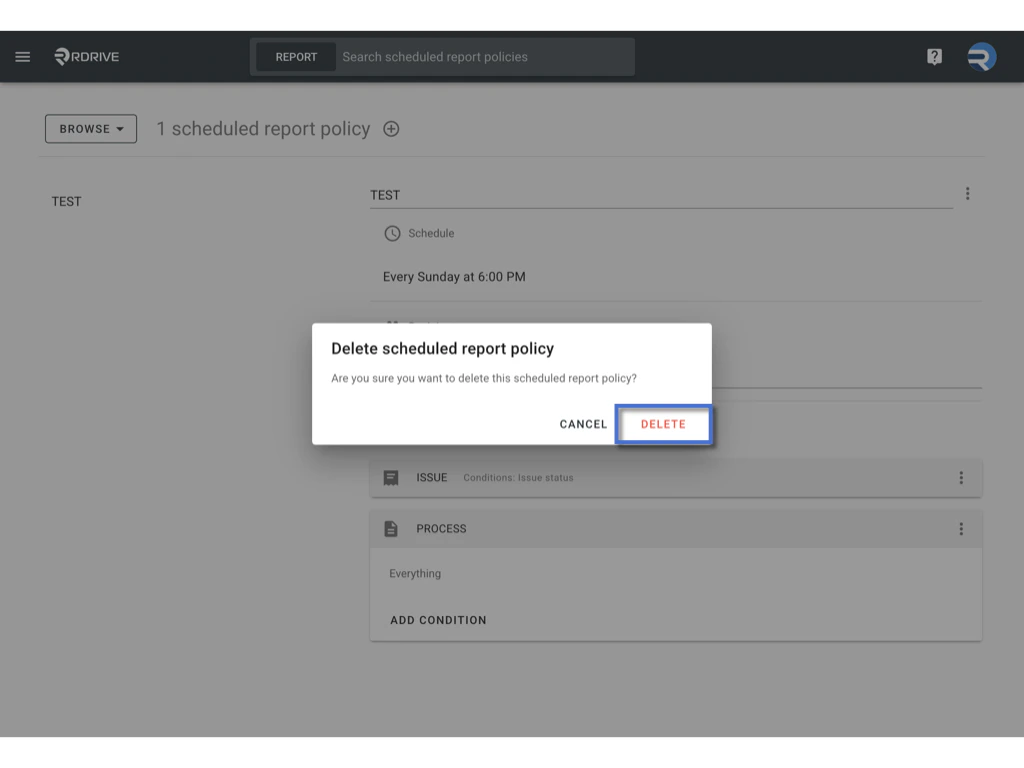
Click Delete.\
-
Confirm the deletion when prompted.\
FAQs & Troubleshooting
Q: Why didn’t I receive the scheduled report?
A: Please check the following:- The scheduled time has passed.
- You were correctly added as a recipient.
- Email settings are configured properly.
- Additionally, check the Email Log to verify if the report was sent.
Q: Can I schedule multiple reports?
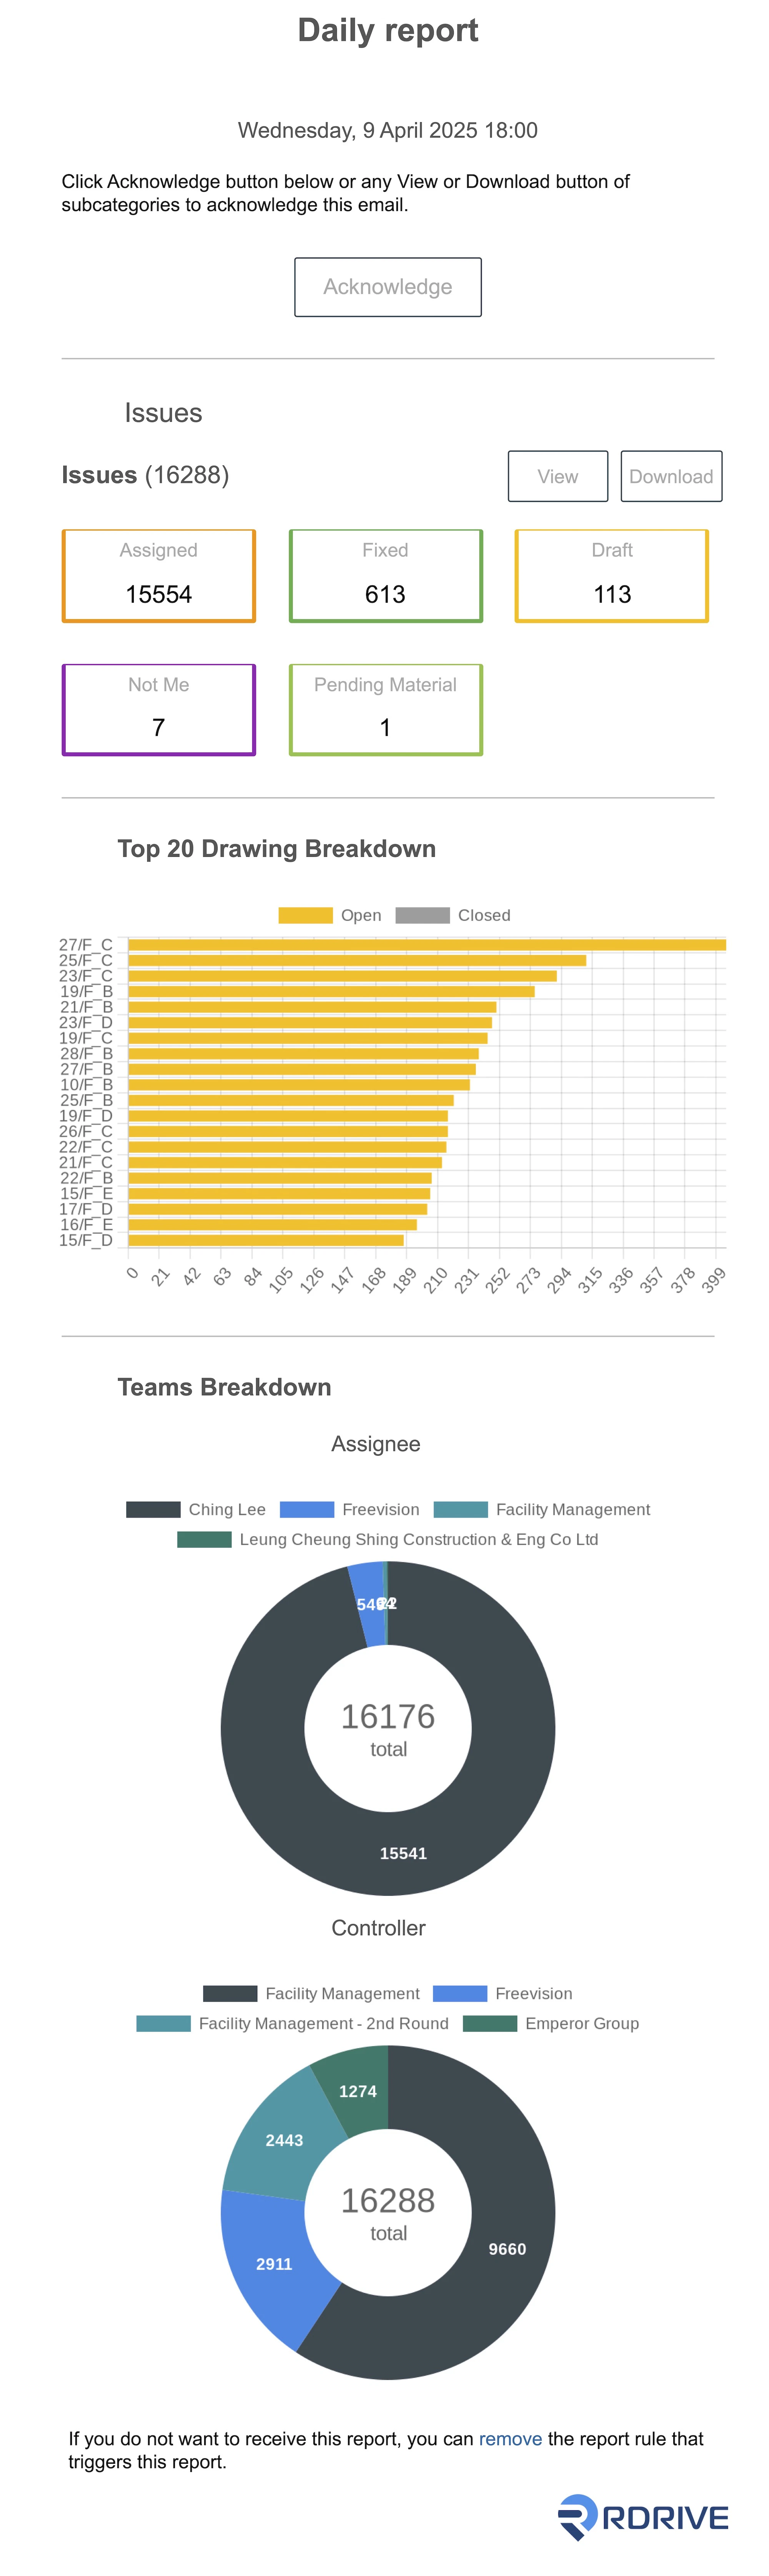
A: Yes, you can create as many report policies as needed, each with its own title, filters, and schedule.Q: Can I edit or stop a report after it has been scheduled?
A: Yes. You can open the report policy anytime to edit the title, schedule, recipients, rules, or layout. If you wish to stop the report, you can either delete the policy or remove all recipients to prevent it from being sent.Email sample: