Navigation Plan in RDrive
A Navigation Plan in RDrive is designed to enhance user experience and streamline project management within the platform. Below are the key benefits of utilizing a Navigation Plan:- Simplified Navigation:
Provides an organized method for easily locating project drawings and elements. - Adaptability:
Can be easily updated to reflect changing project requirements, ensuring users always have the most current information. - Visual Clarity:
Clearly outlines paths and key components, improving understanding in complex projects. - User-Friendly Interface:
Facilitates interaction for users of all skill levels with drawings and information.
How to Add a Navigation Plan
Creating a Navigation Plan is a straightforward process that can enhance your workflow. Follow these steps to add a Navigation Plan:-
Access the Main Menu:
Click the Menu icon (≡) in the top left corner of your screen to open the main menu.\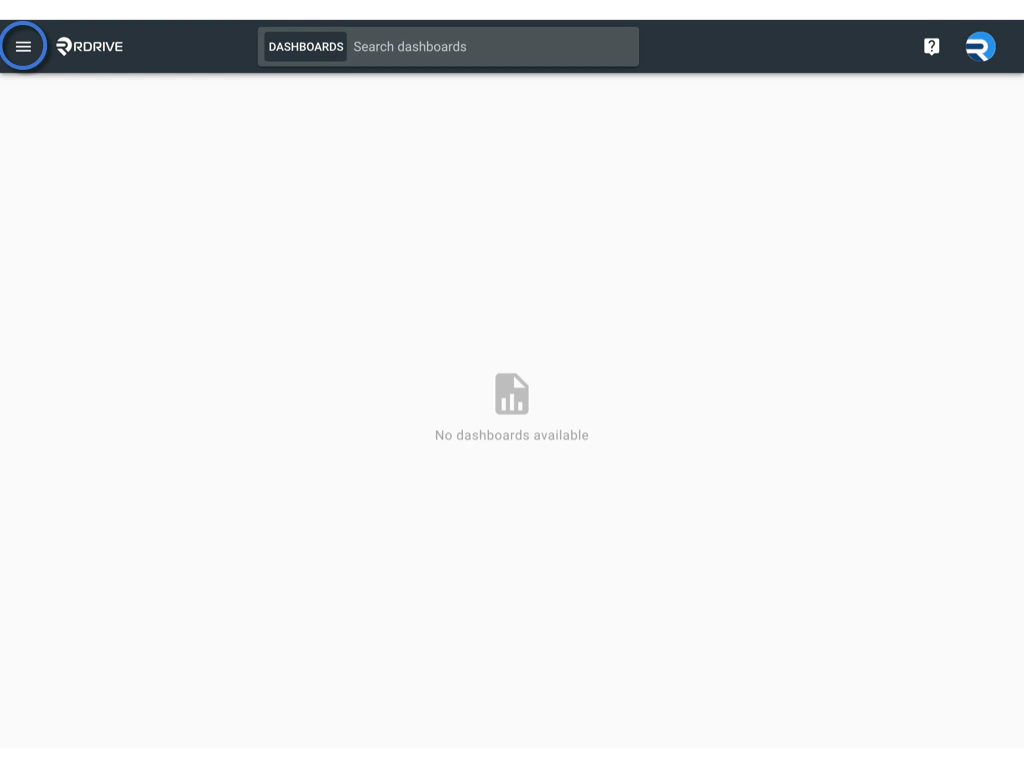
-
Navigate to Drawings:
From the main menu, go to Settings, then select Drawings.\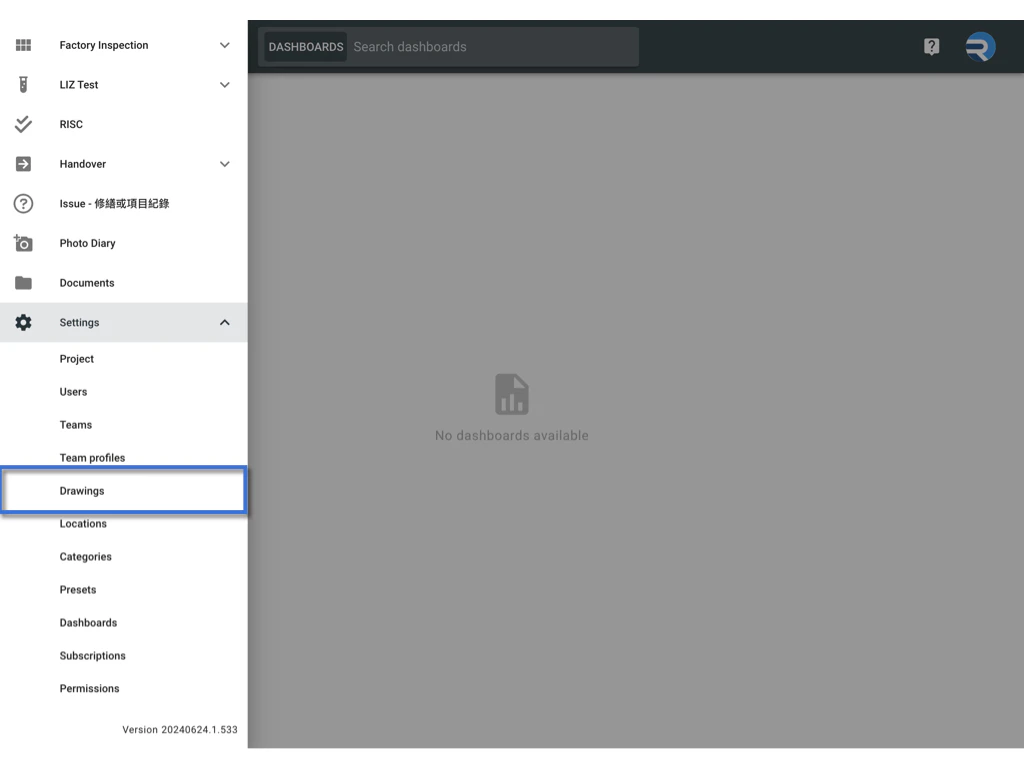
-
Add a Navigation Plan:
Press the + button to start the process of adding a new Navigation Plan.\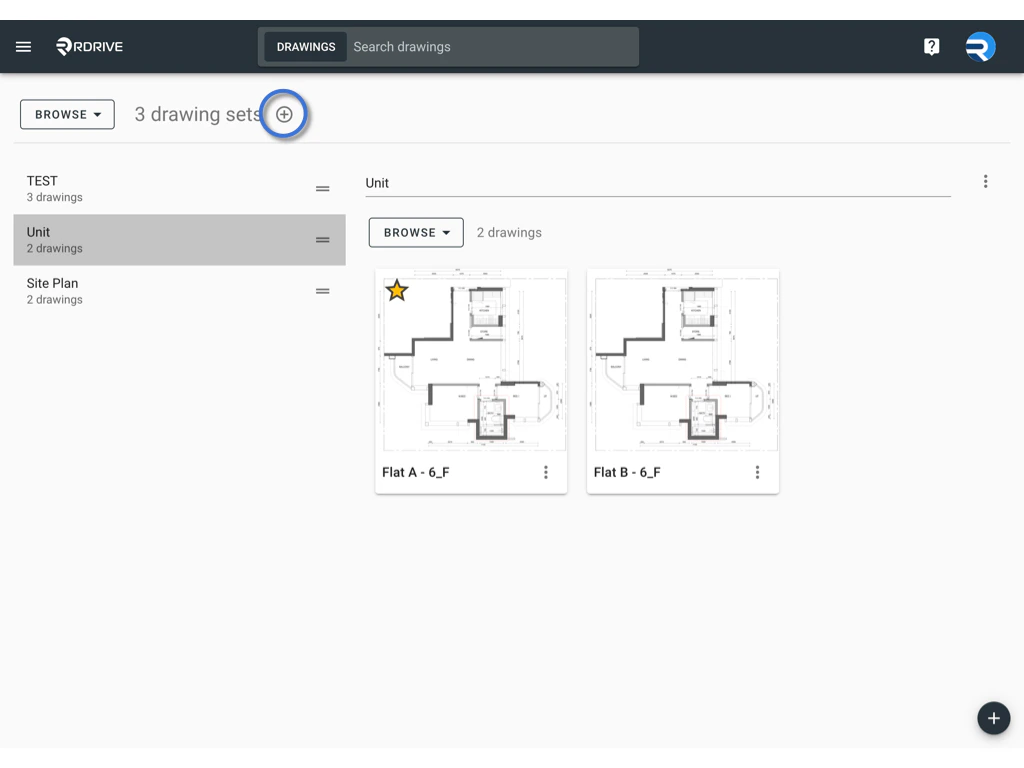
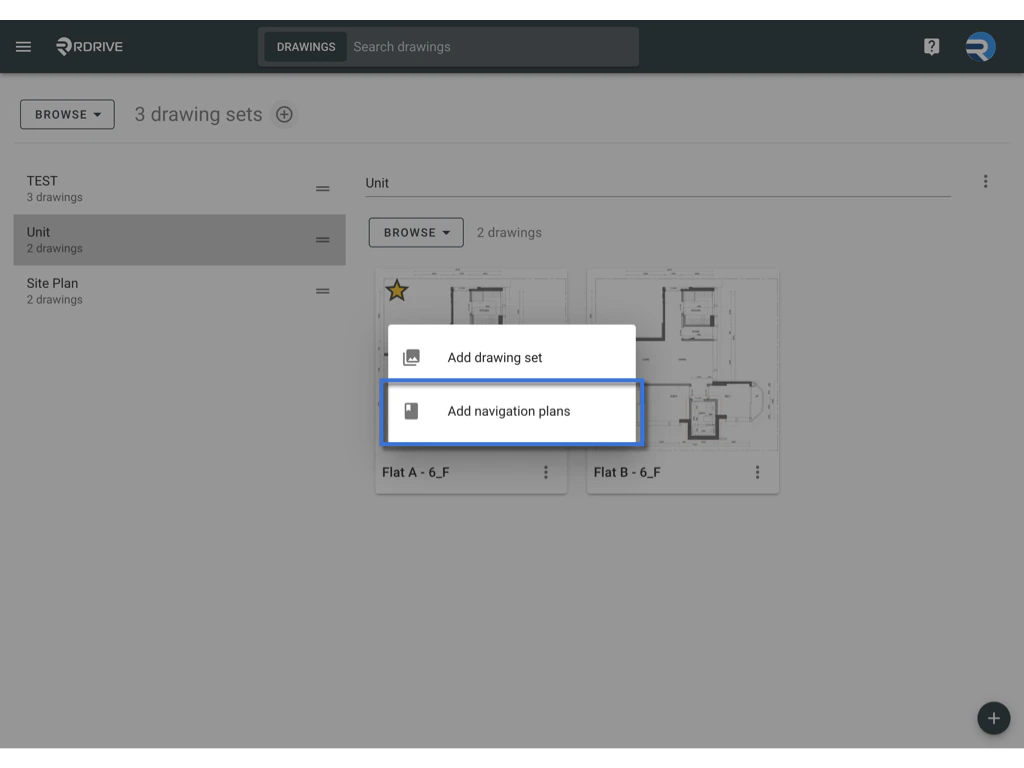
-
Edit and Confirm:
All drawing set titles will be listed here. Click OK if no adjustments are needed, or use the available functions to design the Navigation Plan.\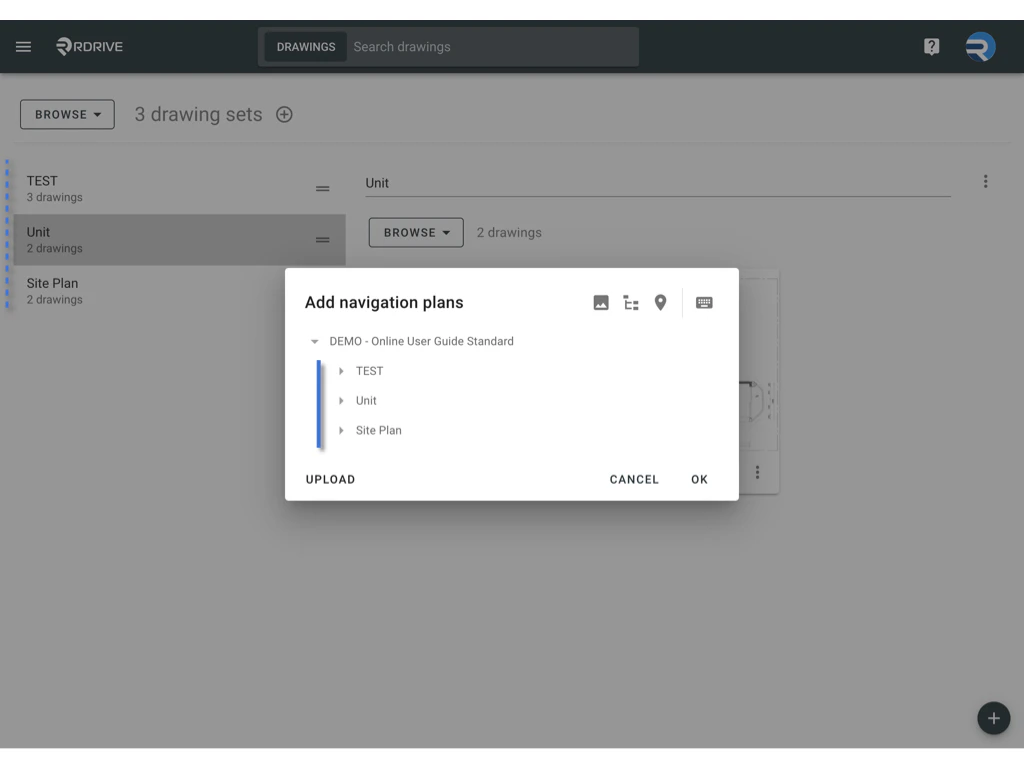
Upload Navigation Plan
If you already have a Navigation Plan downloaded from another source, you can upload the ZIP file here.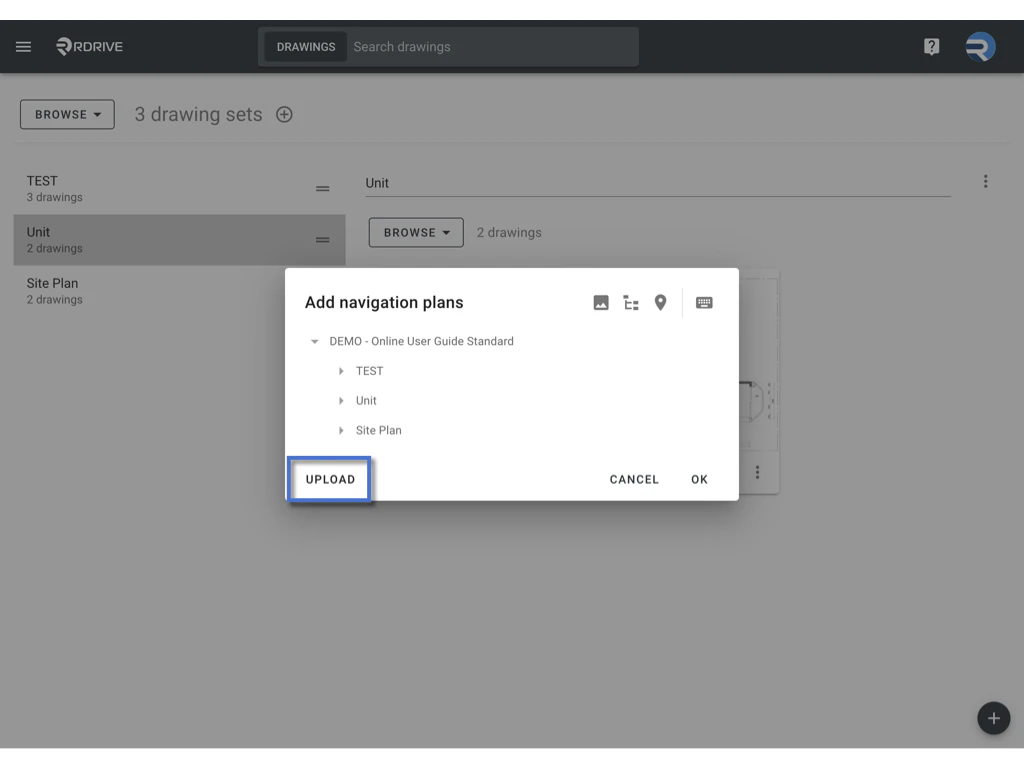
Design the Navigation Plan
To edit the Navigation Plan, you can use the functions to add locations or add navigation plan layers for storing drawings.
-
Add Location:
Place location pins on the Navigation Plan page instead of on the actual drawing. This is useful for projects that do not require a floor plan or site plan. Project administrators can easily add locations for storing items.-
Click on the Add Location button.

-
Input the location’s title.\
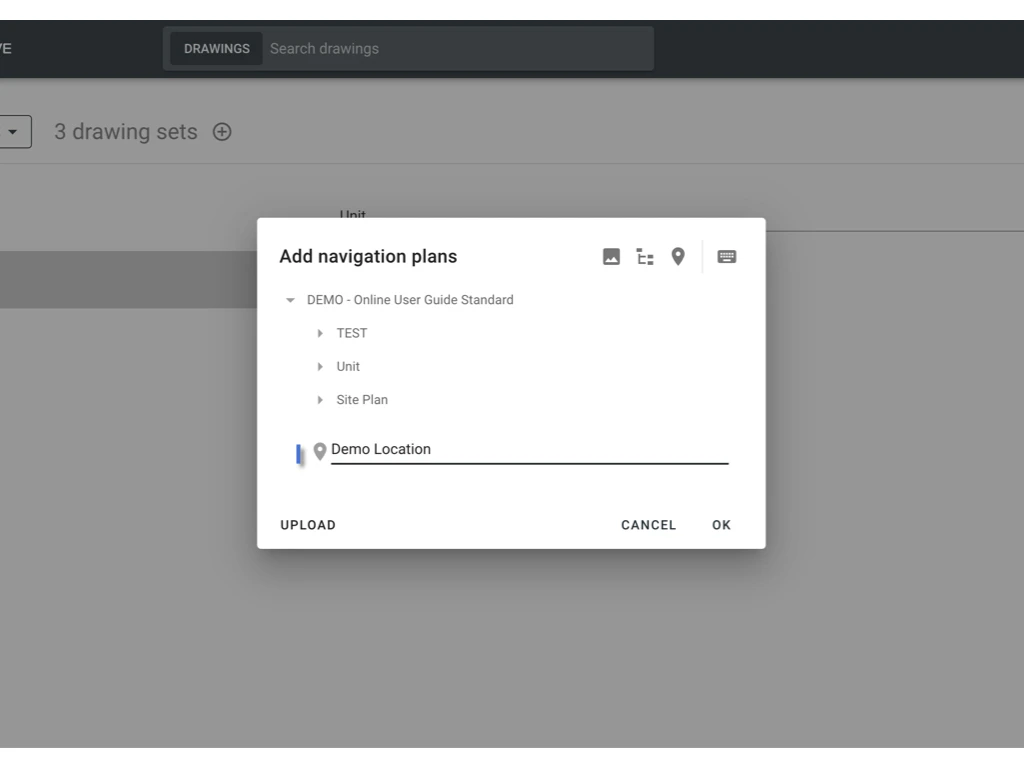
-
Click on any blank space to confirm, and click OK to confirm the edit.

-
Click on the Add Location button.
-
Add Navigation Plan Layer:
Add layers for the drawings to control the visibility of various components, enabling users to focus on specific elements without distractions. To add a new navigation plan, follow these steps:-
Click on the Add Navigation Plan button.

-
Input the navigation plan’s title.

-
Click on any blank space to confirm.

-
Click on the Add Drawing button.

-
Select the drawing set or drawing(s), then drag and drop them onto the navigation plan title to assign them.

-
Click OK to confirm the edit.
Here is an example:

-
Click on the Add Navigation Plan button.
-
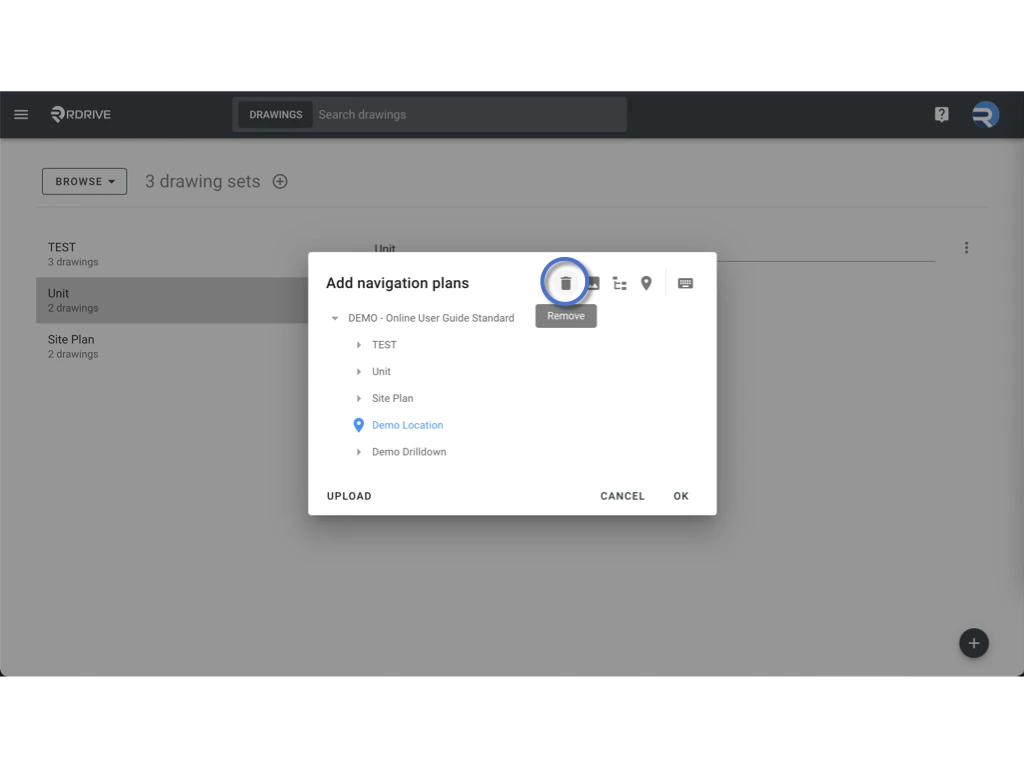
Remove a Navigation Plan or Location:
To remove a selected option from your Navigation Plan:- Click on the selected option (Text in blue).
- Click the Remove button to delete the selected item.