Overview
How to assign an issue/defect or record to a team or user
- Purpose: How to raise an issue, defect or form against a location on the app and desktop
- Who It’s For: General users, main contractors, item controllers
Prerequisites: Able to raise an issue, defect or record
Assigning to Team(s)
When assigning to a team, all members of the team will become participants. This means that they will all be able to see the issue/defect/record in question.
You can also set up subscription rules to automatically make the entire team or only certain members of the team become a subscriber whenever issues/defects/records are assigned to the team.
Assigning to Team + Team User(s)
When assigning to a user in the team, that user will become a subscriber so they will be notified of this. When subscribing, a user will simultaneously become a participant, so they will always be able to read whatever they are subscribed to.
To assign an issue/defect/record to a user, you must have the appropriate permissions to do so.
The issue/defect/record status will determine whether or not you are able to assign the issue/defect/record. For purposes of this example, we will show you what you can expect to see should your permissions allow.
Via Issue Finder
Simply press the Menu icon ≡ in the top left corner of your screen to unfold the Menu. Then select your chosen category and subcategory to get entry to the Issue/defect/record page.

 Once you have selected your issue/defect/record, you then click the Menu ≡ button on the right-hand side of your screen to expand the menu as circled below.
 Once the Menu has unfolded, simply press “Assign”, and the assigned details of your issue/defect/record enlarged within a window on your screen.
The current assignee (responsible party) will be shown on the assigned details within this window.
Once the Menu has unfolded, simply press “Assign”, and the assigned details of your issue/defect/record enlarged within a window on your screen.
The current assignee (responsible party) will be shown on the assigned details within this window.
 To amend the assignee, you press the “CHANGE” button as circled below.
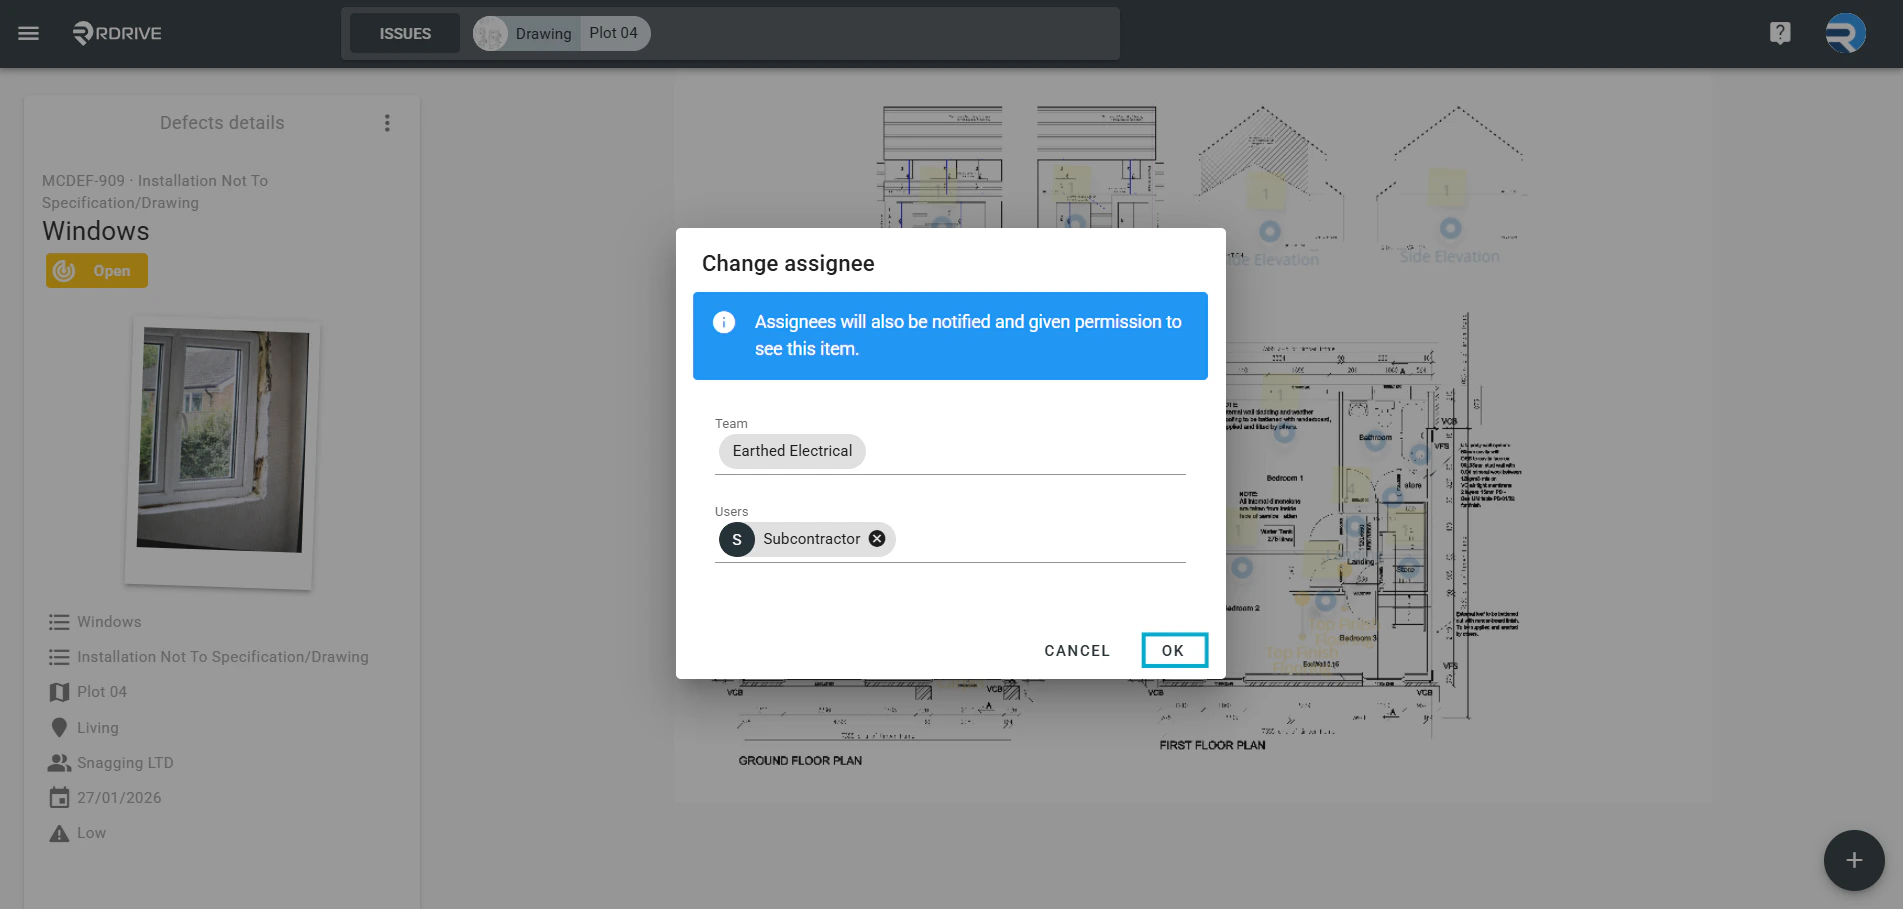
 Once you have selected “CHANGE”, the window will enlarge in the centre of your screen as shown below. Enter the appropriate Team/Team and User name to search for assignment.
Click OK to save and finish.
Once you have selected “CHANGE”, the window will enlarge in the centre of your screen as shown below. Enter the appropriate Team/Team and User name to search for assignment.
Click OK to save and finish.

via Plan Viewer
Press the Menu icon ≡ in the top left corner of your screen to unfold the Menu and access the Plan Viewer. Then you select the correct drawing.

 Click on the issue/defect/record pin as circled below, once selected the issue/defect/record details will be shown on the left-hand side of your screen. You can then press the ⋮ button at the top right corner.

 Once the Menu has unfolded, simply press “Assign”, and the assigned details of your issue/defect/record enlarged within a window on your screen.
The current assignee (responsible party) will be shown on the assigned details within this window.
Once the Menu has unfolded, simply press “Assign”, and the assigned details of your issue/defect/record enlarged within a window on your screen.
The current assignee (responsible party) will be shown on the assigned details within this window.
 The current assignee (responsible party) will be shown on the assigned details within this window.
To amend the assignee, you press the “CHANGE” button as circled below.
The current assignee (responsible party) will be shown on the assigned details within this window.
To amend the assignee, you press the “CHANGE” button as circled below.
 Once you have selected “CHANGE”, the window will enlarge in the centre of your screen as shown below. Enter the appropriate Team/Team and User name to search for assignment.
Click OK to save and finish.
Once you have selected “CHANGE”, the window will enlarge in the centre of your screen as shown below. Enter the appropriate Team/Team and User name to search for assignment.
Click OK to save and finish.