Overview
A brief introduction explaining the purpose of this guide.- Purpose: This guide explains how to update the status of an issue, defect, or record in RDrive. It includes methods for making edits, changing status only, and using Review mode for quick updates.
- Who It’s For: General users, project team members, inspectors, and coordinators involved in managing issues and defects.
Prerequisites:
Access to RDrive (app or desktop)
Appropriate permissions to edit or update statuses
Knowledge of the category/subcategory where the record exists
Understanding of your team’s status flow process
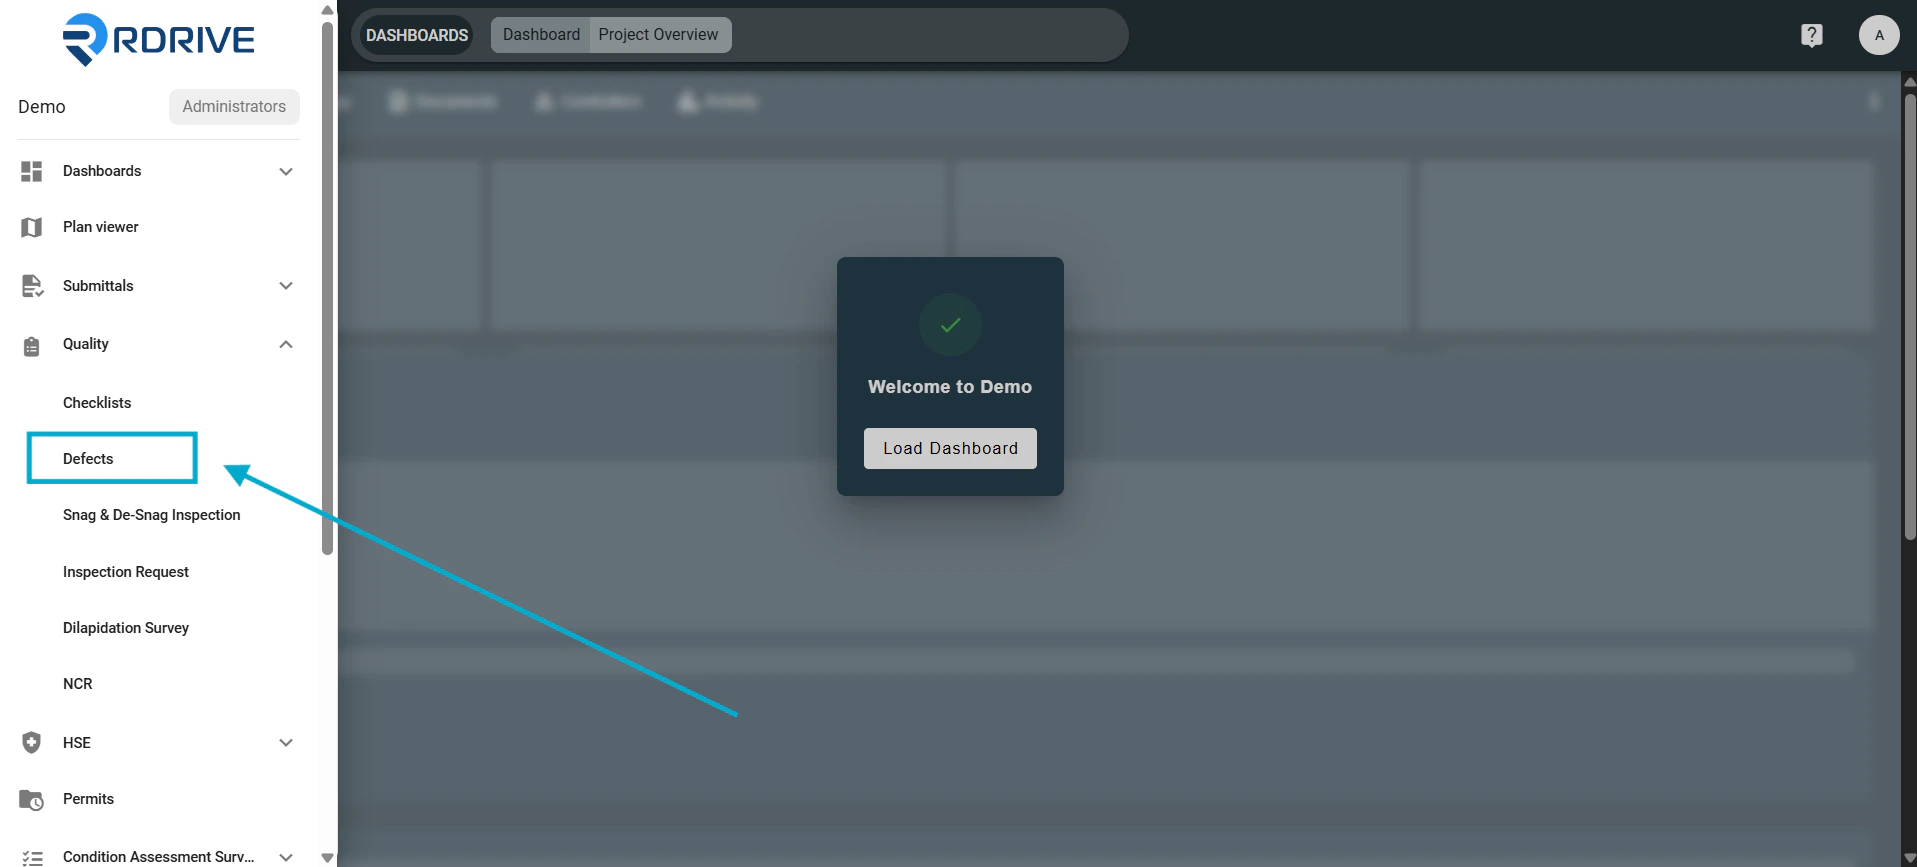
Updating via Plan Viewer
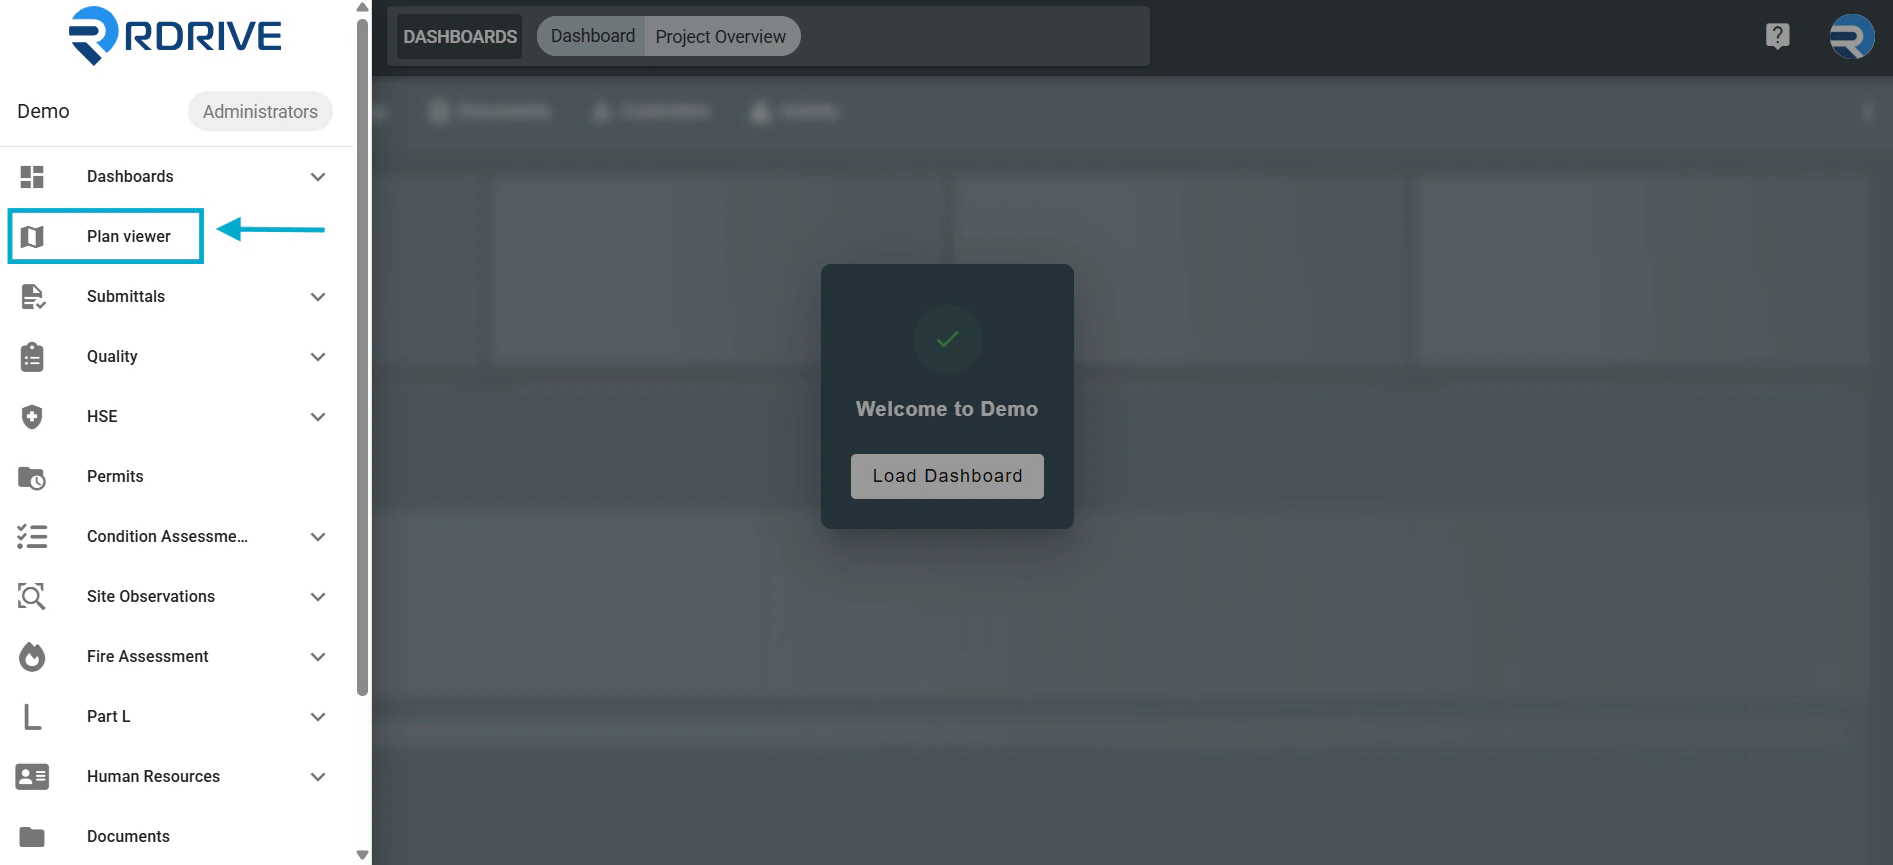
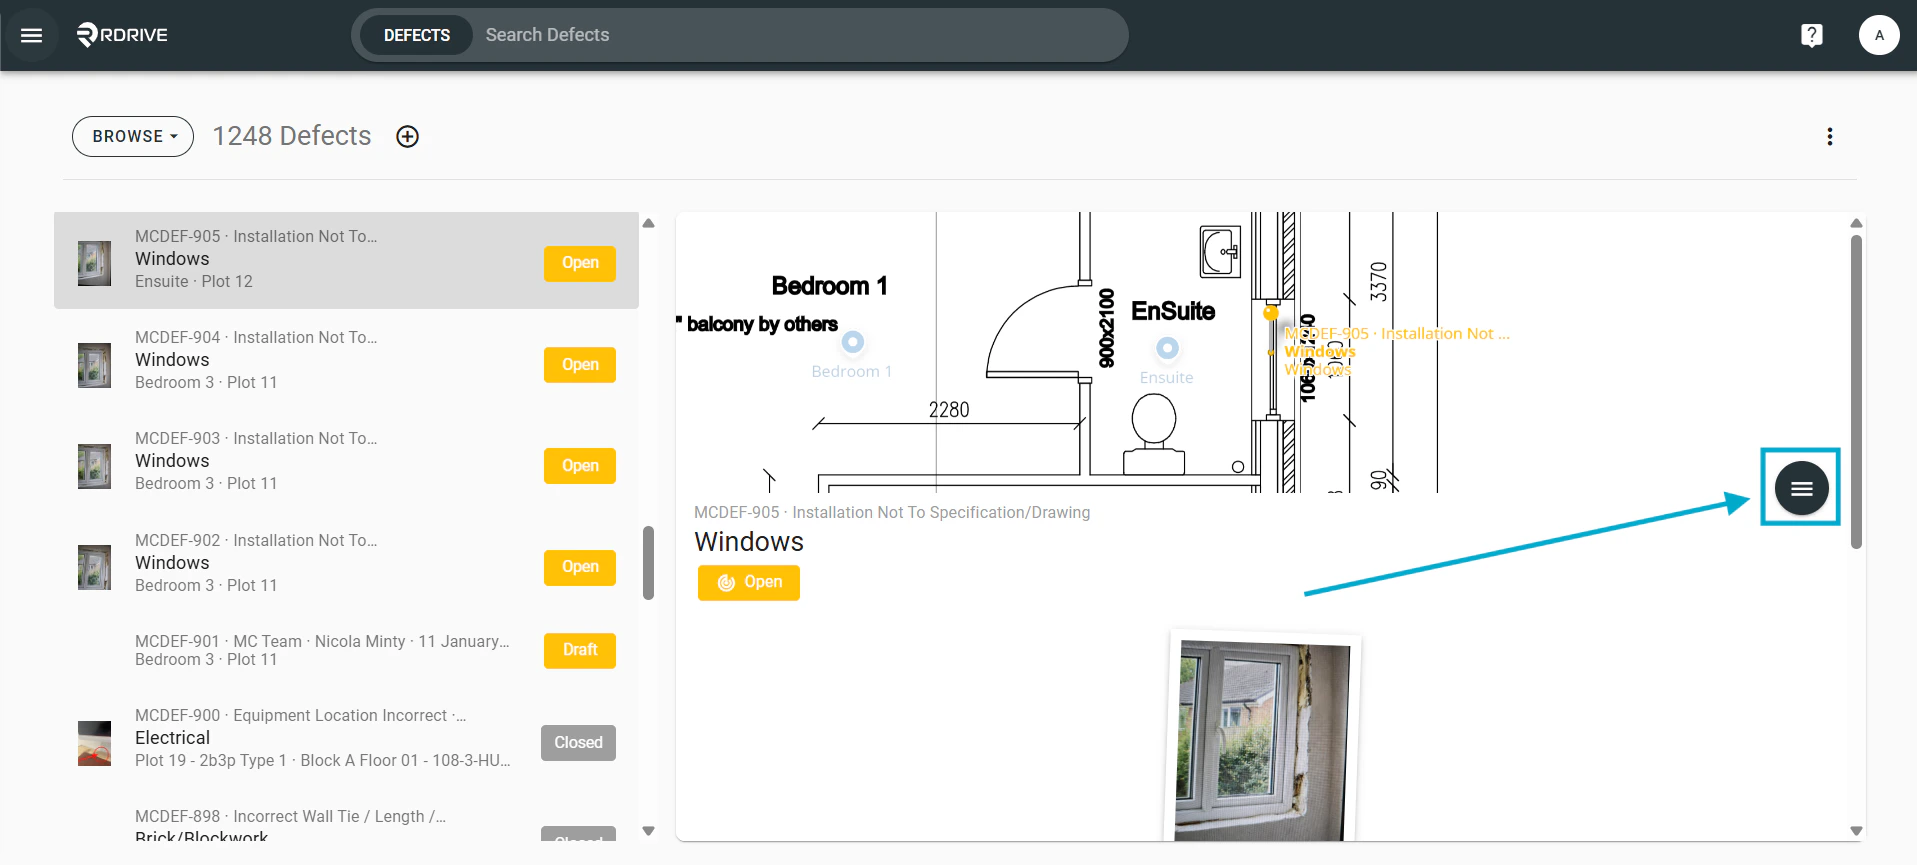
Press the Menu icon ≡ in the top left corner of your screen to unfold the Menu.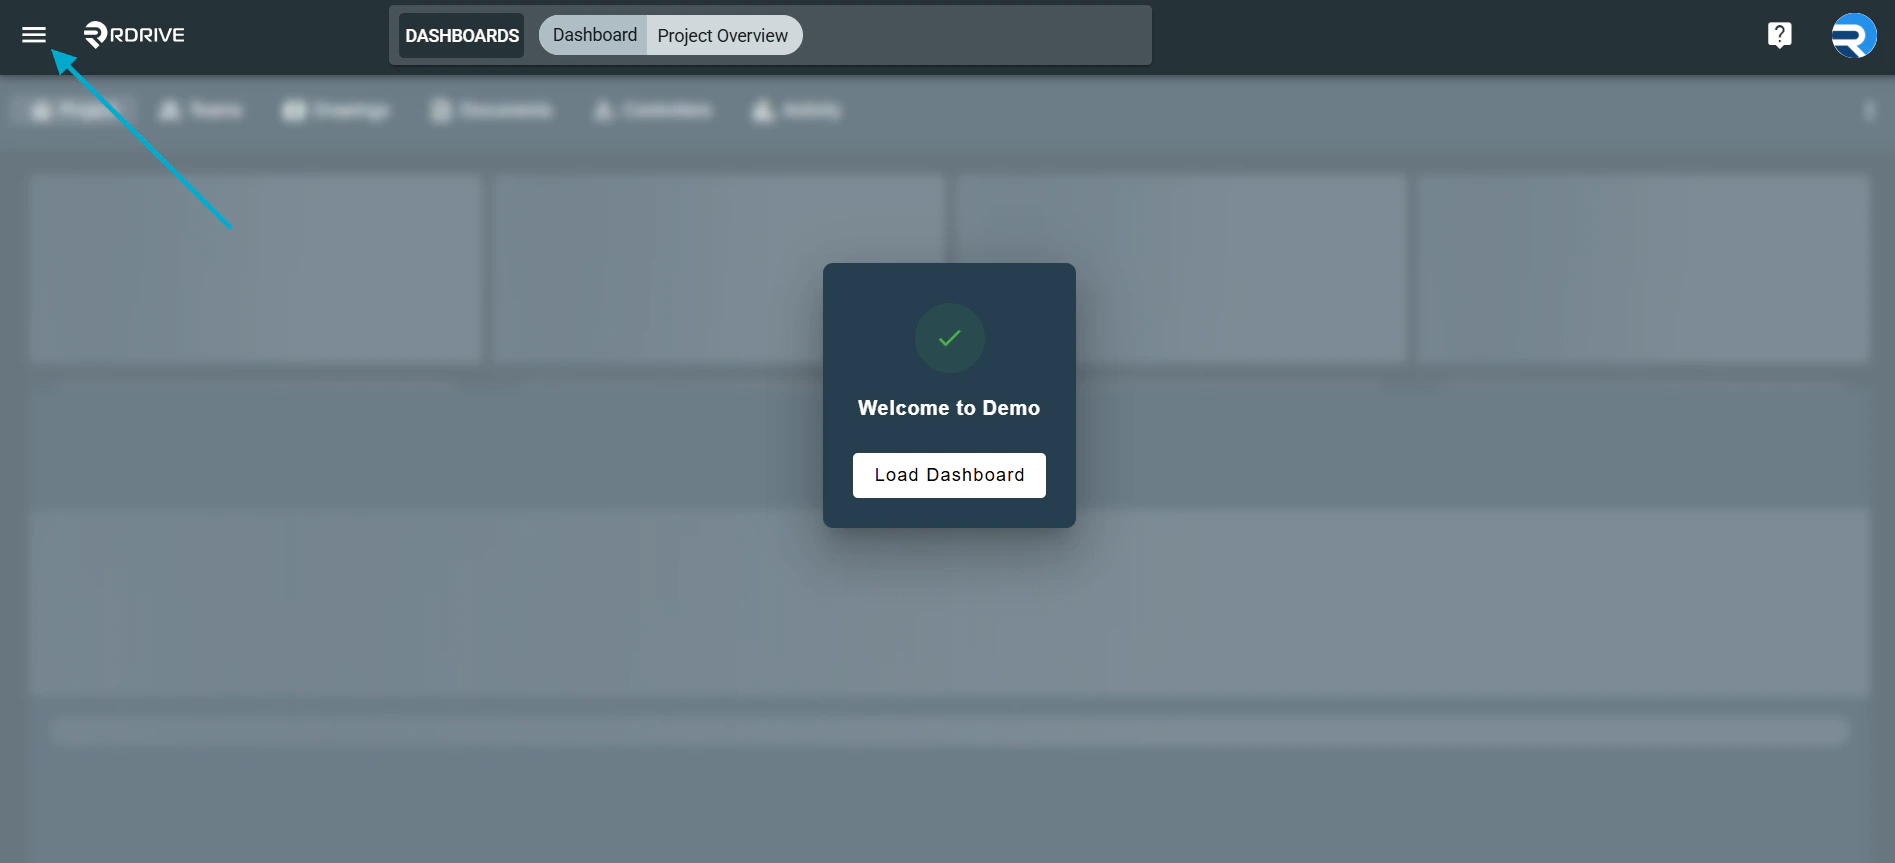
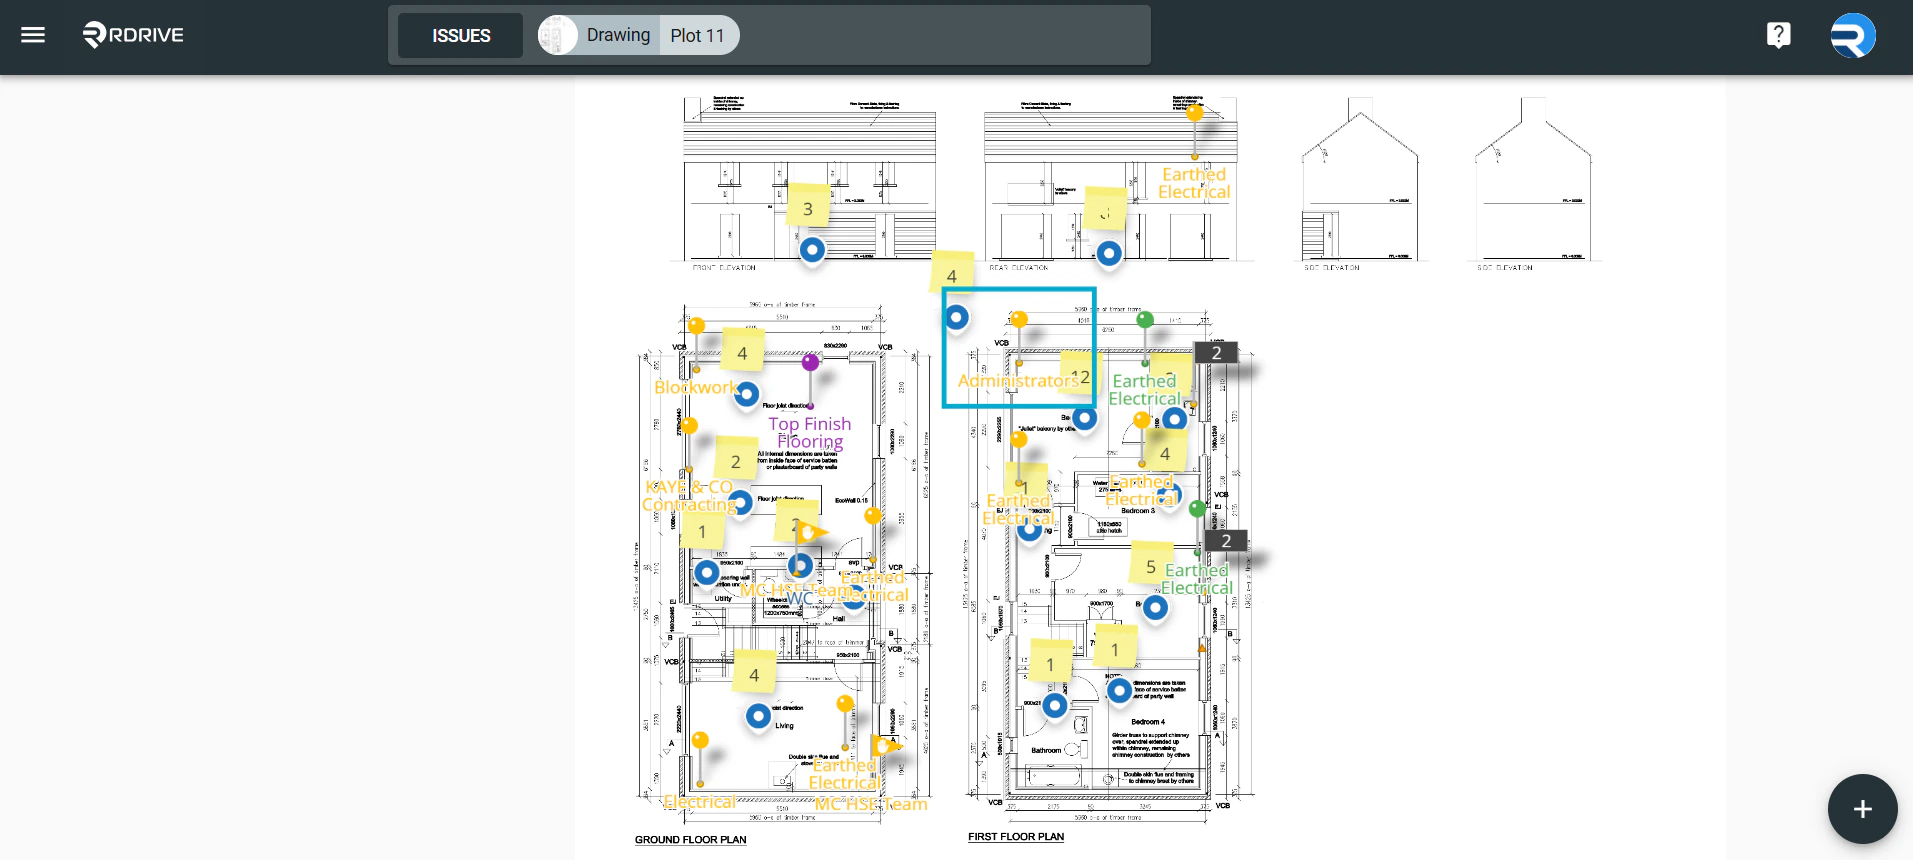
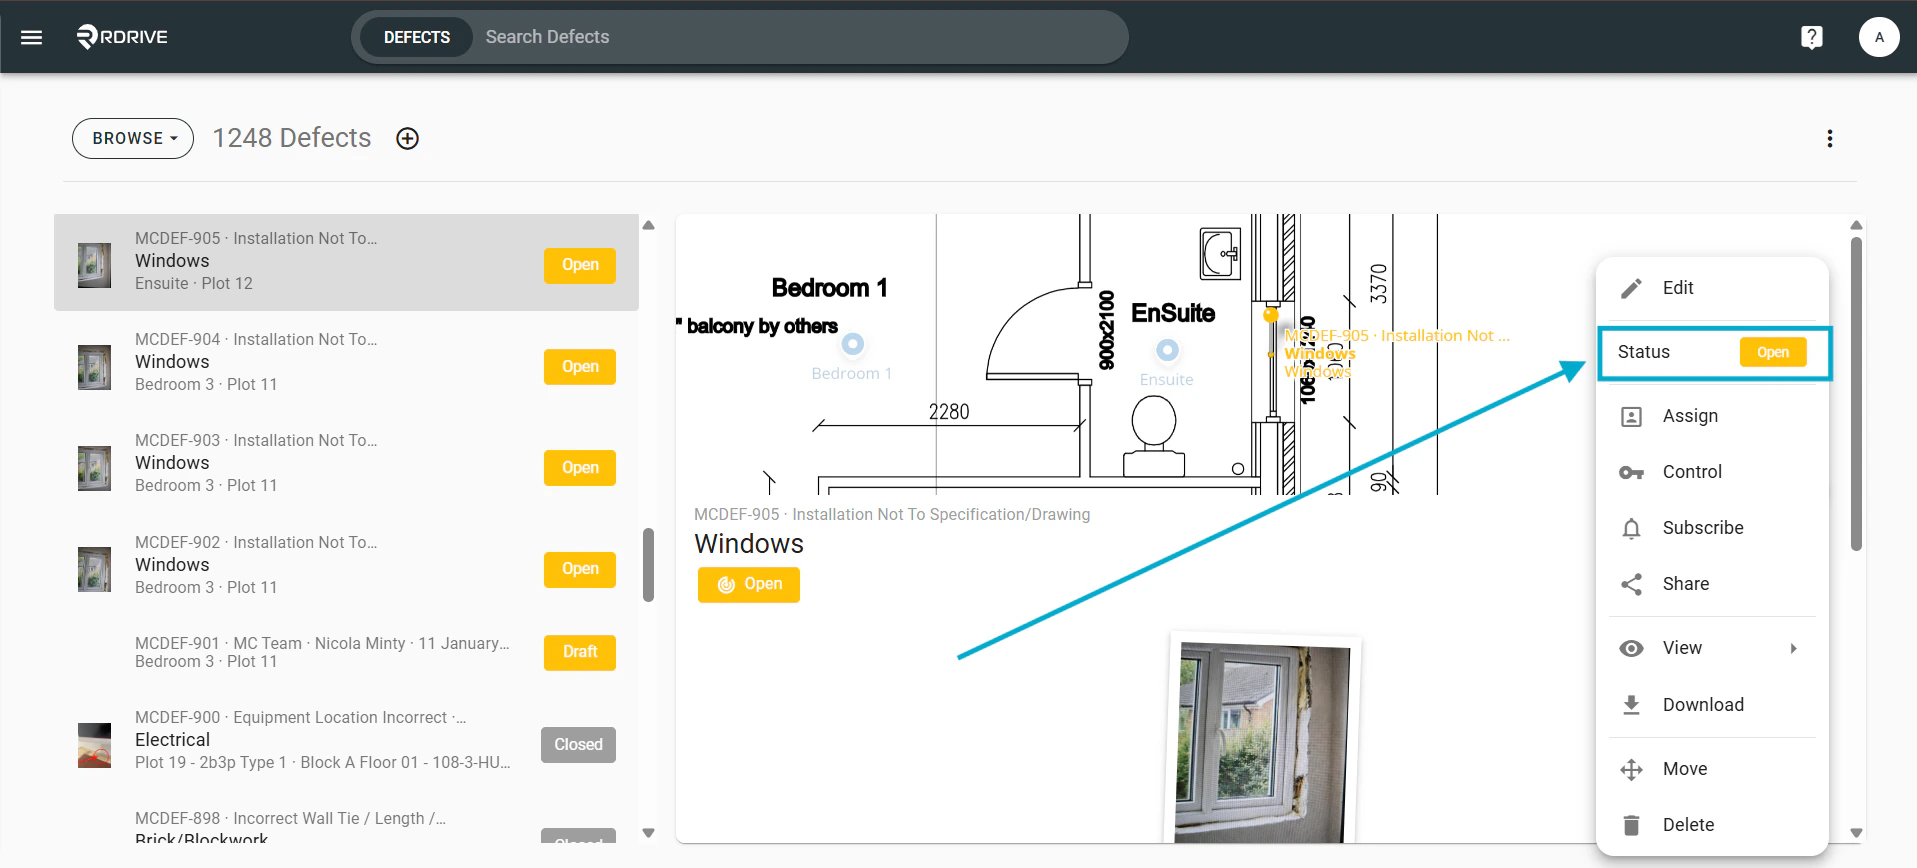
From the menu, select Edit.
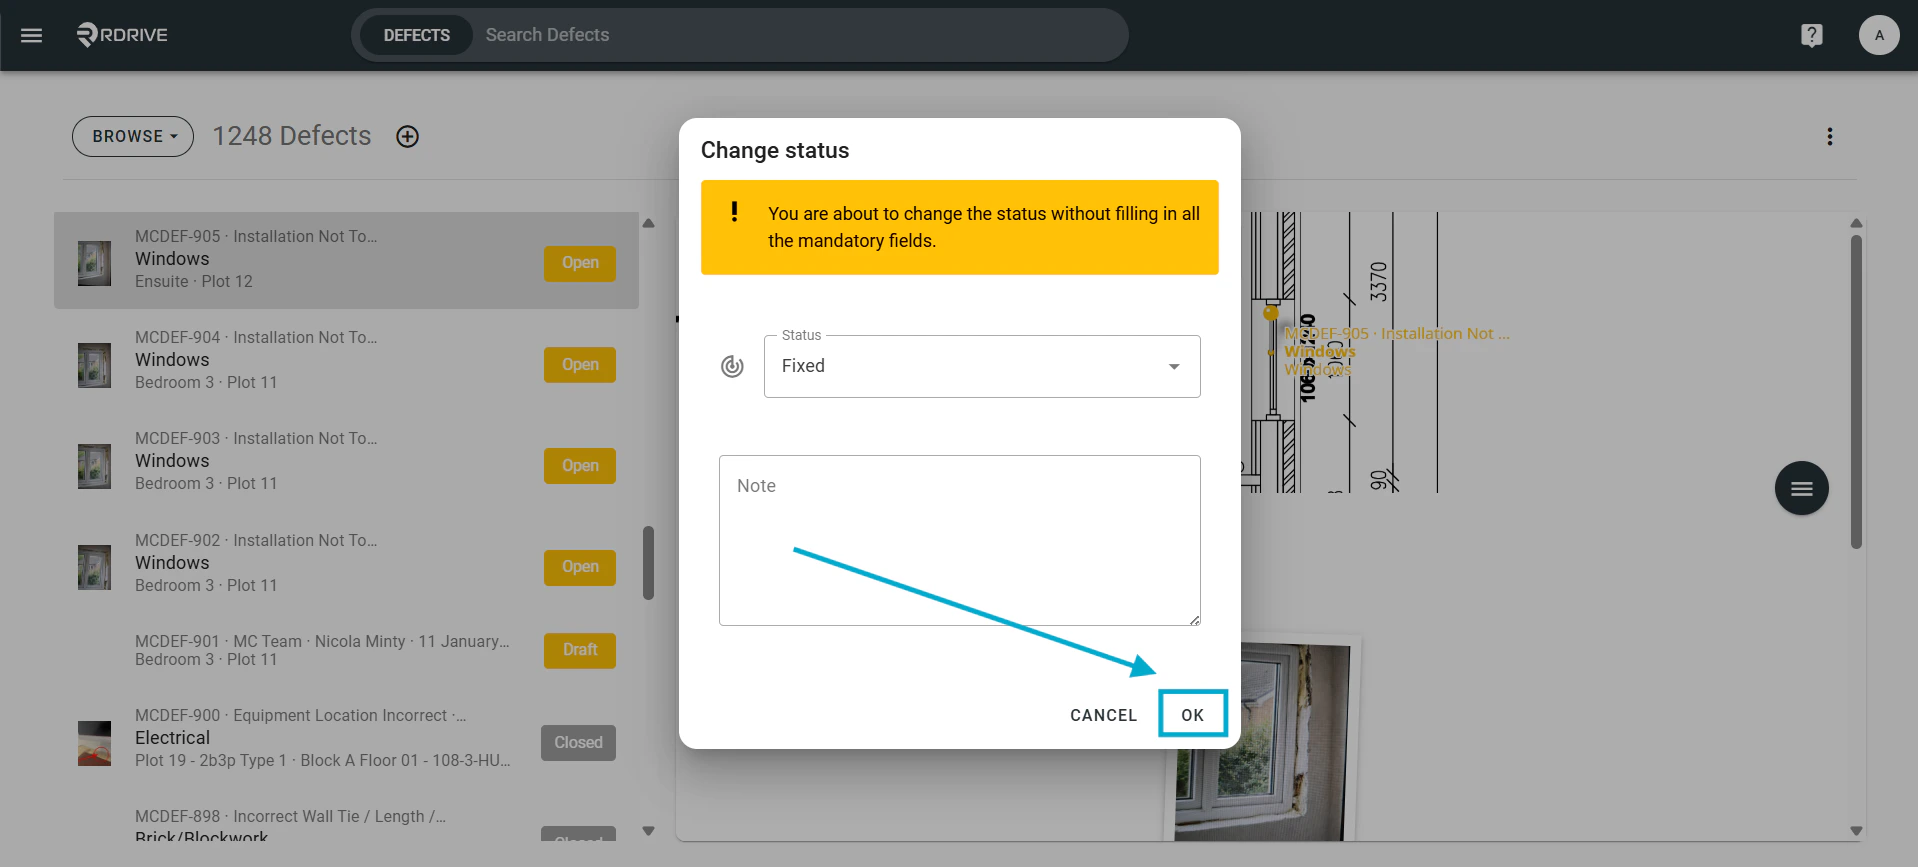
 Make any required changes, click OK to save and close.
**
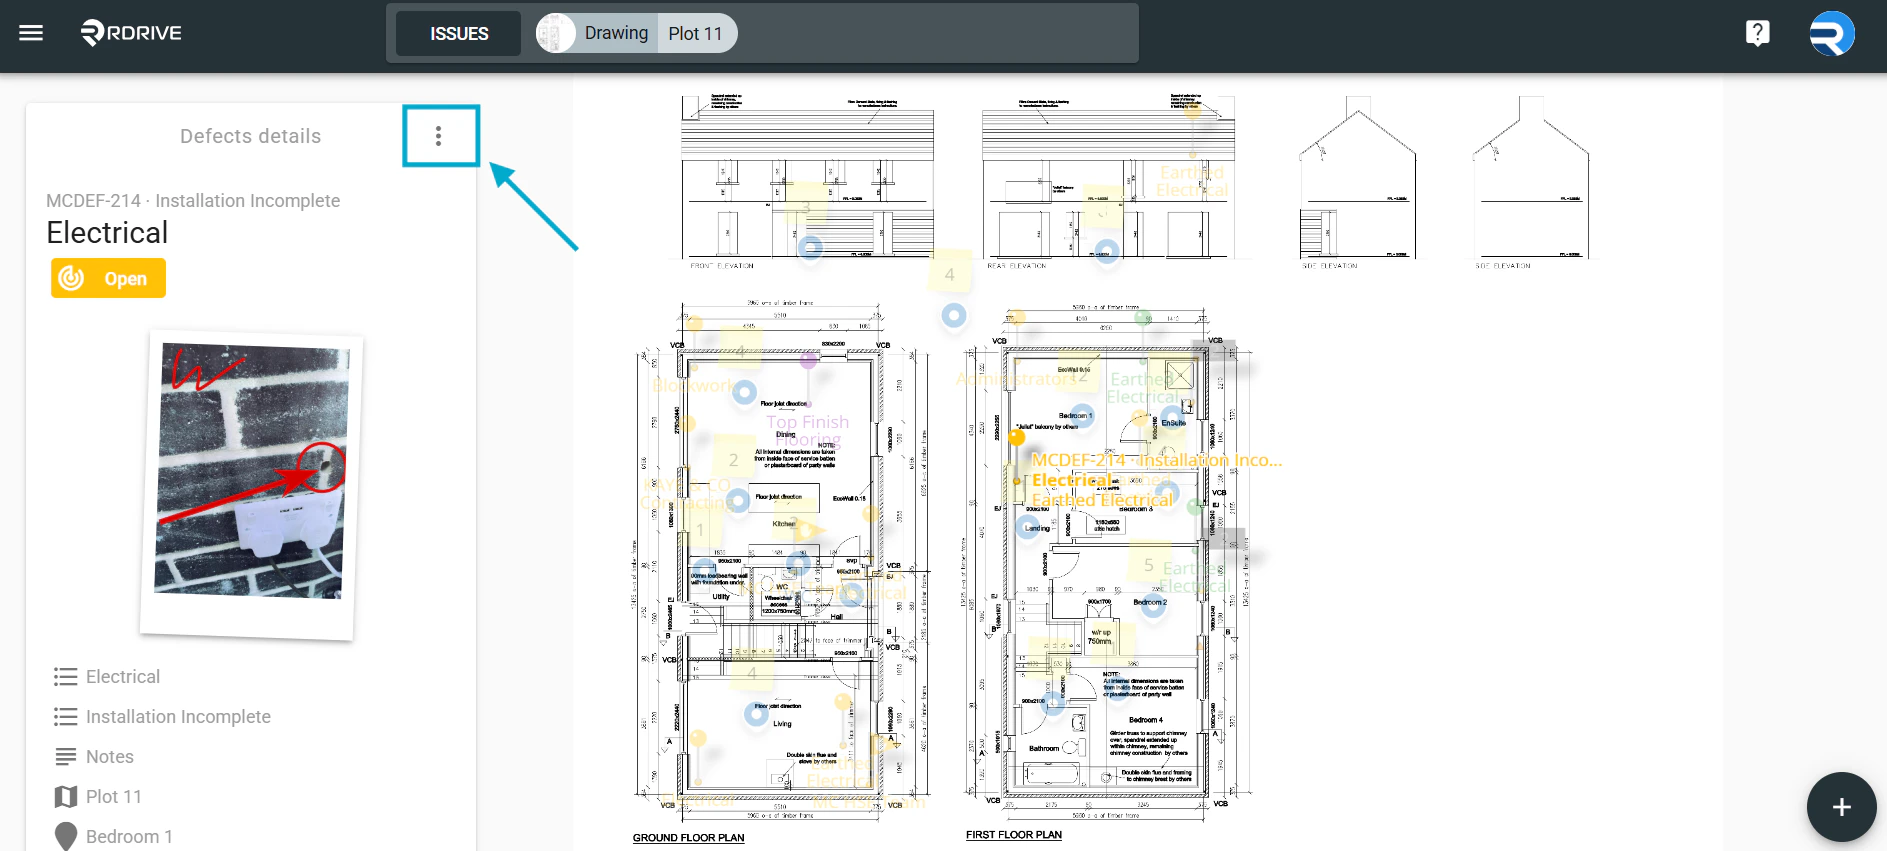
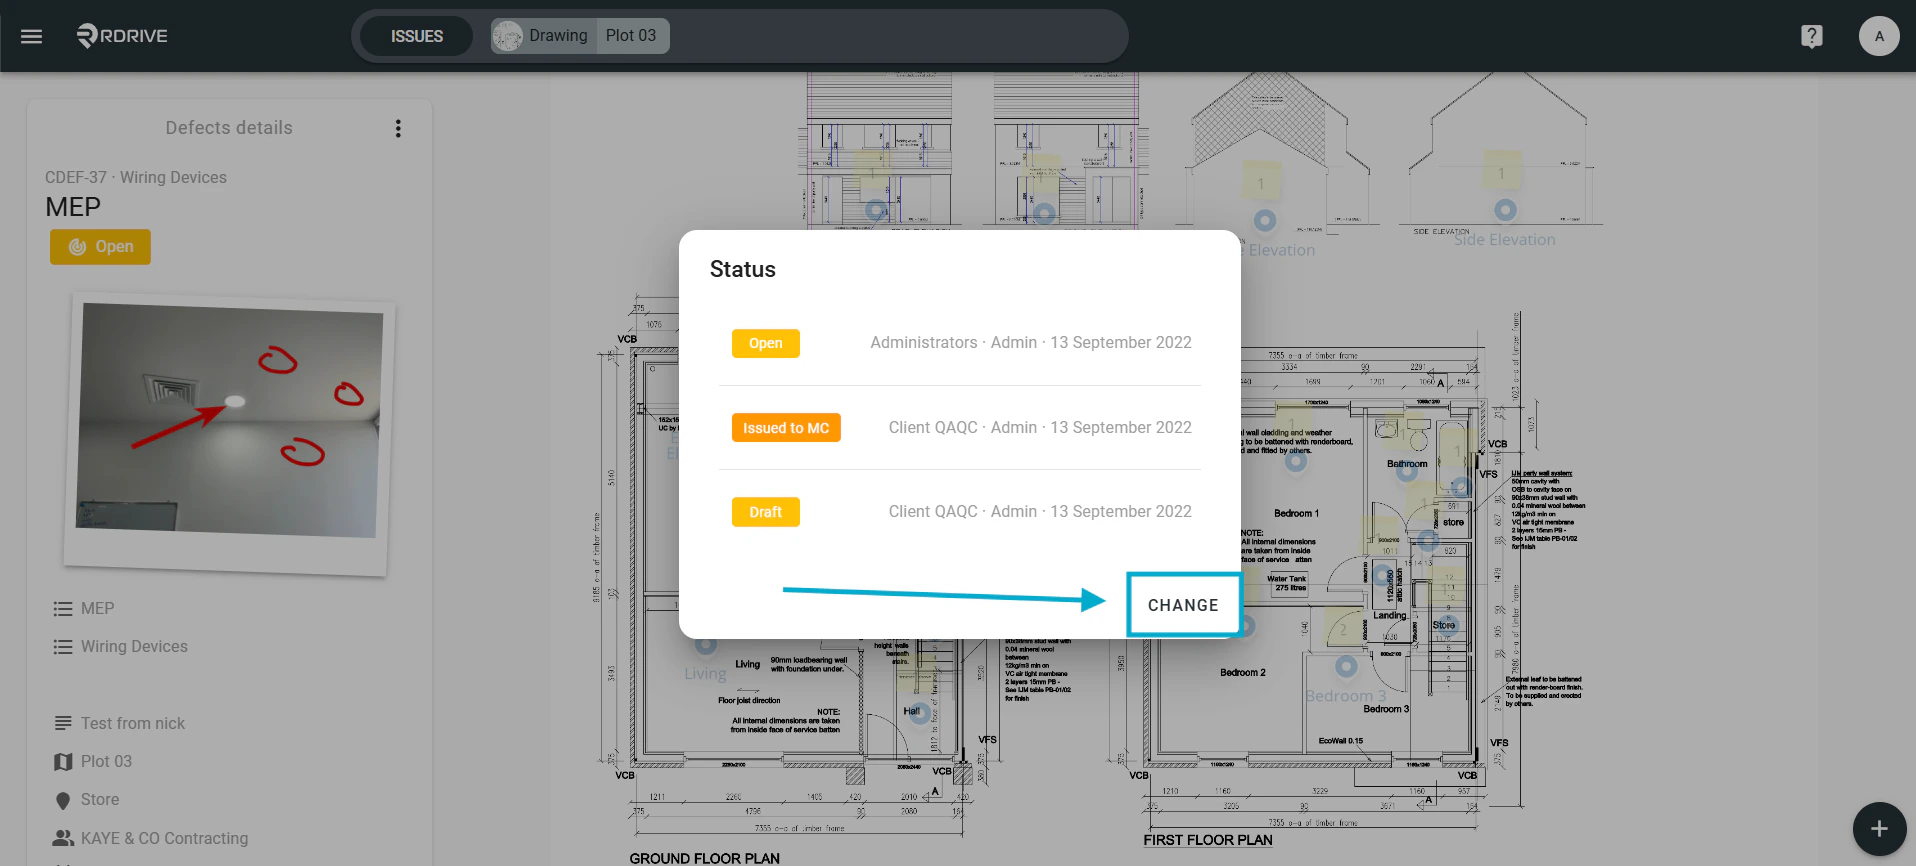
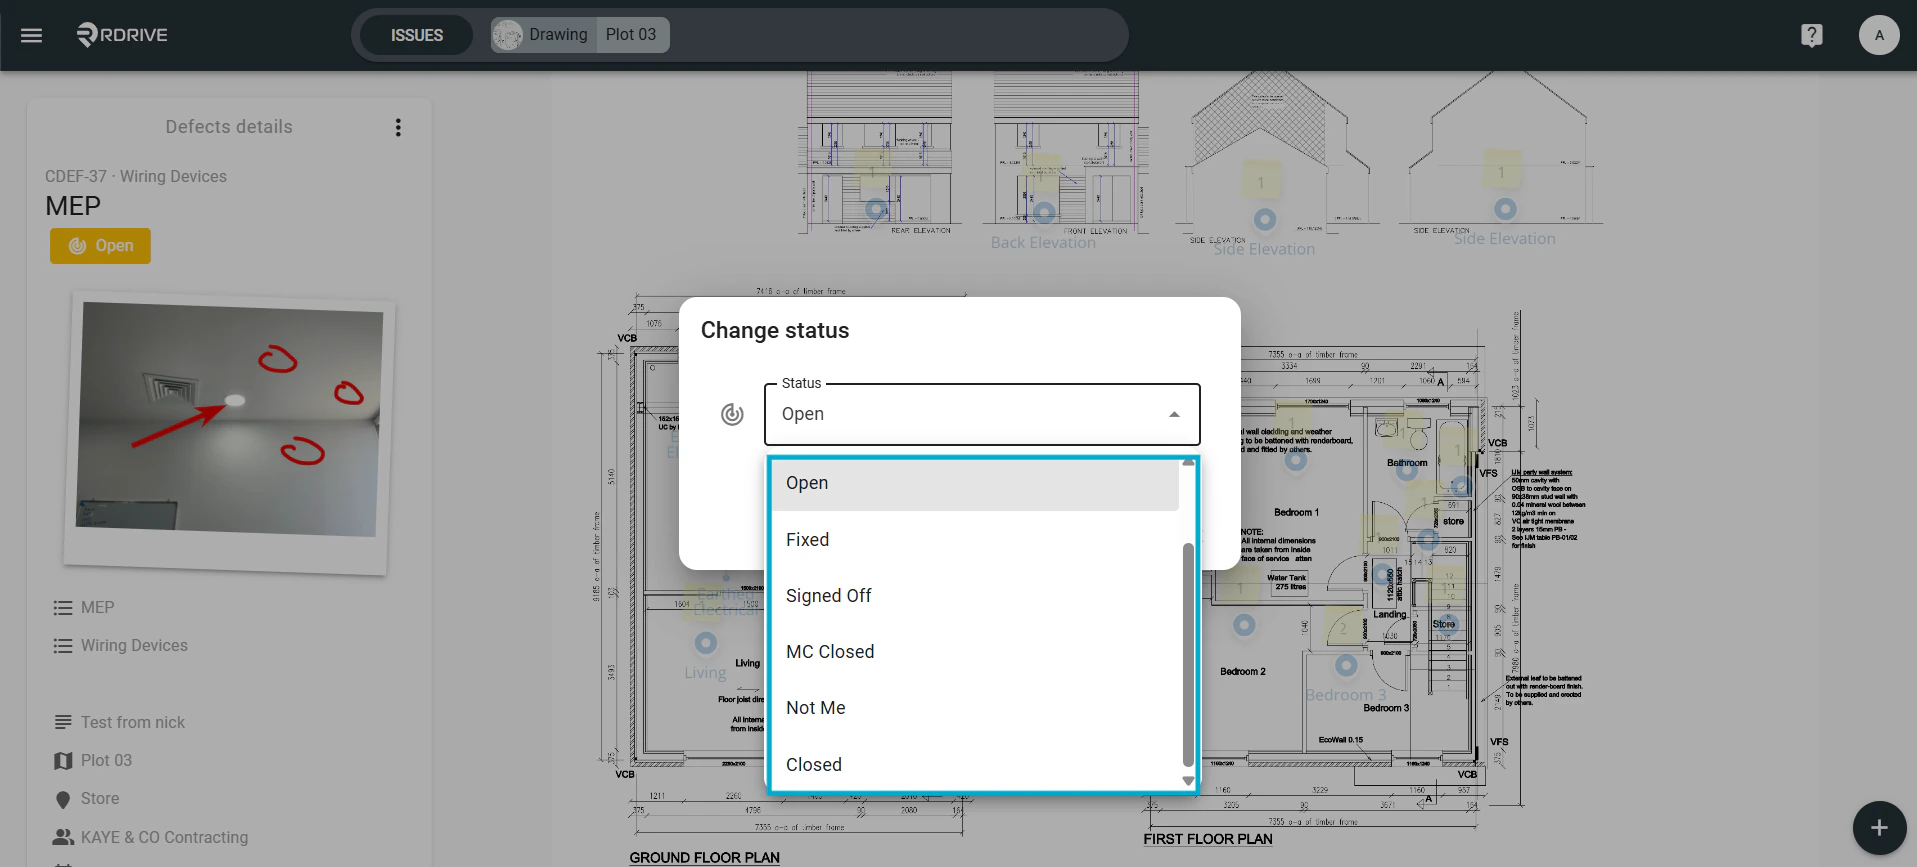
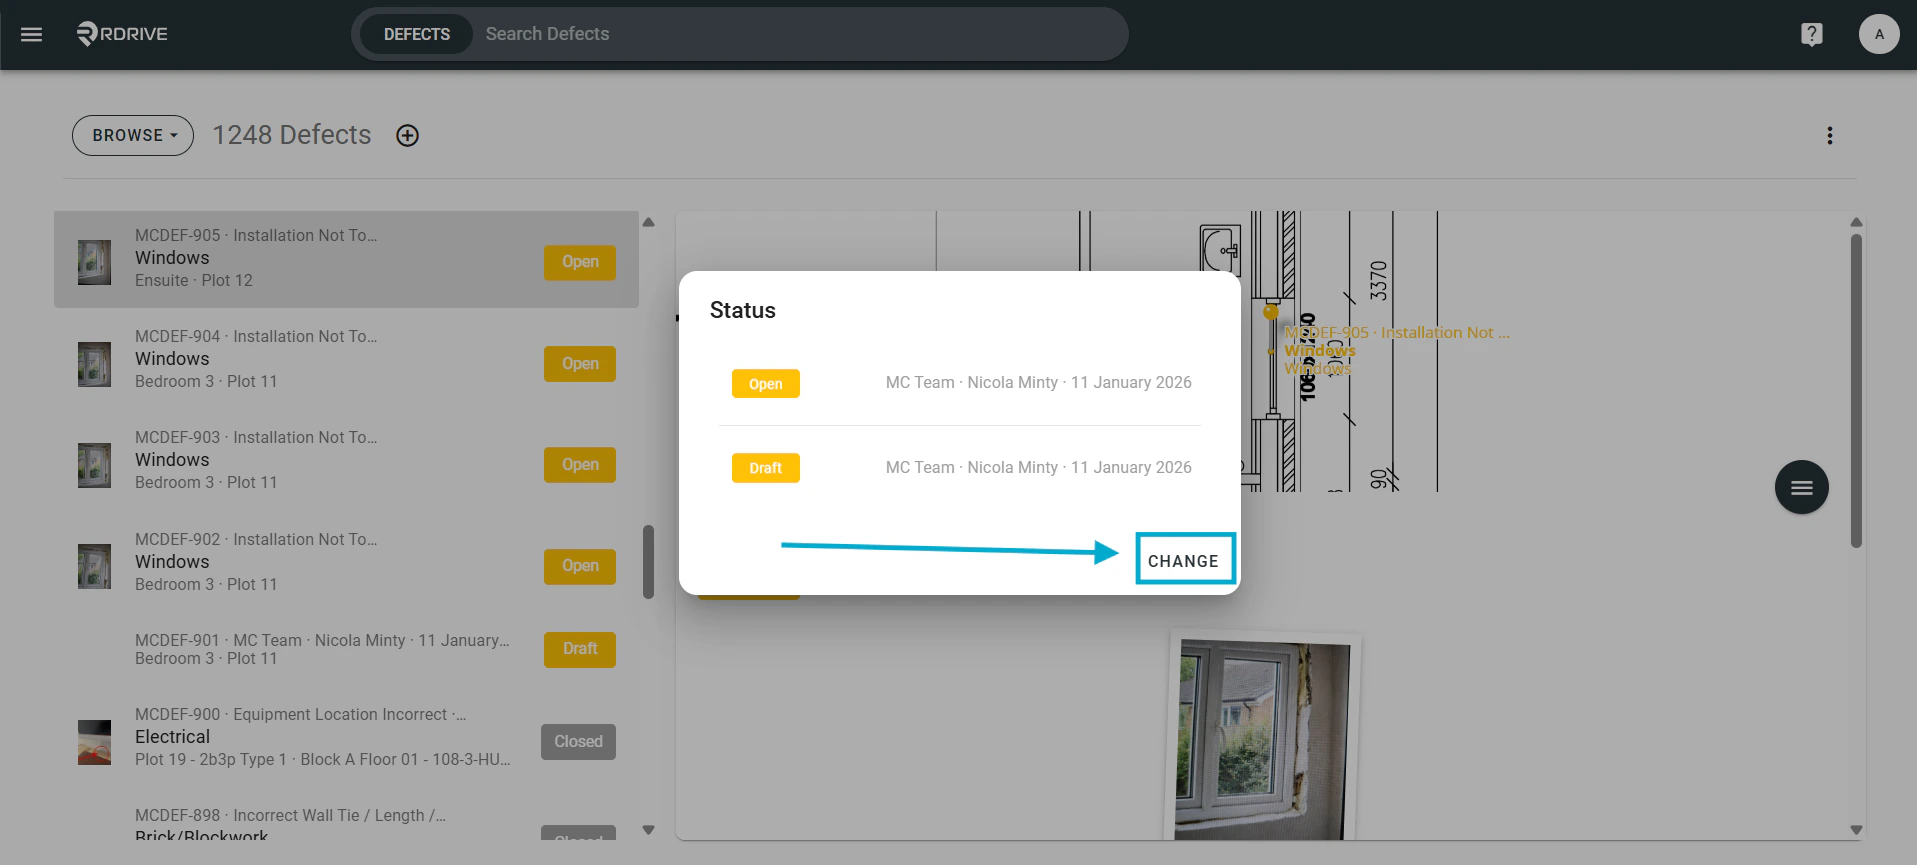
Updating the status only** From the three-dot menu (⋮), select Status. Click the CHANGE button.
Via the Issue Finder
Press the Menu icon ≡ in the top left corner of your screen to unfold the Menu.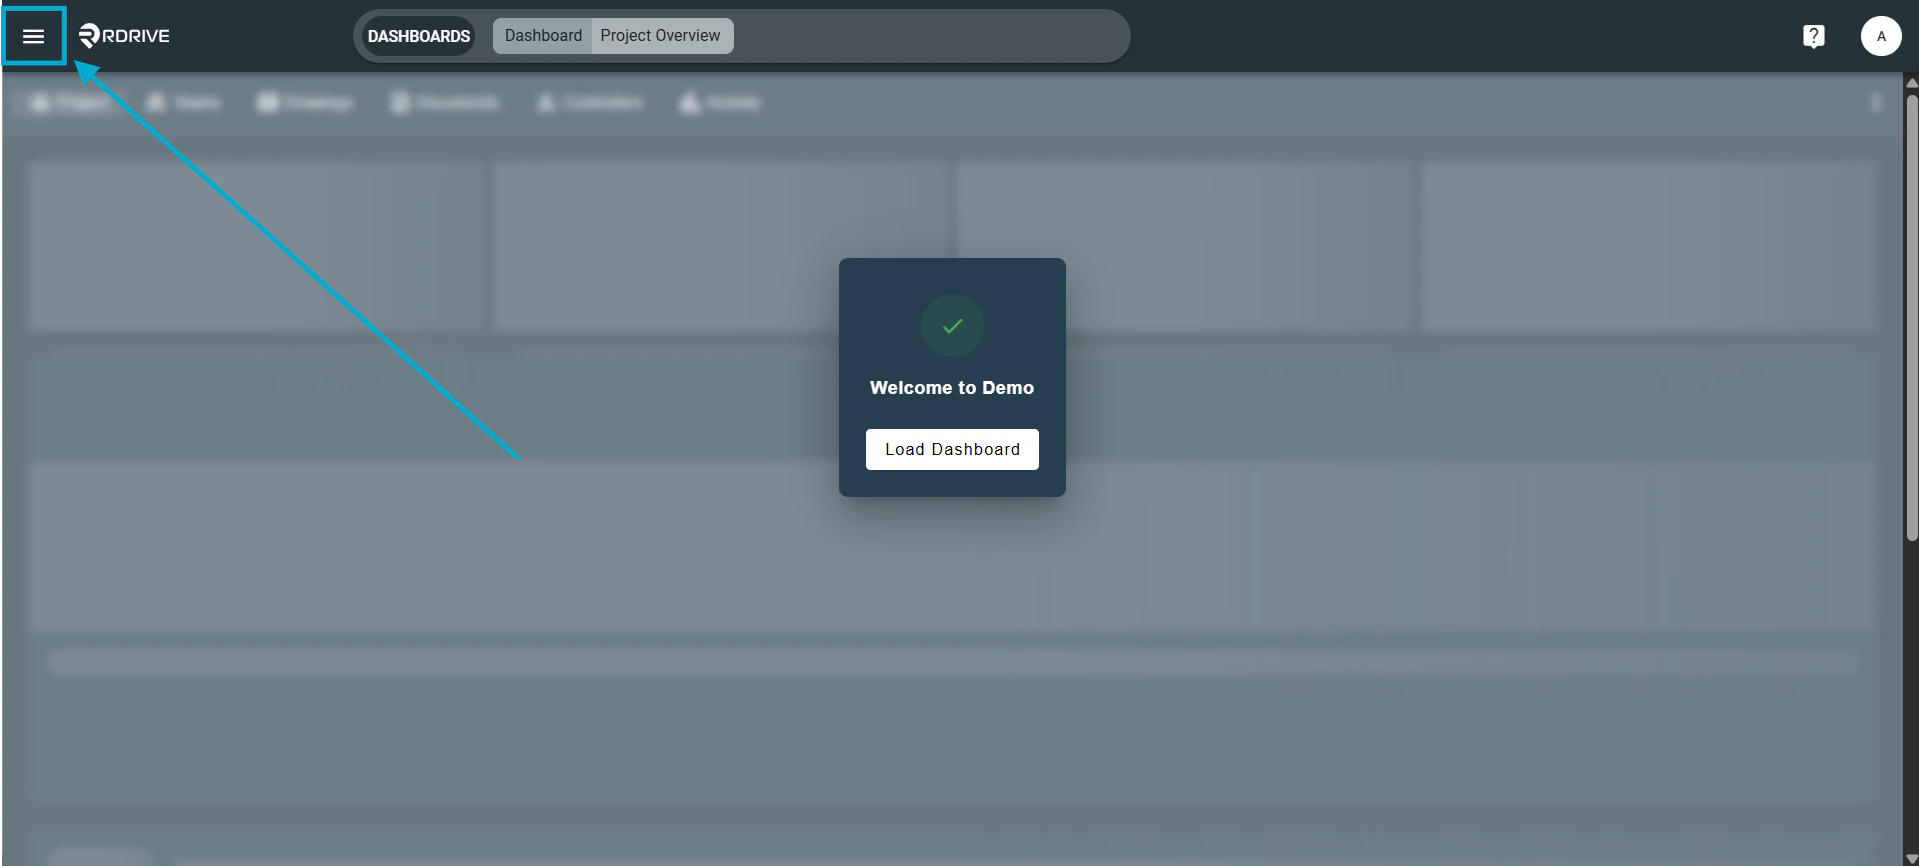


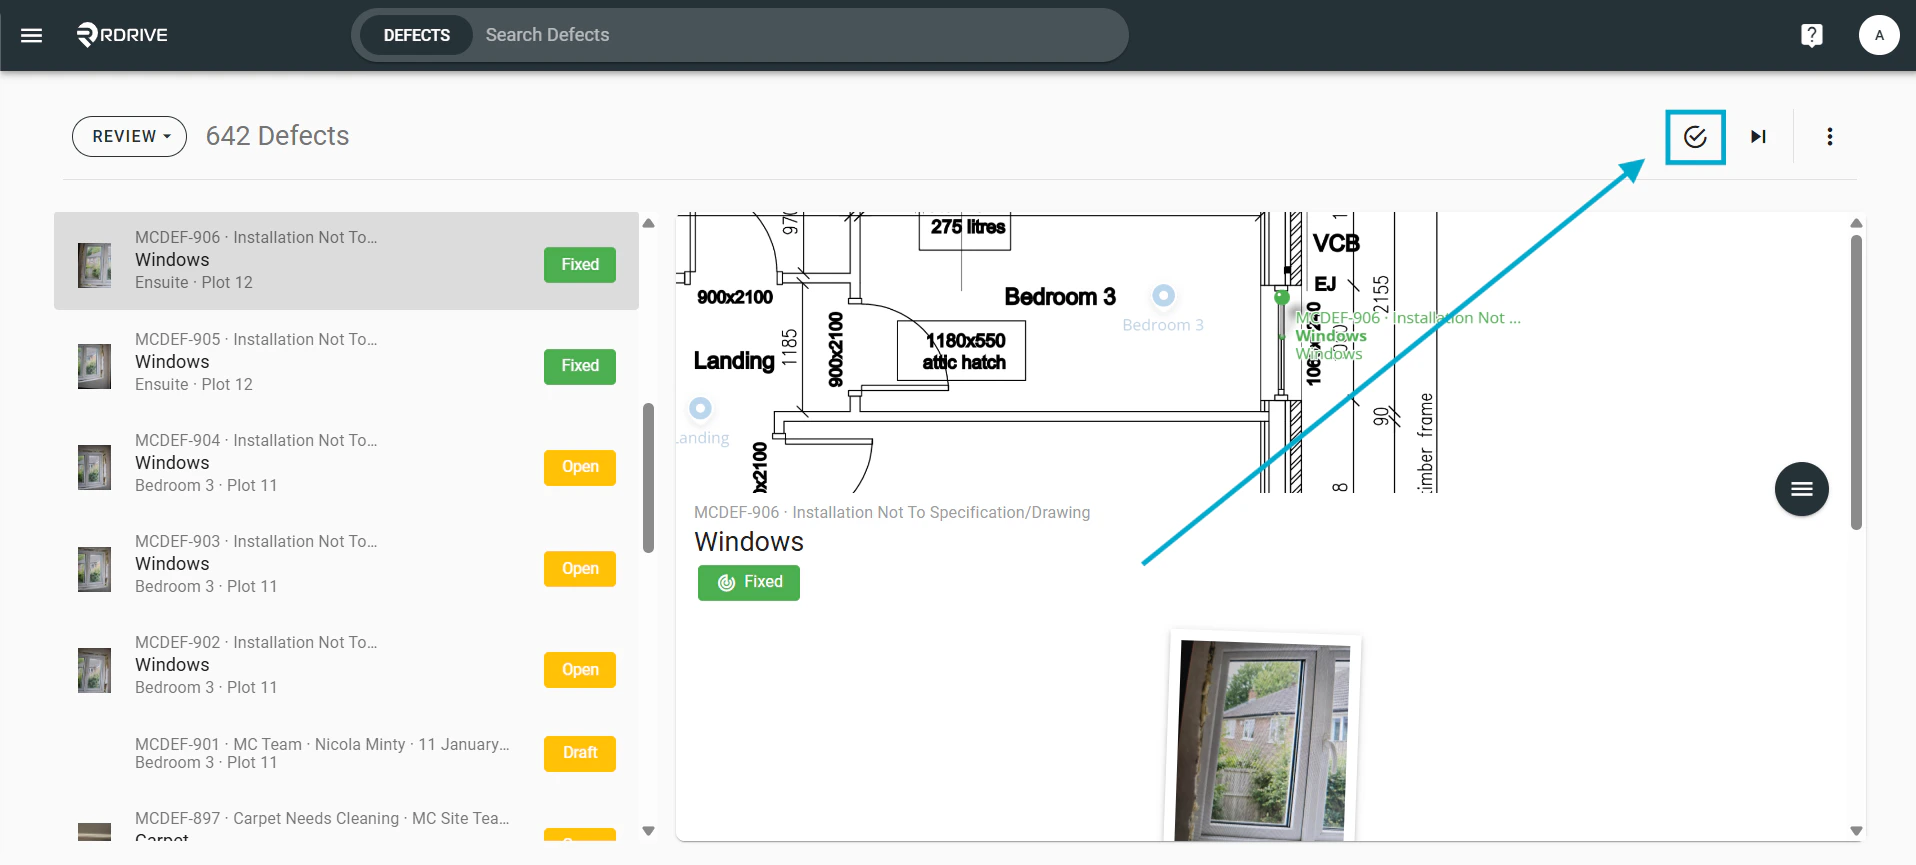
Quickly Change Status (Using Display Mode)
From the browse control panel, switch from Browse to Review mode.\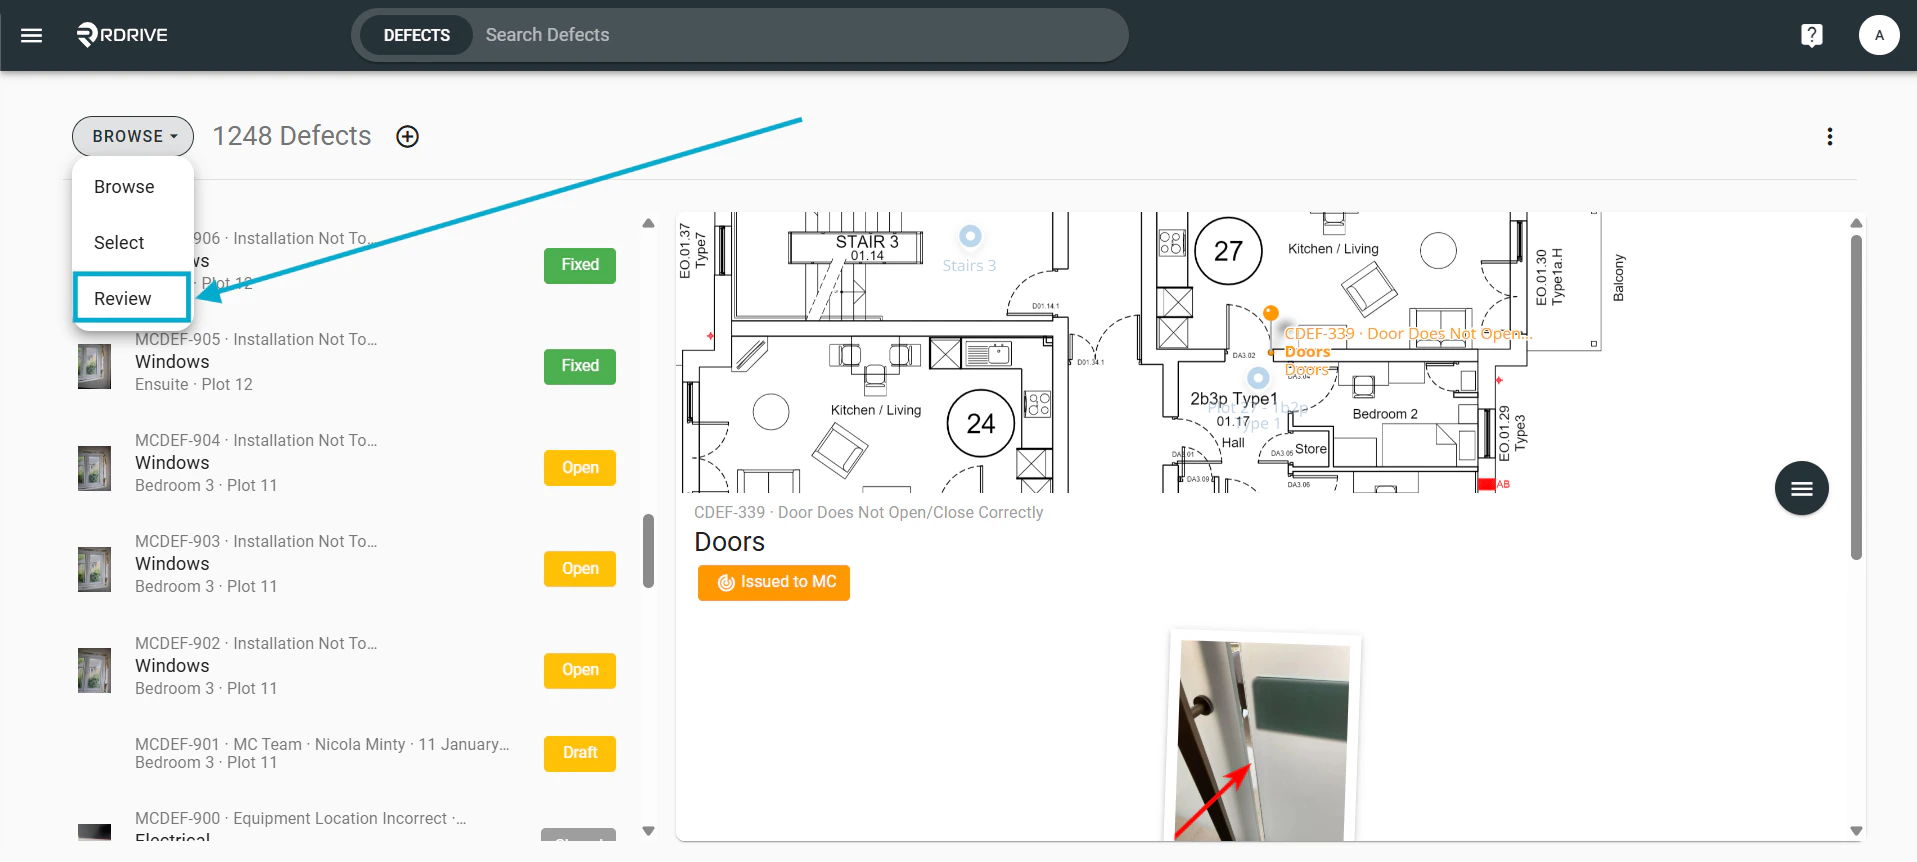

FAQs & Troubleshooting
Q: Why can’t I change the status of a record?A: Check that you have the appropriate permissions. If not, contact your Project Admin. Q: What happens if I forget to change the status?
A: The issue/defect won’t move forward in the workflow. This can delay the process. Always update the status when editing. Q: Can I change the status without editing the issue?
A: Yes — use the Status option directly from the three-dot menu (⋮).