Overview
This guide explains how to add a new Process or Checklist Form in RDrive directly from the Finder (Category Page). By navigating through categories and subcategories, users can easily select, create, and assign new forms related to their project workflows.- Purpose: To guide users on how to create a new Process or Checklist Form via the Finder (Form Category Page).
- Who It’s For: General Users
Prerequisites: Access to the RDrive Planviewer. Permissions to create process.
TABLE OF CONTENTS
Step-by-Step Instructions
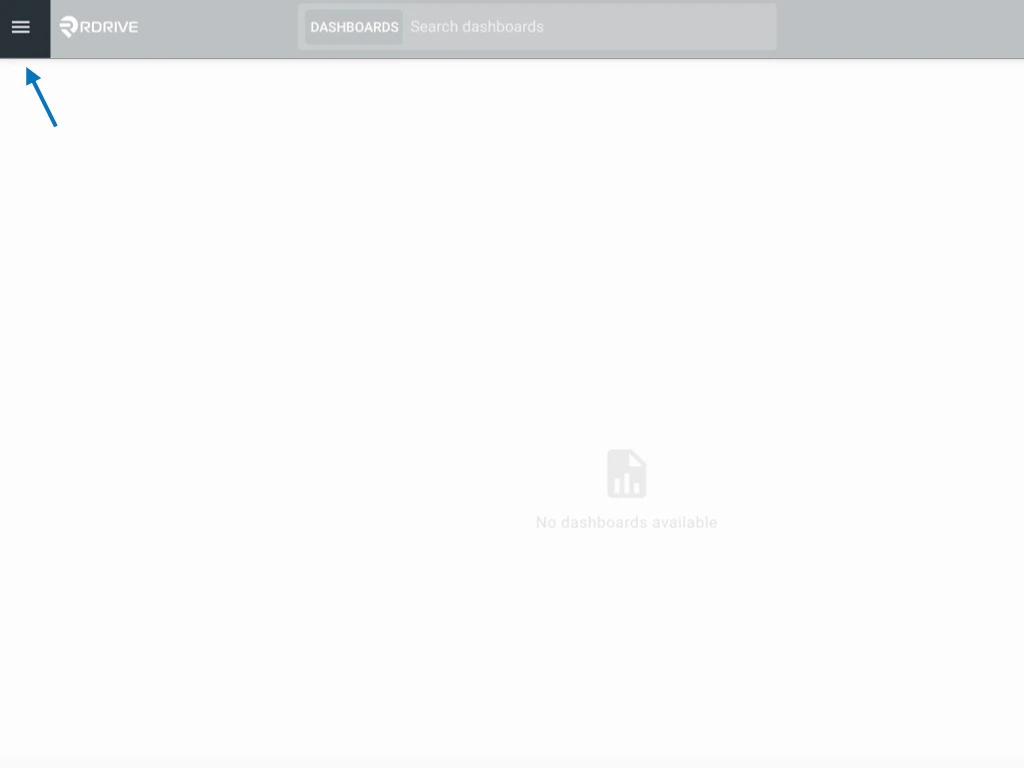
Step 1: Open the Menu Click the Menu icon (≡) located at the top left corner of your screen to unfold the main menu.
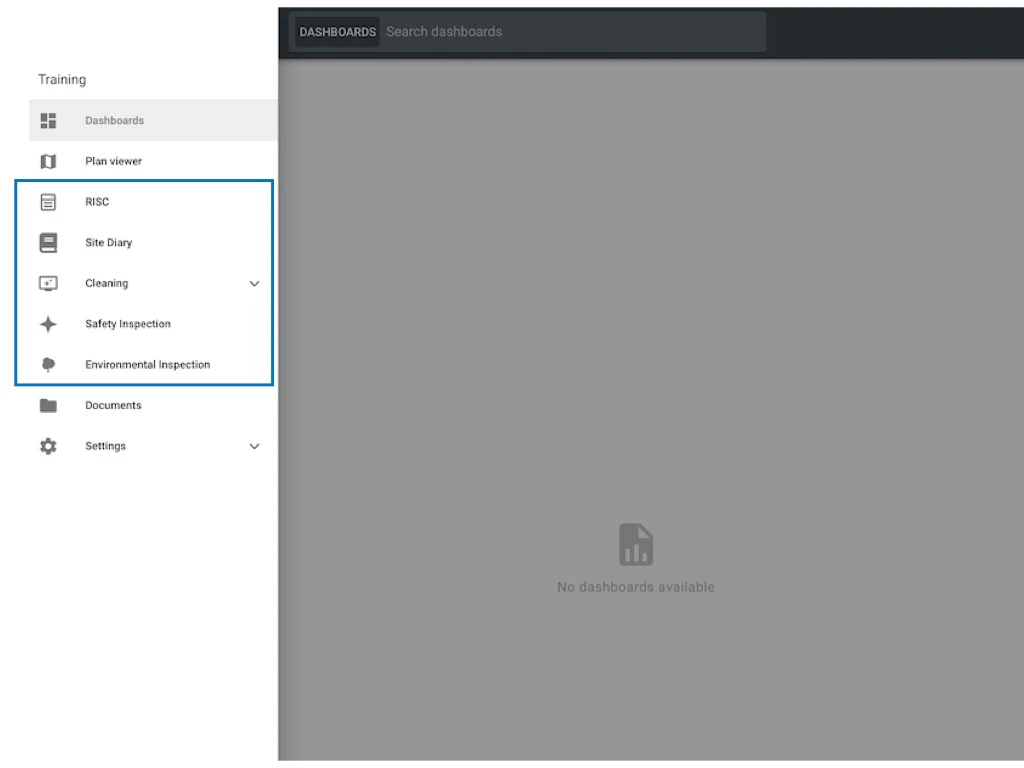
Step 2: Access the Process/Checklist Category Page
From the menu, navigate to the Process Category page.- Select the relevant Category and Subcategory to locate the type of process form you want to add.
(Note: Process categories shown will vary based on the company and project setup.) - Choose the correct Process or Checklist category that matches your intended form.
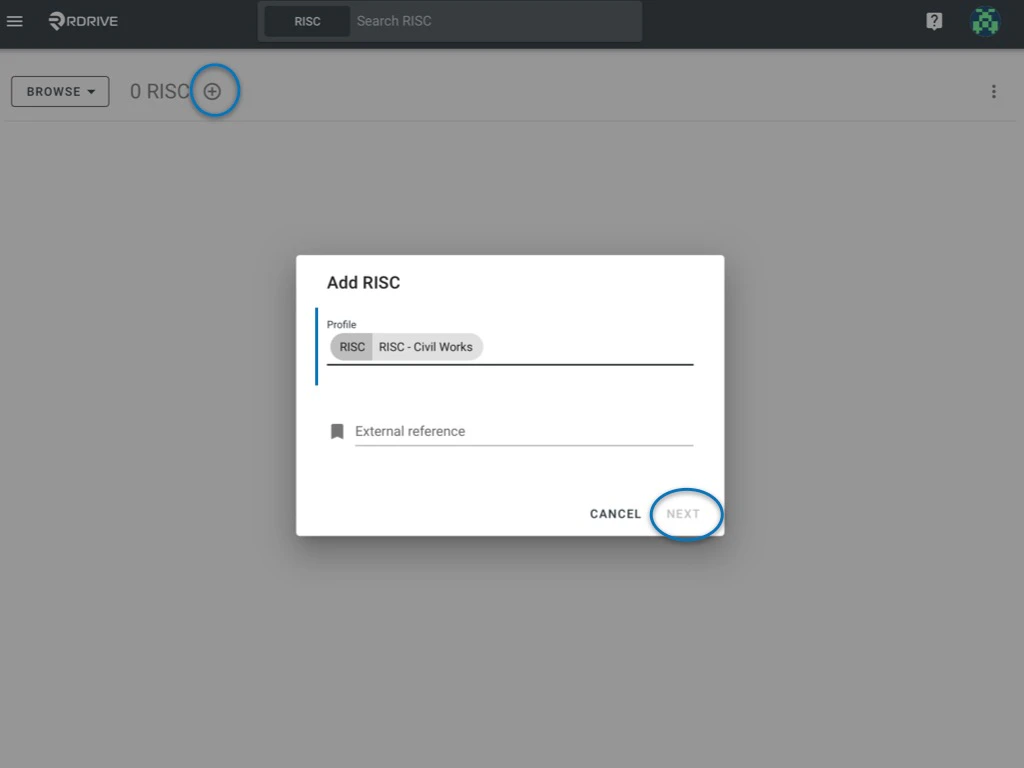
Step 3: Add a New Process
- Click the ”+” icon (plus button) within the selected Process/Checklist category to initiate the creation of a new process.
- A window will pop up in the center of your screen.
- Select the profile you want to use.
- Click Next to continue.
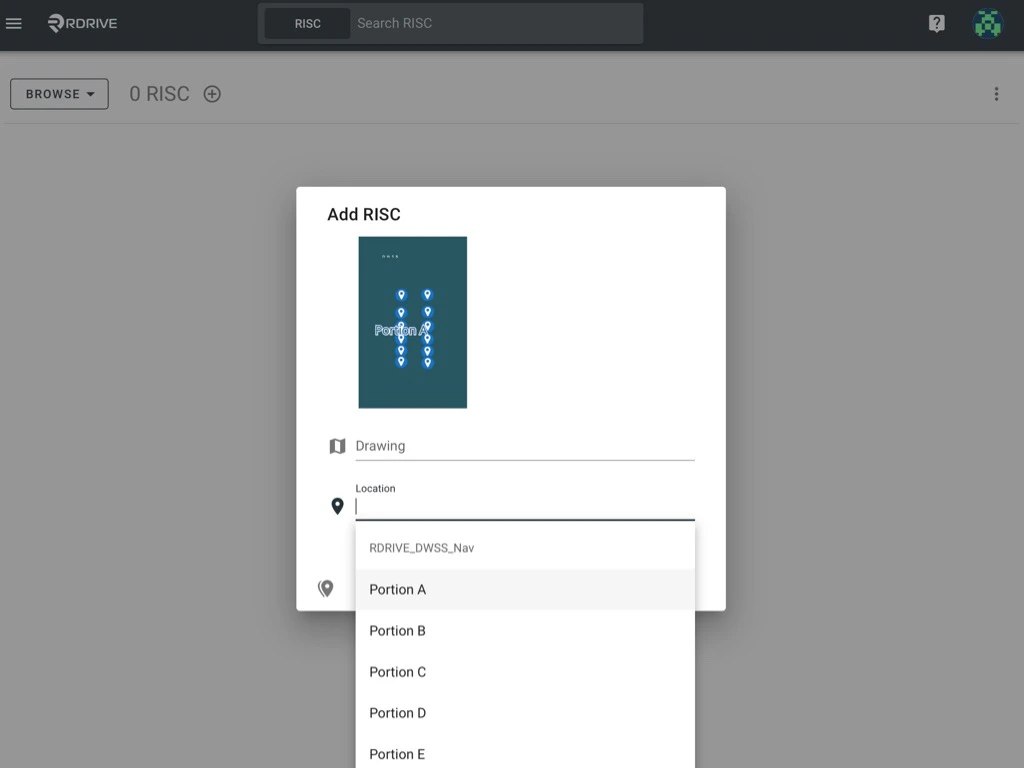
Step 4: Select the Related Location
- After selecting the profile, a second window will appear.
- Choose the d****rawing and location related to your process or checklist.
Step 5: Confirm the New Form
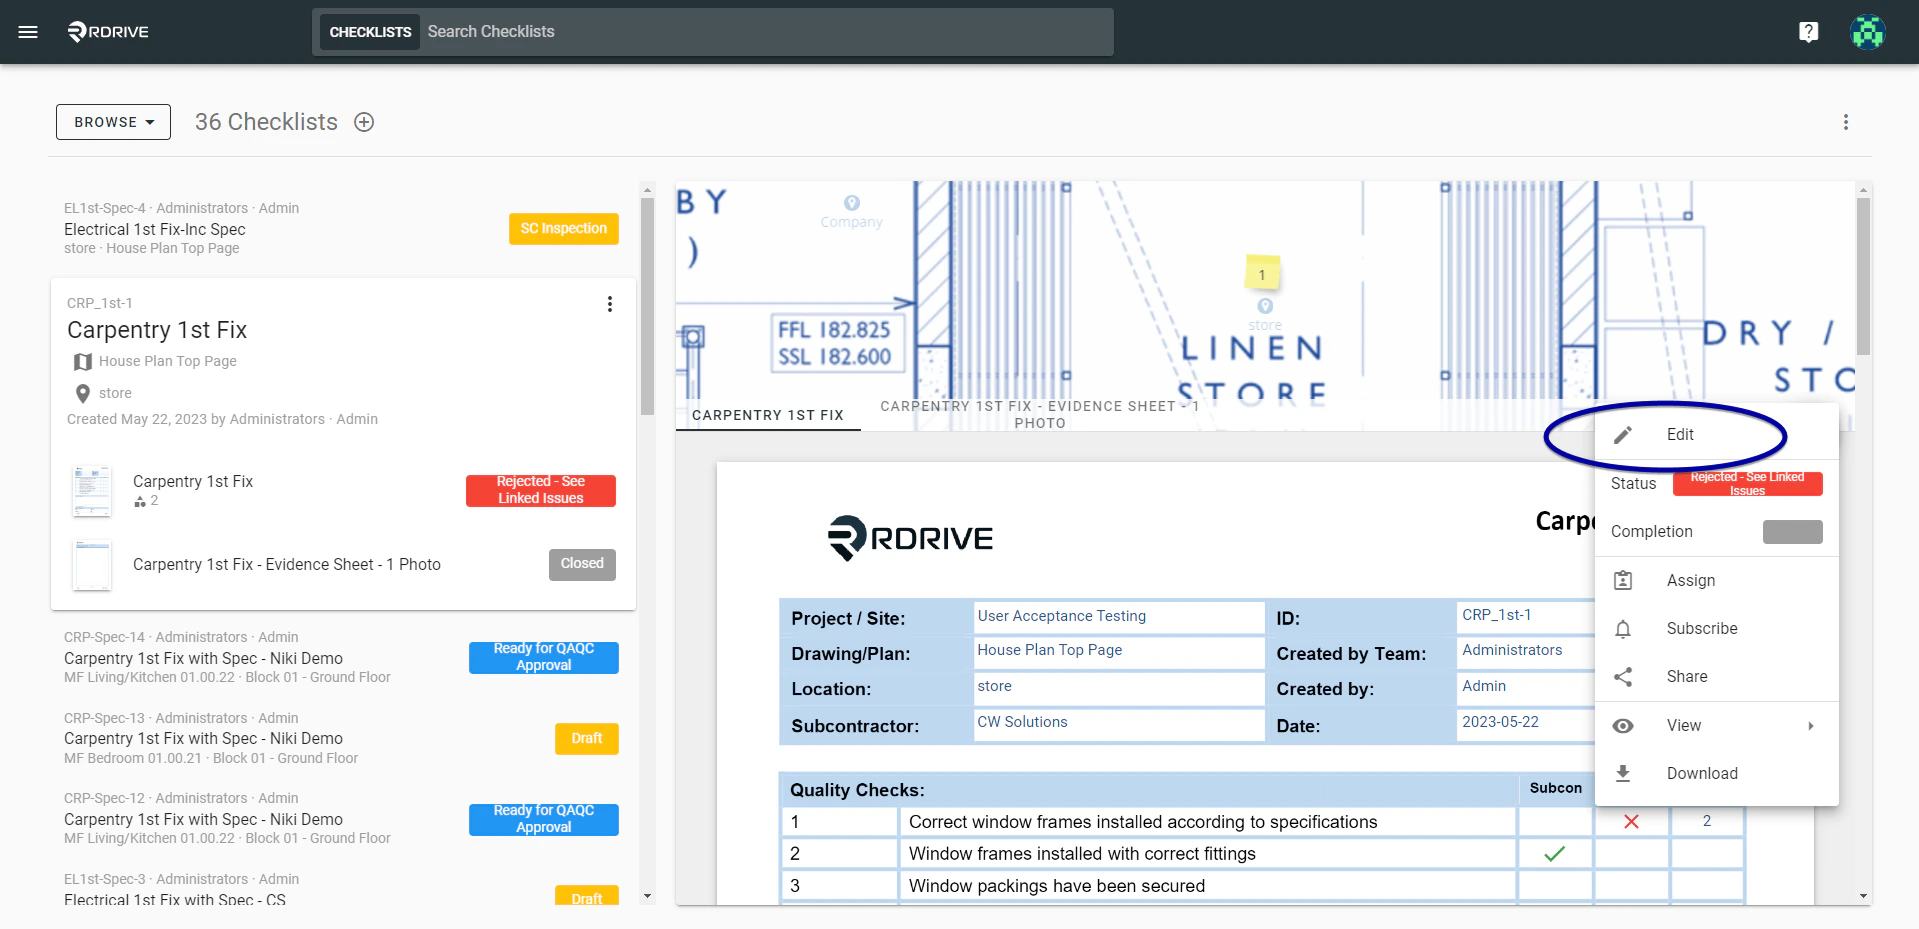
The form is now added to your project and linked to the chosen location.Step 6: Start Editing the Form
You can access and start editing the form by:- Finding your form and selecting the Edit option, or
-
Double-clicking on the form to access the form viewer.
 \
\
Tips
- Always double-check the selected Profile and Location before proceeding.
- Form options are customized by project settings. If you do not see the expected forms, contact your Project Admin.