Overview
You may wish to reduce the image quality over app speed, this guide covers how to control image quality and camera function, should your device experience crashes in the plan viewer, try reducing the image quality.- Purpose: How and where within the app to change the in-app camera functionality and control image quality.
- Who It’s For: All general app users
Prerequisites: RDrive account, App Installed
Step-by-Step Instructions
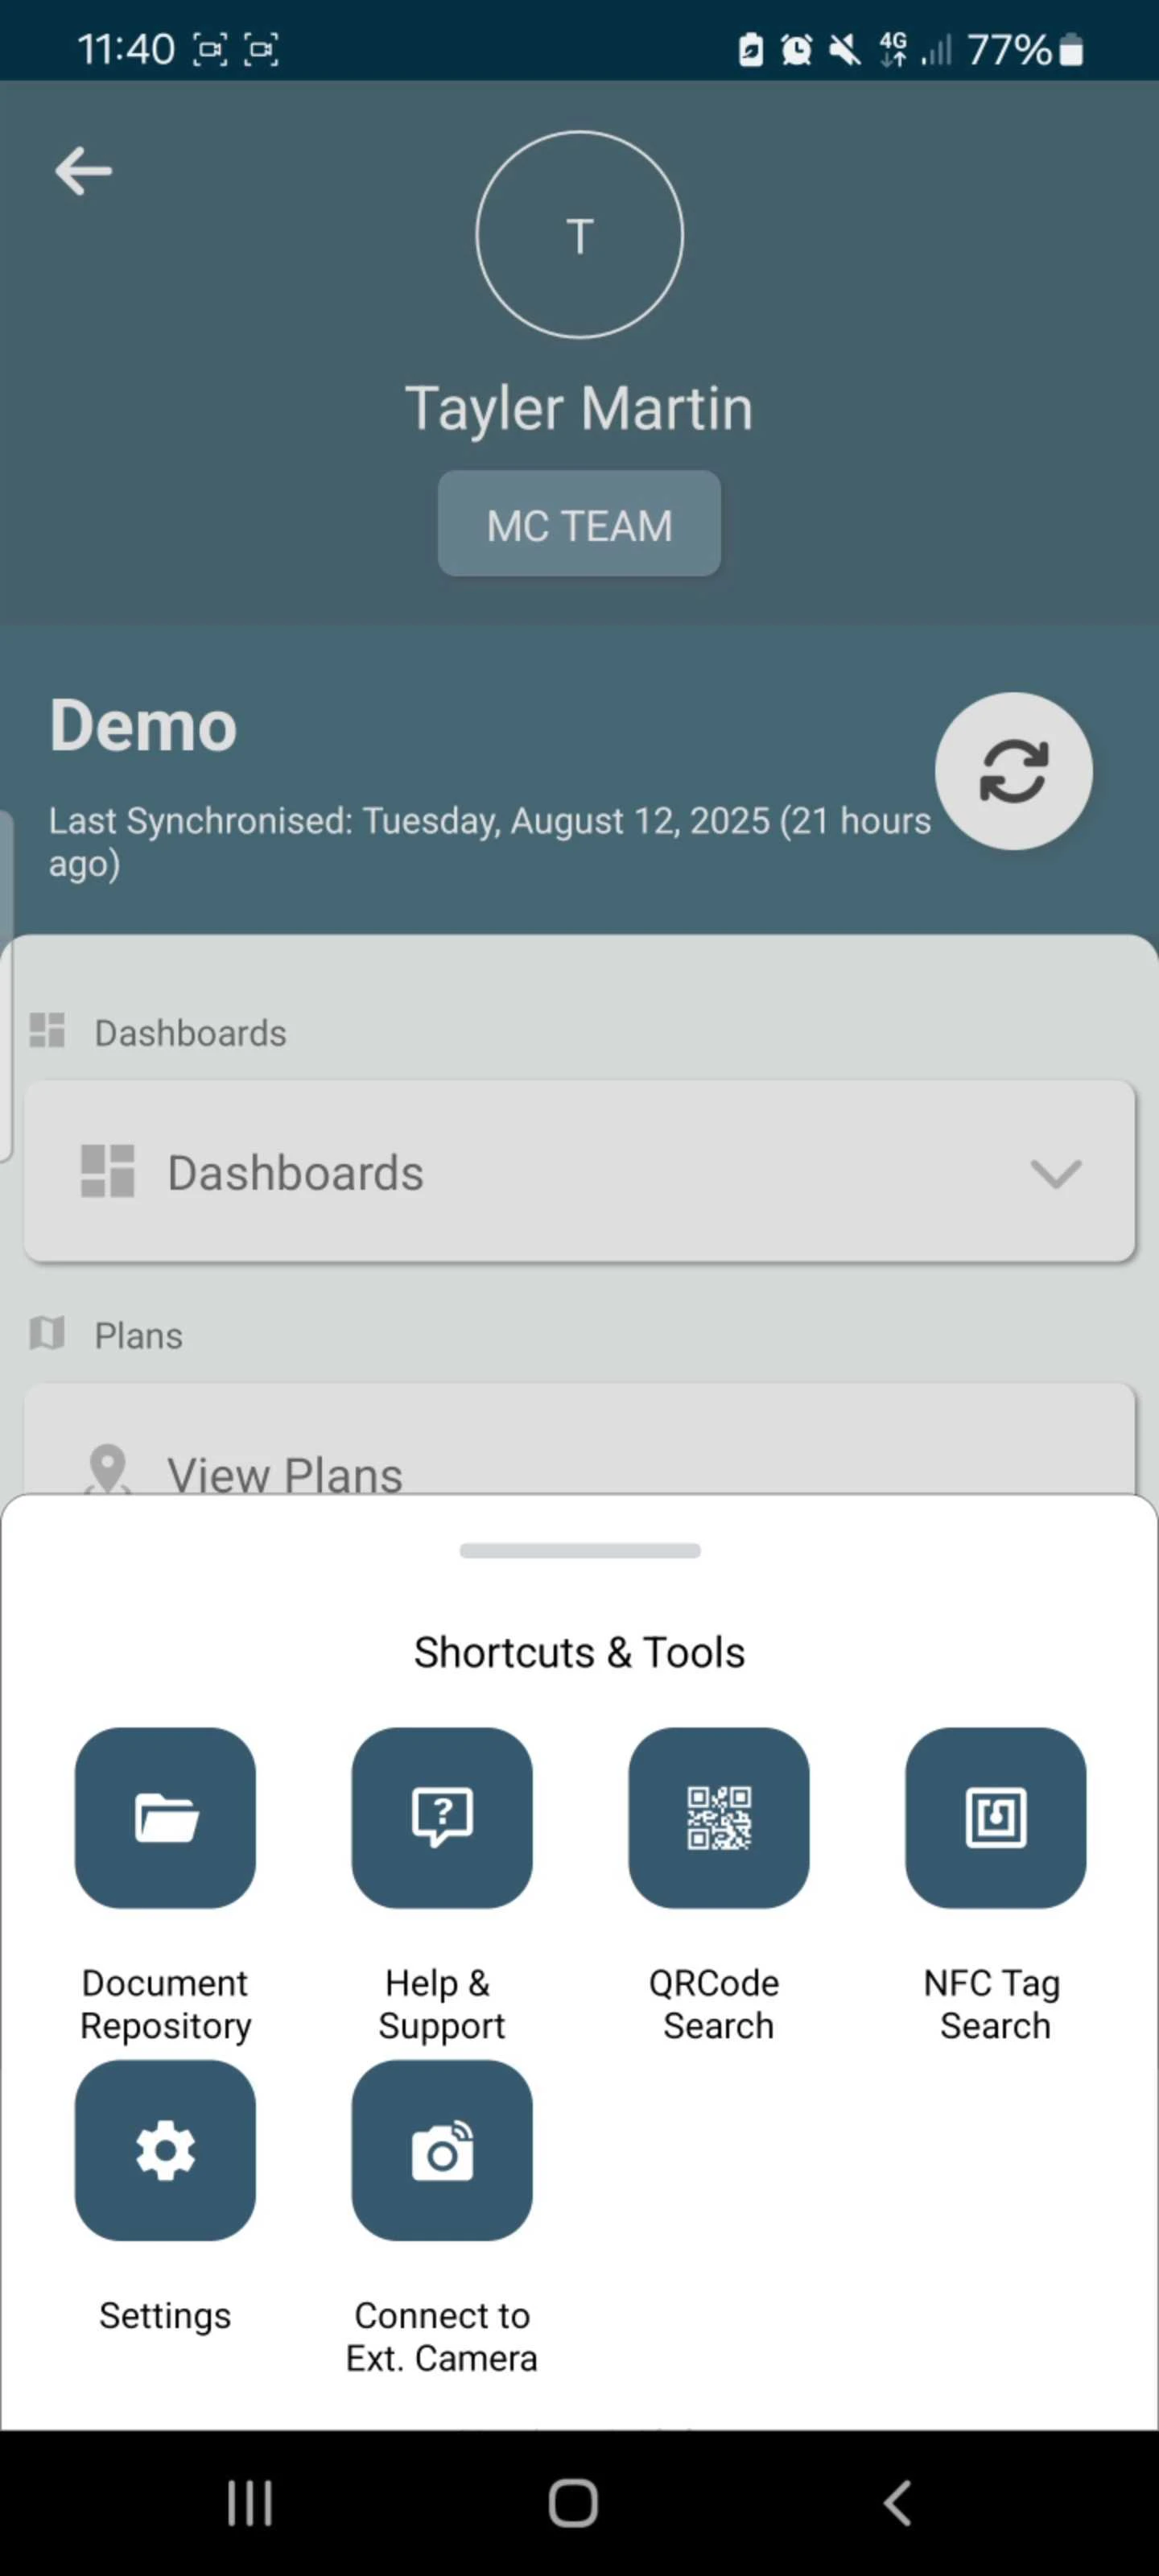
✅ Step 1: Accessing the shortcuts and tools panel
- Once logged into your app and project, from the main menu pull the shortcut bar up from the bottom.
- Select the “Settings” option.
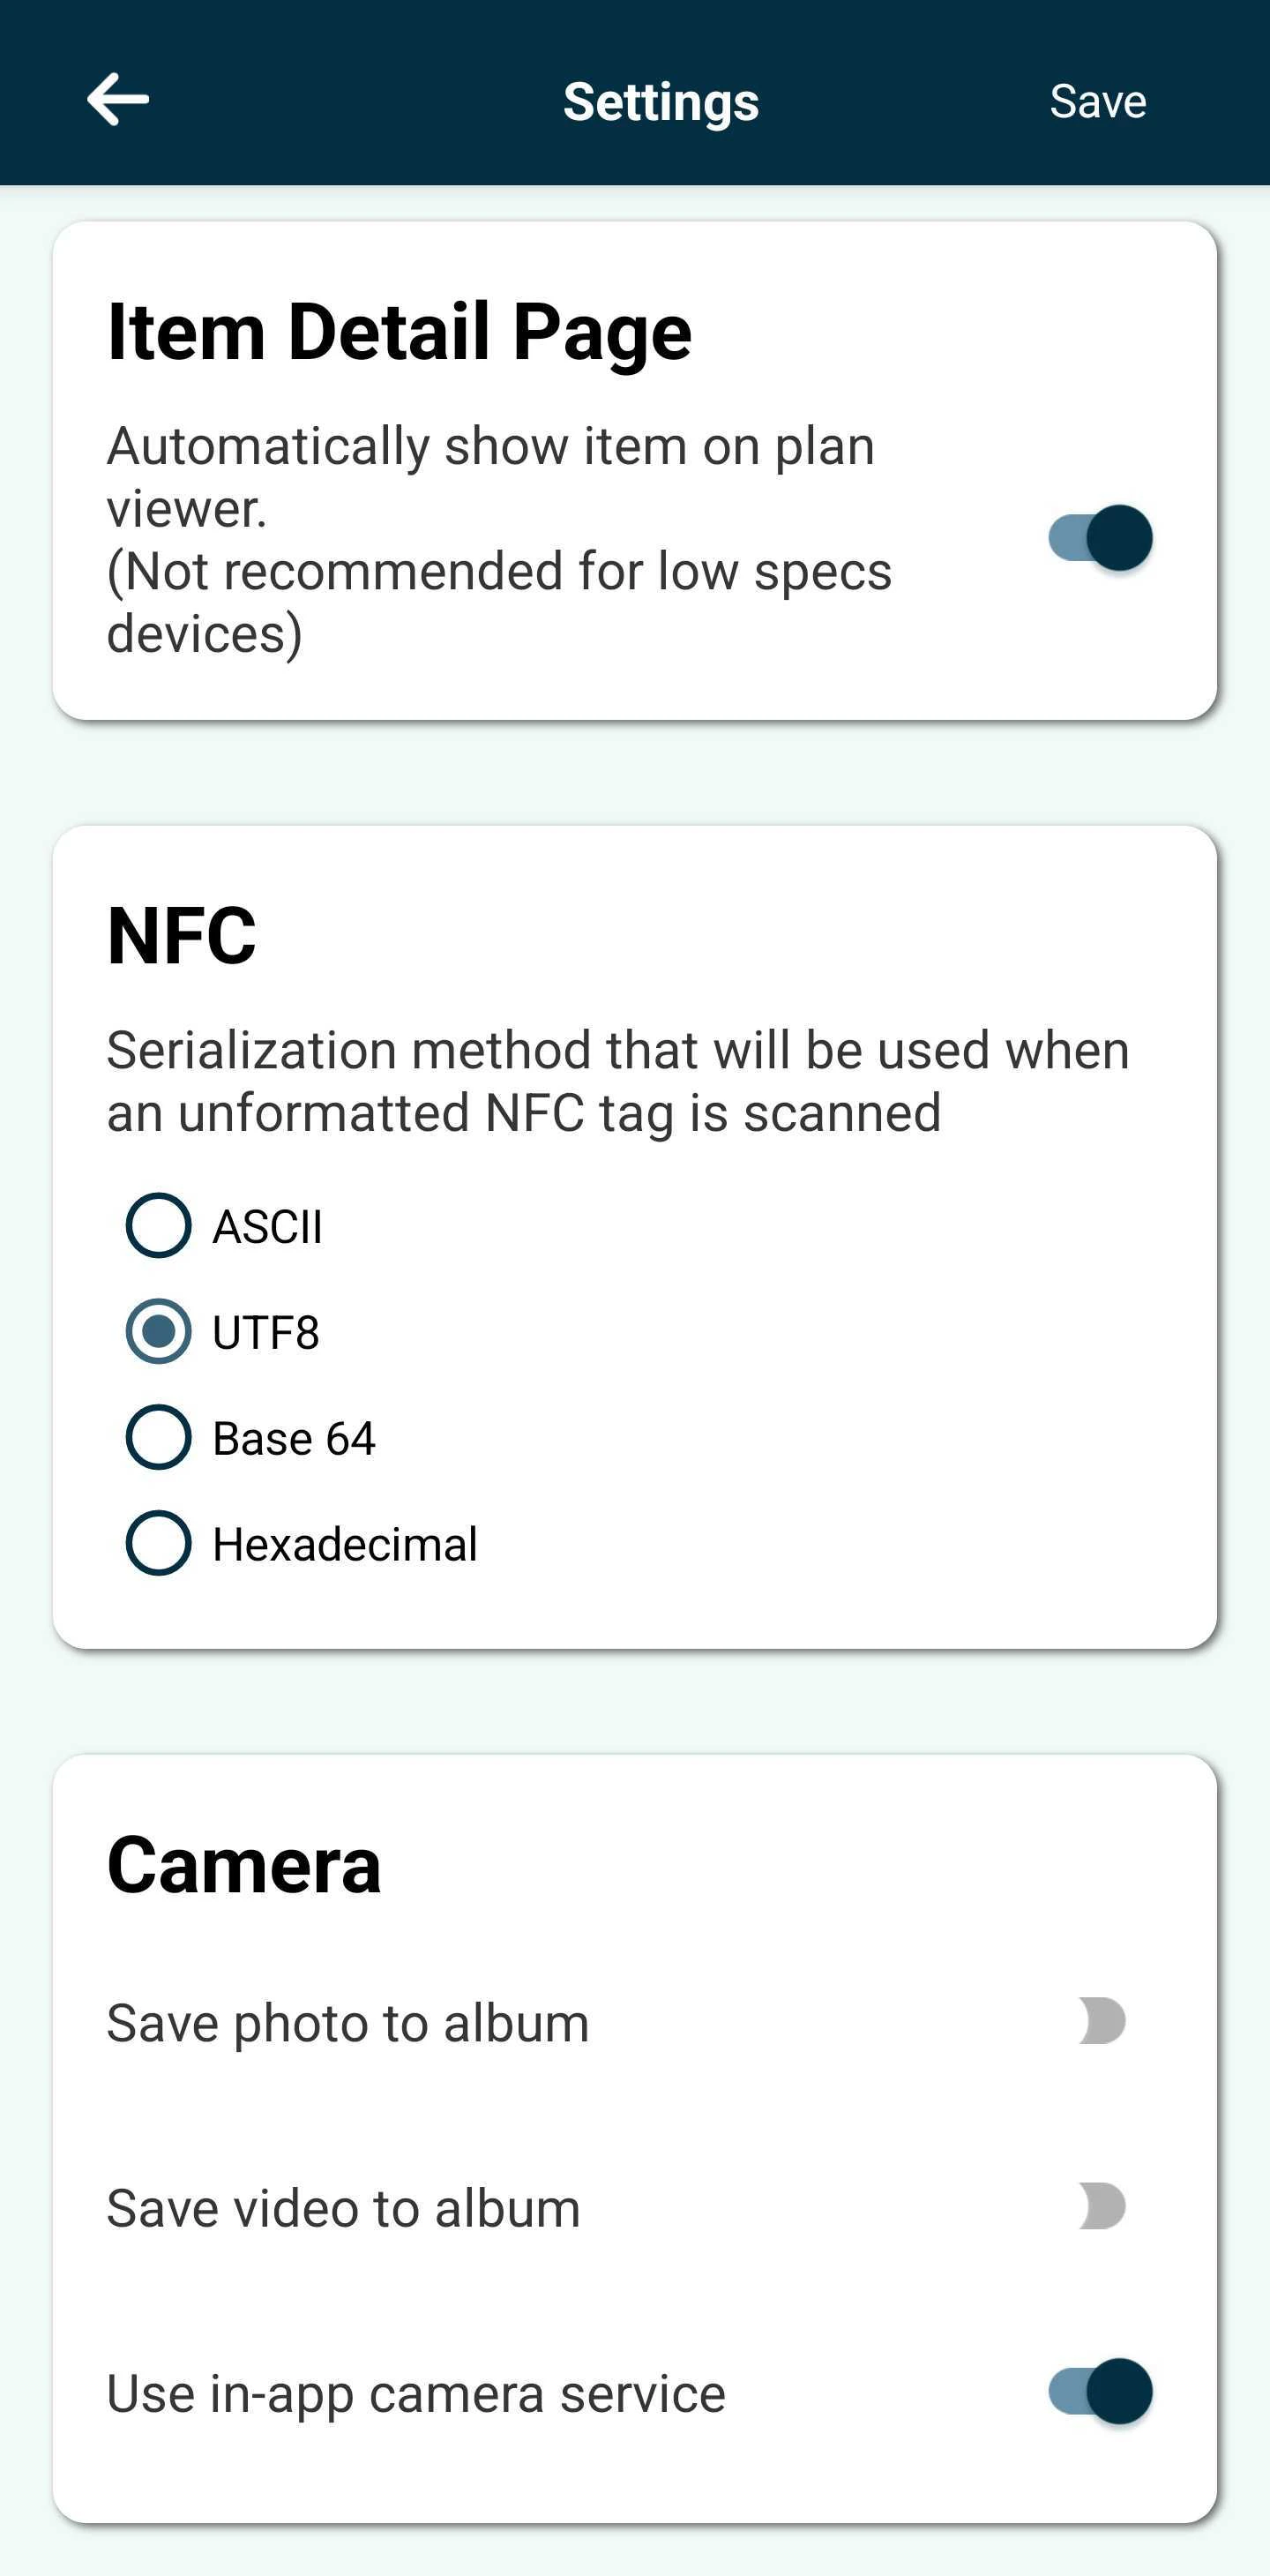
✅ Step 2: Toggle on the in app camera service
- Scroll to the bottom of the “Settings” page to the “Camera” section.
- Toggle on the “Use in-app camera service”.
- Hit “Save” in the top right corner.
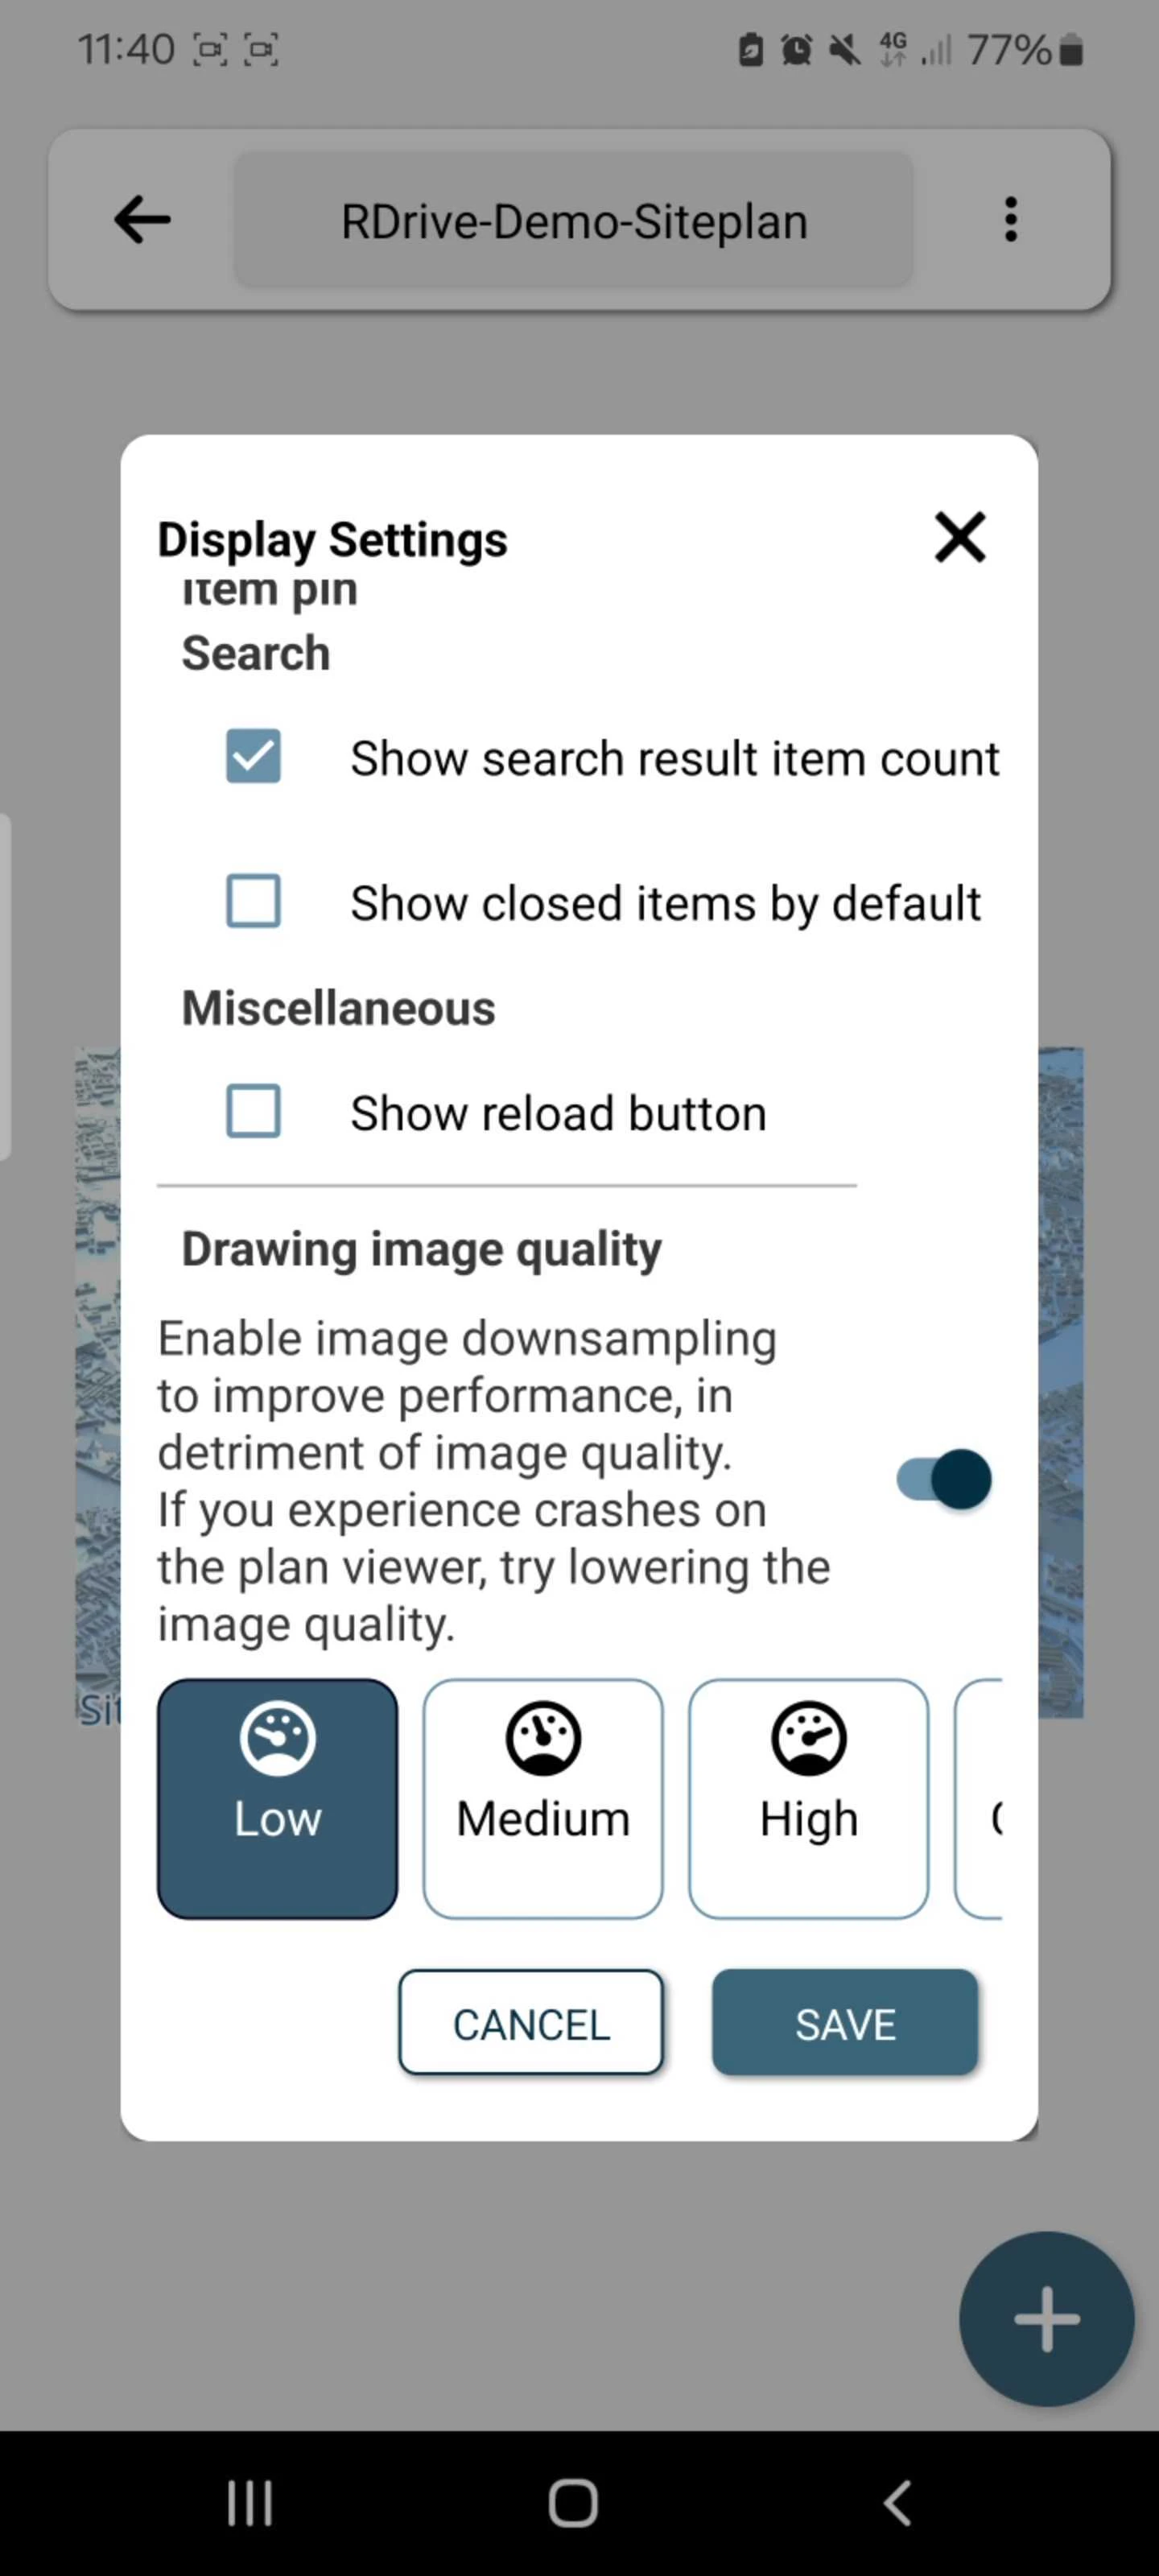
✅ Step 3: Changing the drawing image quality
- From the main menu, select the “View Plans” tab.
- Click the 3 dots in the top right and select “Display Settings”

- Toggle the “Drawing image quality” option on and select “Low” to improve app performance.
- Select “Save”
FAQs & Troubleshooting
Q: Can I improve app speed by changing image quality?A: Yes. Reducing drawing image quality can improve performance, especially on devices experiencing crashes or slowdowns in the plan viewer. Q: How do I change the drawing image quality?
A: In the app, open a project and go to View Plans → ⋯ (three dots) → Display Settings. Toggle Drawing image quality on, select Low, and tap Save to apply the change. Q: Can I use the in-app camera instead of my device’s default camera?
A: Yes. Open the shortcut bar from the bottom of the screen, select Settings, scroll to the Camera section, toggle Use in-app camera service on, and tap Save.