Overview
A brief introduction explaining the purpose of this guide.- Purpose: To locate and review previously raised issues or records
- Who It’s For: Any user with ready only access and above
Prerequisites: Existing issues raised on the project
Step-by-Step Instructions
✅ Step 1: Accessing the Finder
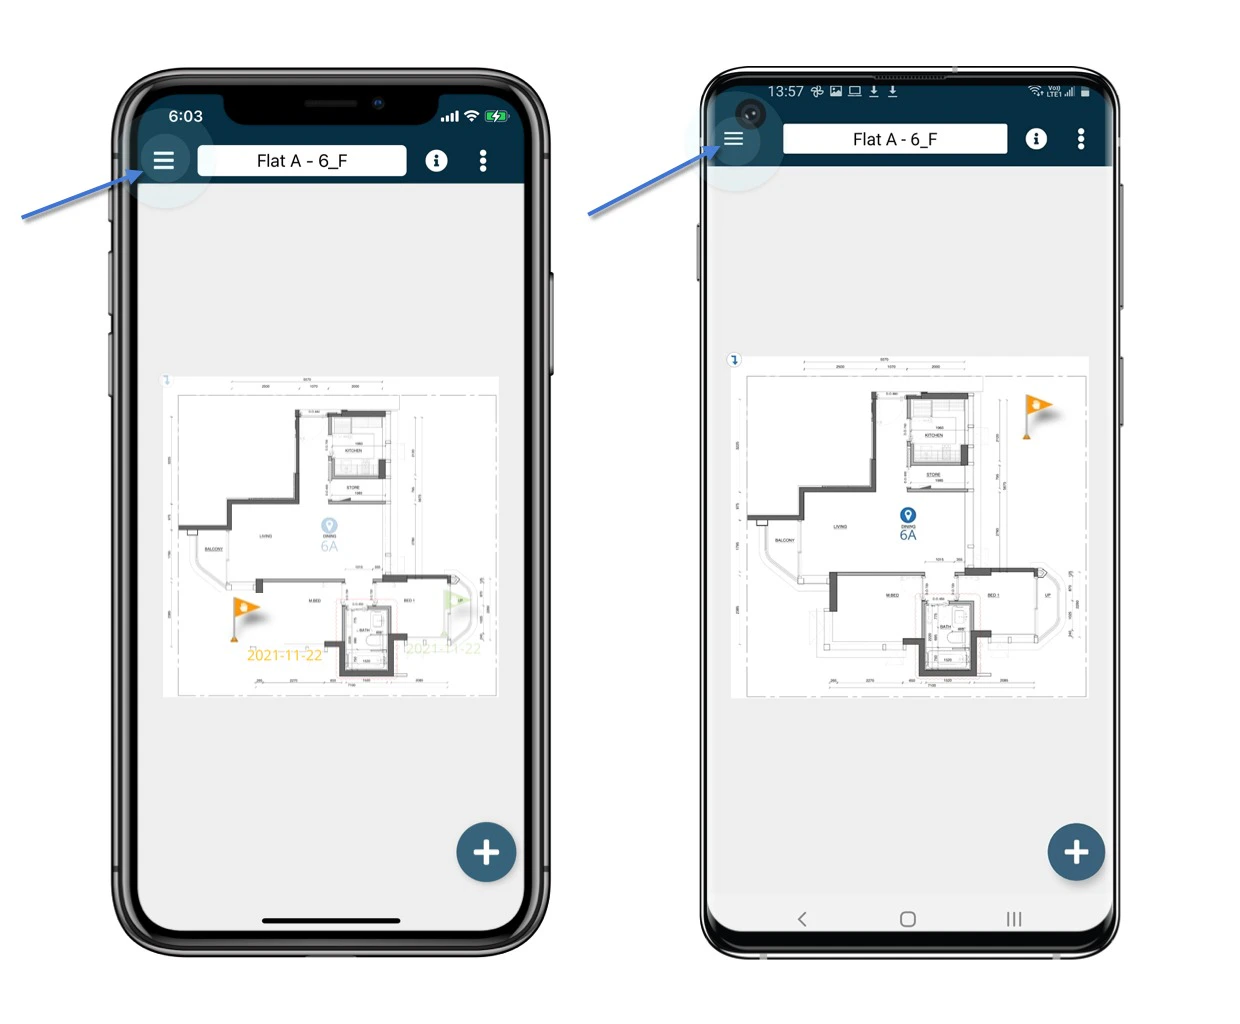
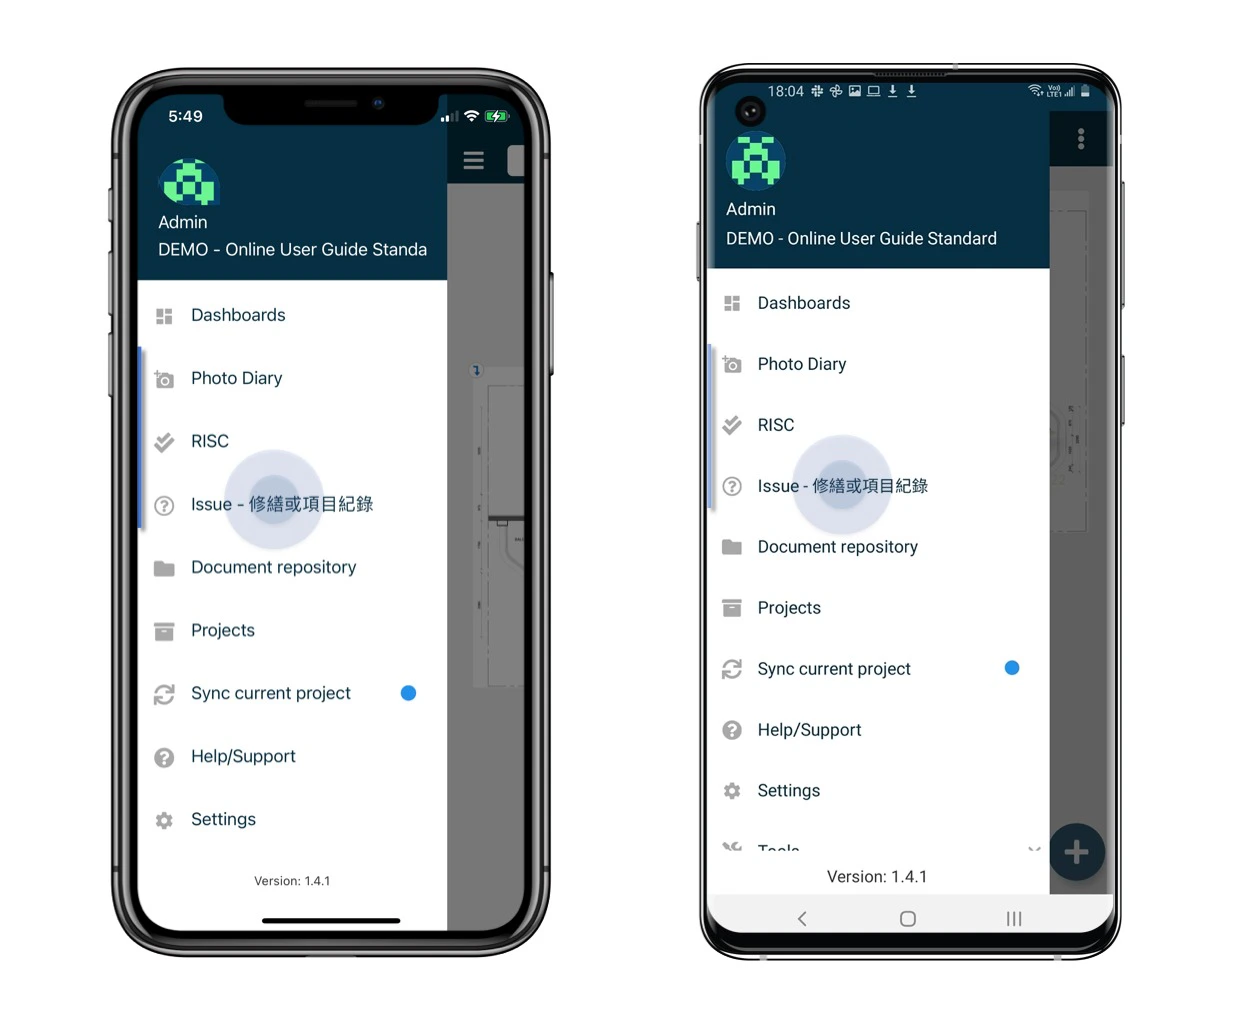
- From the main menu, tap the menu icon (≡) in the top left corner.
- Select the relevant Subcategory Finder for the type of item you’re trying to locate.
✅ Step 2: Searching for a Specific Issue or Record
-
Tap the magnifier icon in the top right corner to open the search panel.

-
Apply search filters such as location, status, or assigned user to narrow results.

-
Select the magnifying glass to apply the search. Results matching your criteria will appear in the list.

Step-by-Step Instructions - Using the Plan Viewer
✅ Step 1: Accessing the Plan Viewer
- From the main menu, select Plan Viewer.
- Navigate to the relevant drawing or floor using the drilldown navigation.
✅ Step 2: Viewing a Record on the Drawing
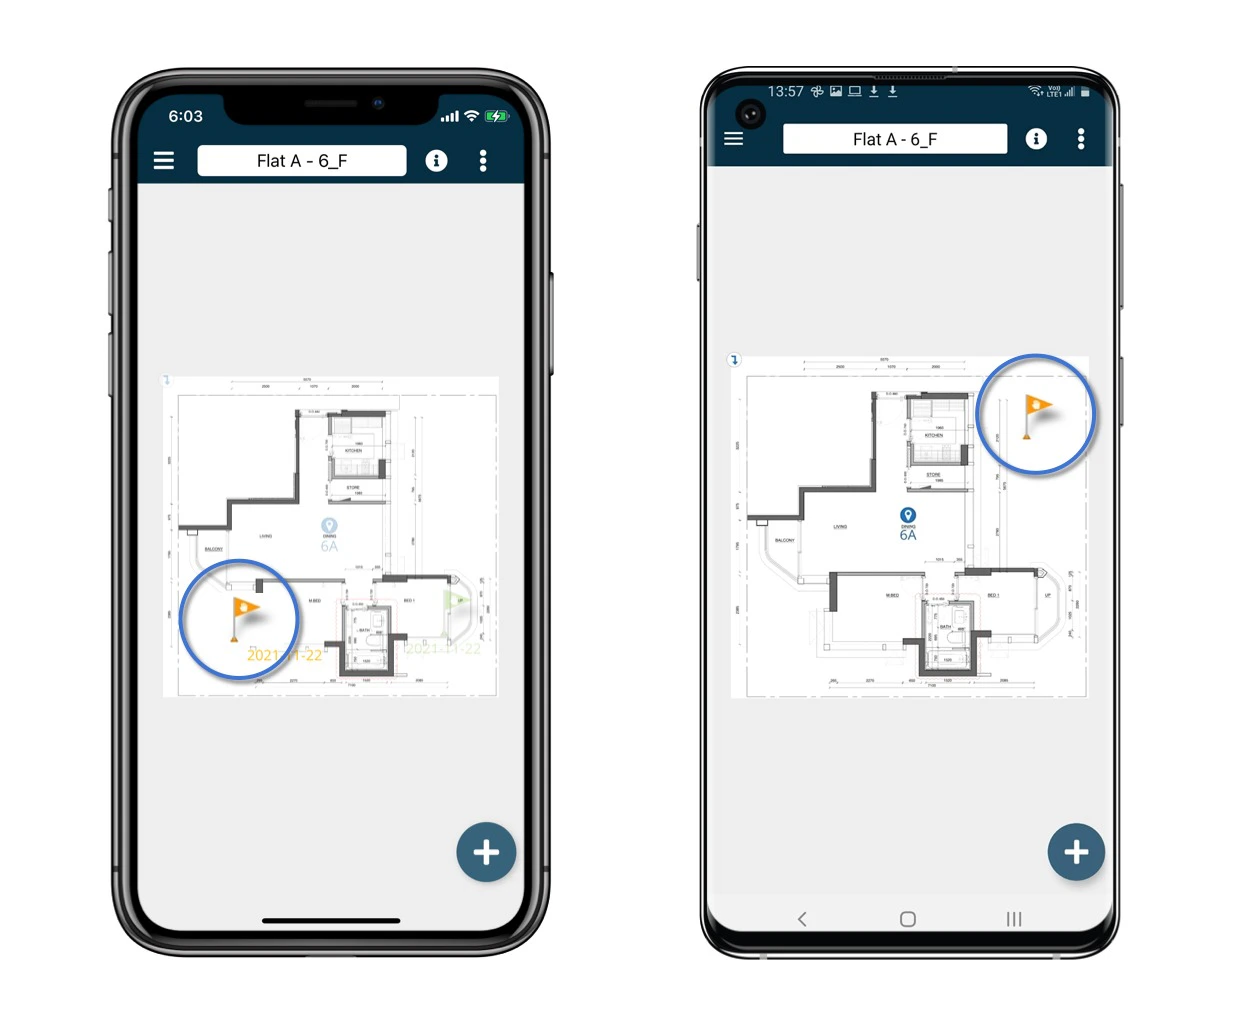
- Locate the blue pins on the drawing; these indicate placed issues or records.
- Tap on a pin to view full details of the record or issue placed at that location.
-
You can view descriptions, photos, status, and other associated metadata.

✅ Step 3: Saving Filters as a Bookmark (optional)
-
After applying filters, you can save this selection for future access.

-
Tap “Bookmark” to name and store your filter configuration.

-
Click the ”+” to add a new bookmark.

-
Add a title for the bookmark and select “Save”.

- This will now show in the bookmarks section and will apply the set filters for quick access to this information again.
Best Practices & Tips
- Use Finder for a structured, searchable view when managing a large volume of items.
- Use the Plan Viewer for a spatial overview of where issues are located.
- Always apply filters for faster access to relevant records.
- Bookmark frequently used searches for efficiency.